Painting Your Motorcycle's Engine: 5 Things To Keep In Mind
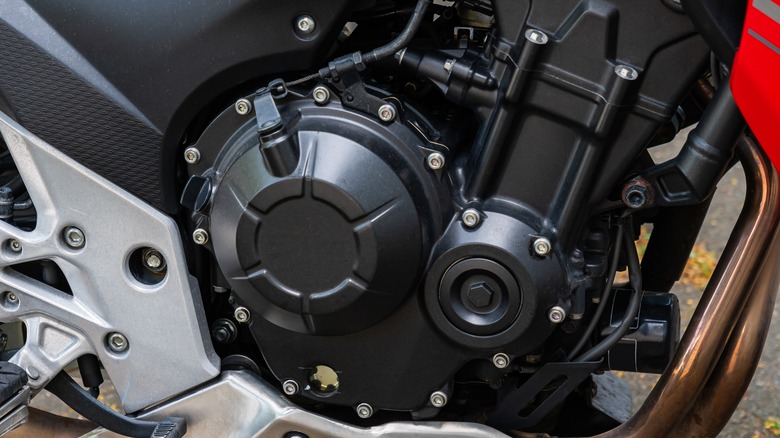
There are a lot of reasons why you might want to paint a motorcycle engine. Maybe you're doing a custom paint job and you want the engine to match. Perhaps you dropped your bike and there are now large unsightly scrapes in the exterior. Or it could be that you're trying to prevent rust. You might also prefer the simple elegance of a blacked-out engine compartment to shiny steel, or you might just looking for a great trick for keeping your bike looking brand new that goes beyond basic detailing. Whatever your reason, it's important that you know what you're doing.
Painting the engine on a motorcycle isn't like painting a wall. There are several steps that you need to take in order to do the job right. You need to properly prep the surface of the engine, make sure that you're using the right types of paint, and seal it so that it's protected from future damage. Regular acrylic or enamel paint won't be able to stand up to the heat, and simply spraying an engine with a bottom-shelf rattle can from Home Depot is a good way to find yourself stranded on the side of the highway waiting for the smoke to clear. That said, painting your motorcycle engine is a pretty manageable project as long as you keep a few simple things in mind.
You don't need to remove the engine
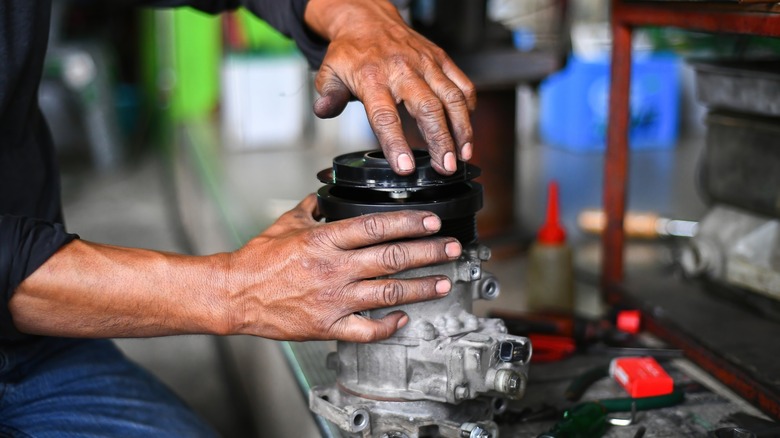
Arguably, the best way to make sure that you get perfectly even coats of paint across your engine's casing is to remove it from the bike before you paint it. That said, getting this casing off and on the motorcycle can be a huge pain — particularly if you don't have the right equipment. There are also several motorcycle models on which this maneuver can be quite challenging. Fortunately, you don't actually need to remove the engine from the motorcycle in order to paint it.
You can paint your engine while it's still attached to your bike. To do this, you will need masking tape, newspaper or plastic, and a small paintbrush. You can use newspaper or plastic and masking tape to cover all of the parts of your motorcycle that you don't want to get paint on. This is tedious work and it can take a long time to cover every fairing, tube, and frame bar that's close to the engine compartment, but it's worth taking your time to make sure you have plenty of coverage and don't miss anything. This will allow you to spray the engine without having to worry about getting paint on the rest of the bike.
Next, you can go back with the small brush and get all the spots that the sprayer couldn't reach. These areas will most likely be the gaps between the fin stacks and the top, bottom, and parts of the engine casing covered by the frame.
Make sure to prep the surface
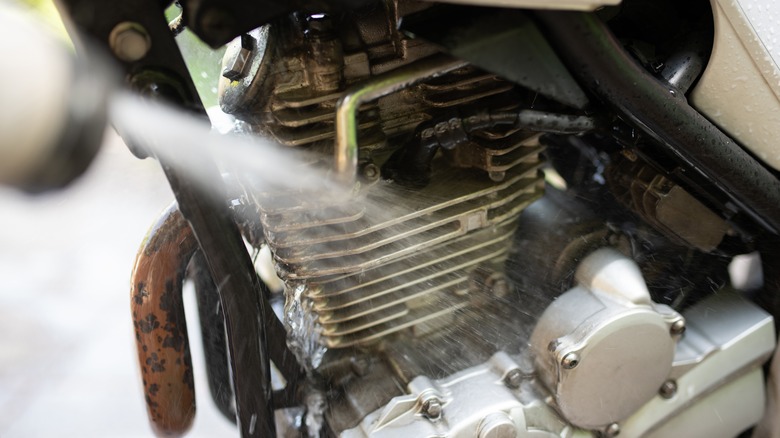
Whether you decide to remove the engine or leave it in, there is some prep work that you should do before it's time to actually start painting. According to "How to Rebuild and Restore Classic Japanese Motorcycles" by Sid Young, "The standard preparation most manufacturers specify is 'clean, dry, and free from contaminants.'" So, if the engine is already painted, then you'll need to use a solvent like Rust-Oleum Aircraft Remover to get rid of the existing paint before adding new coats. Be careful while using these solvents near other parts, however, as they can be quite corrosive.
Once you're down to the bare metal, go over the entire engine with a degreaser and rust remover like WD-40 or the KBS Klean concentrate and RustRemover formulas that are sold in the company's Motor Coater Kit. This will break down any oils or oxidization on the surface of the engine casing that would prevent the paint from forming a bond with the metal. You may need to scrub some surfaces with a scouring pad, wire brush, or a similarly coarse tool to get rid of particularly stubborn areas. Then wipe the engine down with a cloth to get rid of any excess.
You can then sand the surface of the engine block with coarse, 400-grit sandpaper — particularly around any areas that might already have been scratched, eroded, or otherwise damaged. Sanding the engine will create micro scratches in the metal that will help the paint adhere more strongly while also helping to smooth out damaged areas so that the paint can more adequately hide them. You may wish to wipe the engine down again after doing this to make sure no metallic dust or shavings are clinging to the casing before painting.
You need heat-resistant primer, paint, and clear coat

Motorcycle engines get hot, much too hot for regular enamel paint to hold even if you take all the steps to properly prime and seal it. This is why you need to invest in some high-heat primer, paint, and clear coat. You can get name-brand paint from your bike's manufacturer like Harley-Davidson's Silver Bead Blast Touch-Up Paint, which is designed to perfectly match the stock engine color, or you can get it from a regular spraypaint company like Rust-Oleum or PJ1. You can even get a can of liquid paint and then put it in an airbrush if you have one available. You just need to make sure that whatever paint you use is rated well above the maximum operating temperature of your motorcycle.
You also really don't want to cut corners when it comes to priming and sealing. Motorcycle engines aren't just hot. They're also exposed to the elements and fast-moving debris when you ride. You want to ensure that the paint has an adhering layer below so it doesn't peel and a protective layer above to prevent it from scratching easily. Manufacturers use a clear two-pack, epoxy (or polyurethane) and hardening finish to achieve this. There are both glossy and matte options available for the finish to help you keep your desired look. Doing this will help keep your paint job looking good for significantly longer.
Wait 2-4 hours between coats
Patience is a virtue when it comes to painting. It's always tempting to try and add layers as soon as the last one appears dry, but that's usually not a good idea. You want to paint in nice, thin layers to avoid drippage and give each layer two to four hours to dry between coats -– even if the can says that it will be dry in as little as 45 minutes.
You're going to be adding a lot of layers to your engine, which means each layer should be completely dry before adding the next one. The surface of the paint that is exposed to the air dries much more quickly than the stuff that is closest to the metal, so the paint will often look dry long before it actually is. If you don't wait long enough, then moisture from previous layers may end up getting trapped under a fully cured layer. This moisture will then get super-heated the next time you fire up your bike which can lead to bubbling and peeling as the moisture seeks to create a path to expand and escape from beneath the solid paint. It's also worth noting that the climate affects dry time. Paint will take much longer to dry in cold and humid climates than it does in warm and arid ones.
Once it's done, be sure to let it fully cure for at least 24 hours. If you remove the casing, you can bake the painted components in your oven to ensure that they're fully cured by following the manufacturer's instructions. [PDF]
It's much cheaper to DIY
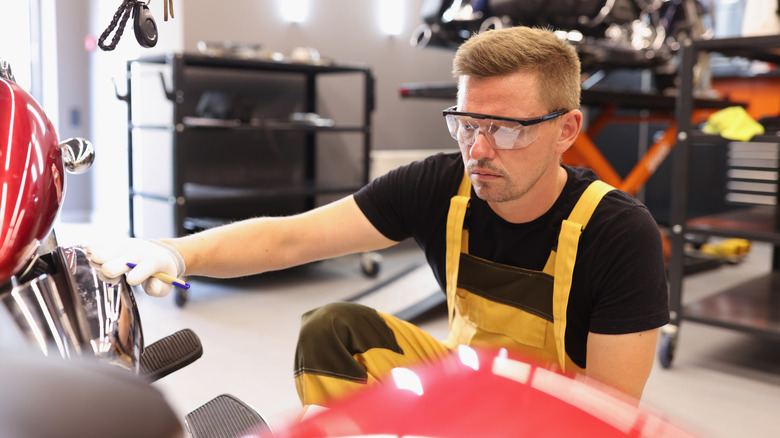
After looking at all the steps involved in painting your motorcycle engine, you might be considering taking it in to have it professionally done instead. That's always an option, but it isn't a cheap one. The cost associated with custom motorcycle paint jobs varies from business, but it's usually on the expensive side. Many businesses may also be reluctant to give estimates until they see the size and condition of the vehicle.
Custom Coatings and Graphics charges $100 per hour plus the cost of supplies, Randy's Cycle Service charges $120 an hour, and Paint by James charges $225 an hour. Keep in mind that getting the engine painted will probably cost more than other parts of the motorcycle since heat-resistant paint costs more than regular enamel. Another reason is that removing the engine casing and properly prepping it to be painted can be labor intensive. A small, bare metal engine in relatively good condition probably won't take long, but a big engine that's already covered in peeling paint and rust may take several hours to prep. So you can expect the work to cost anywhere from a few hundred dollars, to a couple thousand. By taking on this labor yourself you can save a considerable amount of money.
All you'll need is a few cheap supplies and solvents and then the primer, paint, and clear coat. These can cost anywhere from $15 to $45 per pack. The cost will vary depending on the brand you choose and how much you need, but you can be sure that the cost will be a fraction of what you would have paid if you took it into a shop.