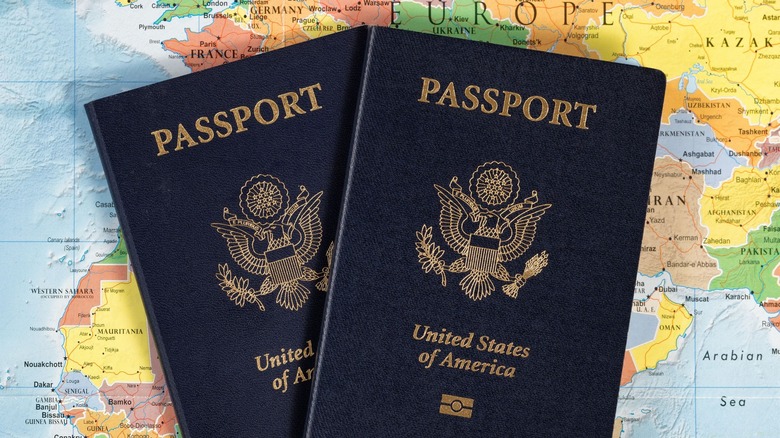
How To Take Your Passport Photo With Your iPhone Or Android: A Complete Guide
We may receive a commission on purchases made from links.
Renewing a passport can be a hassle to say the least. After filling out paperwork and calculating the fees, there's the issue of the photo, which has a laundry list of exacting specifications. Most people will likely opt to visit a print shop or specified passport photo location to have their picture taken, but that's not a requirement. You can easily use your iPhone or Android smartphone to take a passport photo that fulfills all of the government's requirements. When I needed to renew my U.S. passport earlier this year, it took fewer than five minutes to snap a picture that worked flawlessly.
To take your passport photo with a smartphone, you only need a few things. Of course, you'll need the phone itself. You'll also need a blank white background to stand against, as well as some essential camera accessories, most importantly a tripod or a friend to hold your phone. Once you have those things, you'll simply need to adjust a few settings on your phone, line up the shot, and perhaps crop the photo. We'll walk you step-by-step through the process. Be aware that this guide, while meant to accommodate passports the world over, is most suited to United States and United Kingdom passports. You should check your local passport photo rules if you live elsewhere and use this guide to understand the technical aspects of using your phone to snap the photo.
Step 1: find the right place to take your photo
The first and most important thing to do when using a smartphone to take your passport photo is to find a good place to take it. The U.S. Department of State and many other governments require photos to be taken in front of a plain white or off-white background. That means you should have nothing in the background of your photo except for a solid pane of white.
If you have a white wall or door in your home, it should work well as a backdrop, but be sure it isn't overly textured, as it must look smooth in the photo you submit. In a pinch, you can drape a white sheet behind you over a door frame, coat rack, or clothesline, making sure that it's not visibly wrinkled on camera. if the surface behind you has some texture, the important thing is for it not to show up on camera. You can test this by using your iPhone or Android to snap a photo of the background you plan to use. If it looks like an untextured white in this sample photo, you'll be safe using it for your passport photo. Regardless, you should opt for something as white and untextured as possible. Personally, I used a large, white door in my bedroom that I angled until it faced a window, but you could also use a bedsheet or untextured wall. Additionally, make sure that the white background is large enough that nothing other than you and it are visible within the prescribed dimensions of the photo set forth by your government.
Step 2: Lighting and background
When taking a passport photo with your iPhone or Android, it's important to have good lighting. Your passport portrait should be taken in bright light so that your entire face is illuminated, but not so bright that your features are overexposed or washed out. Natural light should be adequate if you take the photo in front of a window during the daytime, but in the evening or at night, you should position a lamp in the foreground. If you own a ring light or professional photography lights, use them. Most importantly, there should be no shadows visible in the photo, either on your face or the backdrop. If your lighting is casting any shadows, adjust the positioning of your lights until they're gone. If you're using natural light, change the orientation of the backdrop.
As for the backdrop itself, make sure that it's white, as that's the color most governments require. Again, consult your local rules. Additionally, the background in your photo cannot be textured. Whatever you do, do not edit the background, lighting or your face in post, as any digital manipulation of the photo beyond a simple crop will disqualify it.
Step 3: Adjust your iPhone or Android's camera settings
Once you've got your background and the proper lighting, in addition to following guidelines for attire, hats, glasses, and other worn accessories, you'll need to make sure your phone's camera app has the correct settings enabled for a passport photo. In general, your smartphone's default camera settings should mostly be fine, but there are a few settings you should make sure of.
- Turn off any camera filters, as your photo must be taken without any manipulation. Some smartphones have beauty filters that are turned on by default, so take extra care to ensure they're turned completely off. These may include skin smoothers, digital manipulation of eye size and jawline width, makeup filters, and more. Other filters, such as Instagram-style filters that change the look and feel of the image, should also be turned off.
- Make sure that a resolution between 600 by 600 pixels and 1,200 by 1,200 pixels is selected.
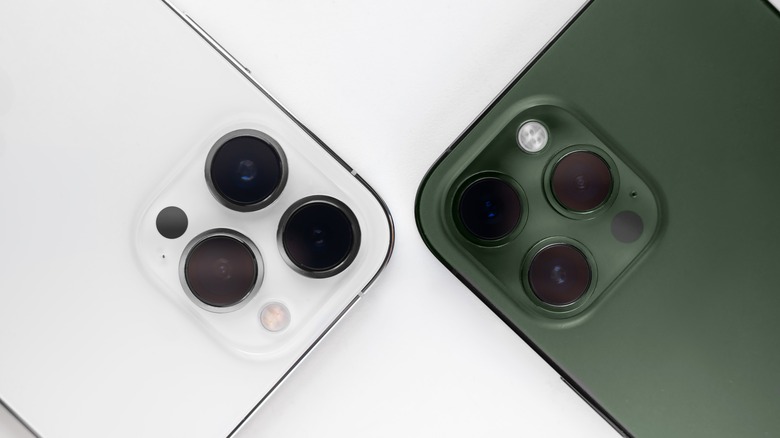
- If your iPhone or Android phone has multiple cameras, make sure you are using the primary, wide-angle lens.
- Set your aspect ratio to 1:1. If your phone does not have a 1:1 setting, you can crop down to 1:1 after snapping the shot.
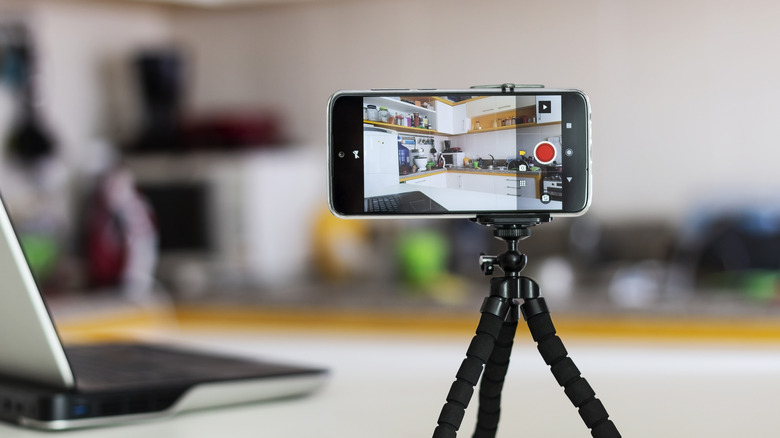
Step 4: Camera positioning
Next, you'll need to position your camera. Selfies are never allowed when taking a passport portrait. Instead, you must prop your iPhone or Android up on a tripod, or have another person snap the shot. Make sure the lens is facing you head-on when you set the phone up on your tripod, as photos need to be taken from a fully frontal angle, like a mugshot. It can also be helpful to have a ring light and a camera remote. This three-in-one tripod, ring light, and camera remote combo is the one I used to take my most recent passport photo, and it works with both iPhone and Android. You can also check out our ranking for the most popular camera tripods.
If you do not have a tripod or someone else to take the photo and do not want to spend money on a tripod, you can try to stand the phone up on a shelf or another surface that's level with your head and the background you've selected. If no surface is available that will accommodate the required angle, you can try finding an arrangement that works from a seated position but be careful not to let any of the chair show up in the photo. Do not take the photo from an angle, as this will most likely result in it being rejected.
Step 5: Snapping your passport photo

If you've followed all of the above steps, you're now ready to actually take your passport photo using your Android phone or iPhone. Stand in front of your white backdrop with the camera being held at eye level by a tripod or a friend, and make sure there's enough blank, white space around you to crop the photo to the right dimensions if need be. You should be centered in the frame, with your head toward the top of the frame.
If you're taking the photo using a tripod, you can set a countdown timer to give you time to stand in position before the photo is taken. If you'd rather take the photo yourself, you can use a Bluetooth camera remote such as the one I used and linked to earlier in this article. If you own a Samsung Galaxy Note or S Ultra phone that came with an S-Pen, the stylus also doubles as a camera remote.
Step 6: Cropping and printing your passport photo
At this point, you've got a photo that meets the criteria for a passport portrait, but it's still stuck on your phone, and it may or may not be cropped correctly. Before you can send it off to the passport office in your country of citizenship, you'll need to put the finishing touches on it and print it. Let's start with cropping, which in the United States must be 2 inches by 2 inches, or 600 px by 600 px in digital terms.
How to crop a passport photo on iPhone:
- Open the Photos app and open the photo.
- Tap Edit, then tap the ratio button.
- Choose Square.
- Line the picture up so that your face is at the center, with the length of your head taking up at least half the length and the widest part of your shoulders touching the frame at the bottom left and right.
- Tap Done.
How to crop a passport photo on Android:
- In the Google Photos app, open the photo and tap Edit.
- Tap Crop.
- Tap the ratio button.
- Choose Square.
- Line the picture up so that your face is at the center, with the length of your head taking up at least half the length and the widest part of your shoulders touching the frame at the bottom left and right.
- Tap Save, then choose Save as Copy if the option appears.
All that's left now is to print your cropped photo. It must be printed on photo quality paper. Follow any other instructions as required by the government of which you are a citizen. Congratulations! You're a passport photographer.