How To Undervolt Your GPU (And Why You Should)
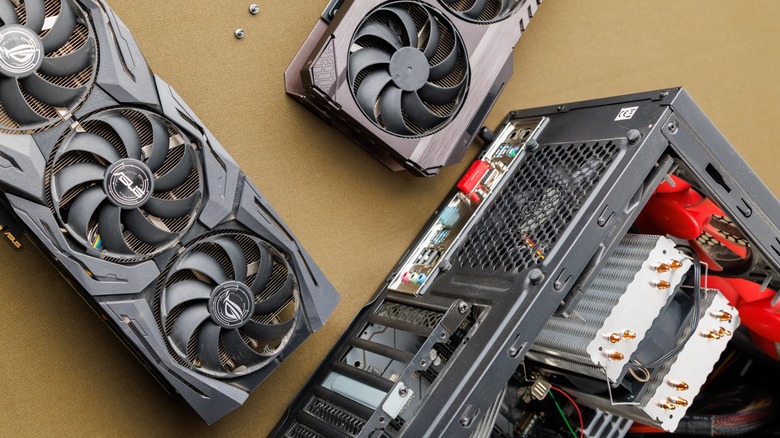
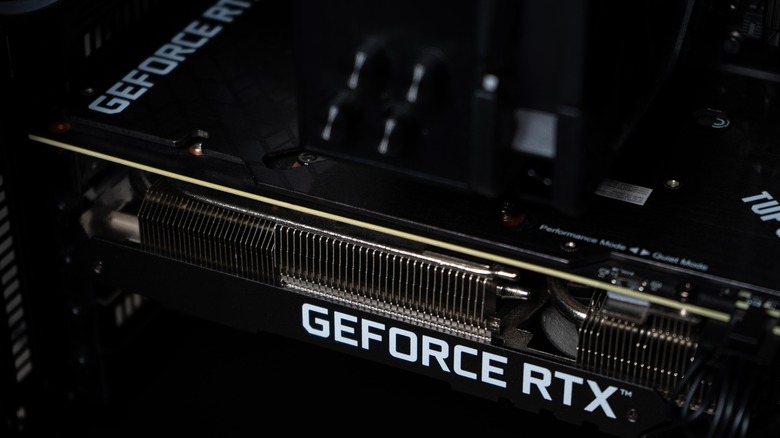
A graphics card is a vital component in a computer, not just for gamers, but for anyone doing any kind of work that requires rendering graphics. GPUs from the major graphics card brands fit any and every need a person could have for their desktop. If you're building your own PC, there's usually no need to change any of the GPU settings, as it will be good to go out of the box. However, PC aficionados know all about overclocking their graphics cards to get a little more power out of them. The issue with overclocking is the heat that comes along with it: Beefing up the GPU's performance requires it to draw more energy, which means an increase in temperature. Undervolting, on the other hand, does the opposite.
The idea behind undervolting a GPU is to find the least amount of voltage it needs to function normally, without losing performance. Why do this? Because sometimes it's not about achieving the highest possible framerate. Sometimes the default performance is good enough and power consumption, temperatures, and noise takes precedence. When you undervolt your GPU, you can decrease the heat produced from your computer. This is especially useful in a gaming laptop because it will drain the battery a little slower.
The best part is that whether you're an AMD or Nvidia fan, you can undervolt your GPU if you want. The steps are slightly different, but it doesn't require much prior knowledge to do.
How to undervolt an Nvidia GPU
First things first, if you're not running a Pascal series (GTX 10XX or later) Nvidia GPU, then undervolting isn't possible. Older Nvidia cards have their voltage locked. You can try to find a workaround, but it's not as reliable since none of the more commonly used undervolting tools like MSI Afterburner don't support it. MSI Afterburner, if you're not aware, is a free program that you can and should download for the following steps to undervolt your GPU.
- In the bottom-left area of Afterburner, there's a menu titled "Curve Editor." Click on it. Alternatively, you can press Ctrl+F on the keyboard.
- A graph should appear in a new window where the X-axis displays the voltage (measured in mV), and the Y-axis displays the frequency (clock speed, measured in MHz) of your GPU.
- This is where you determine your GPU's clock speed when it's under stress. To do so, you can run a GPU-intensive program like a game for about 15 minutes in high resolution. You can also run a benchmark test with something like Heaven Benchmark, which might be a more accurate representation of the GPU's performance and will give you a performance score after.
- There's going to be some trial and error here. Go back to Curve Editor in Afterburner, and click along the curved line — you're looking for the frequency you got from your benchmark test. When you find it, you look at the corresponding voltage labeled below it on the X-axis.
- The key is to lower the voltage frequency in small increments (1000mV, to 975mV, or 950mV) until you find one that corresponds with a GPU frequency you're happy with. You'll return to your benchmark program to test the new settings, checking the stability and performance. Heaven Benchmark typically crashes if the GPU can't handle the new settings.
Matching core frequency with the voltage you want
Once you find a voltage that works best for your needs, and you've tested its stability with a stress test, you want to have the Curve Editor and Afterburner's main screen side-by-side. This will help you match the core frequency to the voltage you want. As you saw in the Curve Editor, the voltage and frequency are tied together. Back on Afterburner's main screen, look at the Core Clock (MHz) option, and increase it until you see the curve in the Curve Editor changes.
Keep track of the voltage you want along the X-axis with the frequency on Y-axis. Your goal is to find the frequency/clock speed that pairs with the lowered voltage you were happy with during the stress test. By the end, you'll have your GPU's clock speed and voltage where you want them. It's important to remember that the frequency/voltage numbers are going to vary, depending on your GPU.
Once all that is set and done, you naturally want to save these settings. Go ahead and click on the "Save" button that looks like a floppy disk at the bottom of Afterburner's main screen. Then, put the new settings to a test once more by playing a GPU-intensive game and play for about an hour. If there are any issues, you're likely undervolting the GPU too much and will need to adjust.
Undervolting AMD GPUs
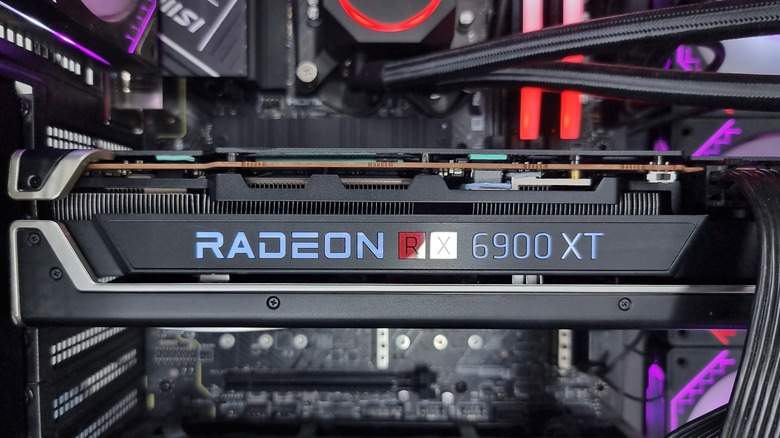
The nice thing about AMD cards is that even older ones can be undervolted. It's also nice that undervolting an AMD card is a little easier than with an Nvidia card. If you have an AMD GPU or CPU, you'll have AMD Software: Adrenaline Edition installed on your PC. To get to it:
- Right-click on the desktop, and you'll see an AMD Software: Adrenaline Edition option — click on that.
- At the top of the main screen are three tabs, where you'll go to "Performance."
- In the three new tabs that appear underneath that, select "Tuning."
- From here you can either manually adjust the undervolting settings, similar to Nvidia cards, or you can select "Undervolt GPU," which will automatically do it for you.
- To select the values yourself, toggle on "GPU Tuning" and "Advanced Control."
- From here, focus on the Voltage (mV) section. This is the trial and error portion of undervolting; whatever the voltage is currently at, lower it by 10mV, and then test it in your favorite stress test program.
- If everything is stable, lower the voltage by another 10mV. Slow and steady is the name of the game here. You're going to repeat this process until a stress test fails. Then you'll return the voltage to the last value that passed the stress test.
Once that's all set, you're done undervolting your AMD graphics card. No need to fiddle with a Curve Editor.
The pros and cons of undervolting your GPU

The first immediate benefit to undervolting your GPU is the temperature. Running it at a lower voltage means less power is being drawn to it, which means less heat is produced. However, even after saving the settings in MSI Afterburner or another similar program, driver updates might reset everything, requiring you to make periodic adjustments. So you'll have to go back into the program and change the numbers back to where you like them.
On the plus side, if you want a powerful GPU, but have a small computer tower with minimal air flow, undervolting could be the solution you're looking for. This ties back to the lower temperatures, but is worth considering nonetheless. The best Nvidia graphics cards tend to run hot, so undervolting can mitigate those extreme temperatures when using a small tower. Instability is also a possibility — while your card won't suffer physical damage, the whole process requires a lot of trial and error, making it a time-consuming process.