The Easy Way To Remove Window Tint From A Car
Tinting your car's windows at home is a simple and convenient way to add some extra UV protection, keep your car cool in the summer, and give you a bit of extra privacy. Most window tint film is intended to be left on your car windows indefinitely, but there are a couple of situations where you might want to get rid of it. Specifically, if the window tint film you applied was cheap or low quality, it may start to peel or flake after a while, which both reduces its effectiveness and just looks unpleasant. Even if a low-quality tint is still structurally fine, you'll need to get rid of the old one in order to apply a better one.
If you want to avoid the cost of professional window tint removal, handling it yourself isn't as hard as you might think. You just need the right tools — most of which can be found either around the house or at your local hardware store — and a steady, confident hand.
Make sure you get the right tools for the job
Before you remove your tint, you need to procure a small list of tools. Safety is paramount, so start with a face mask, protective gloves, and safety goggles. Window tint removal is fairly low risk, but that doesn't mean it's completely free of danger.
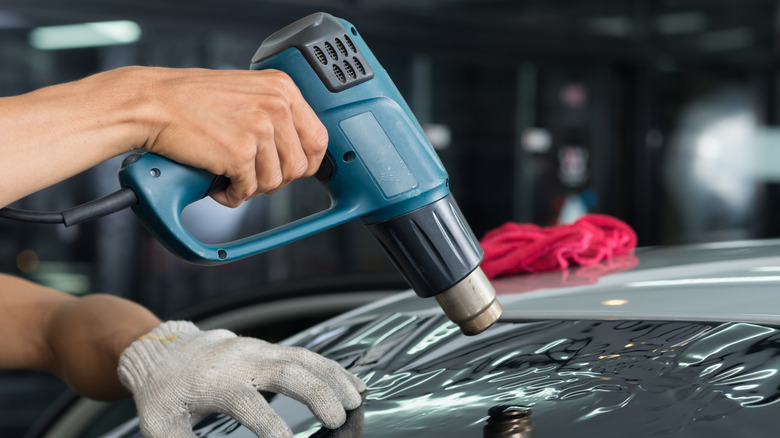
For the actual removal process, the two most important things you'll need are a portable source of heat and a cutting implement. For the former, a proper heat pen or heat gun is ideal — something that can direct a steady stream of high heat right at your target. If you don't have that, a steamer or hair dryer can work in a pinch. For the cutting implement, you'll want either a scraping tool or a straight razor. Something small but sturdy that you can confidently guide with one hand is preferable.
For the post-removal cleanup, you'll want to grab a small spray bottle and fill it with isopropyl alcohol. Soap and water work as well, though it'll take a lot longer and require a lot more scrubbing to get the residue off your windows.
How to remove window tint safely
With all of your tools in hand and your safety gear equipped, it's time to start removing the window tint. Make sure you've got a good amount of space to work and won't bash your elbows on anything. If your garage is cramped, you might want to move your car out to the driveway before you start. Additional ventilation will help with the process anyway.
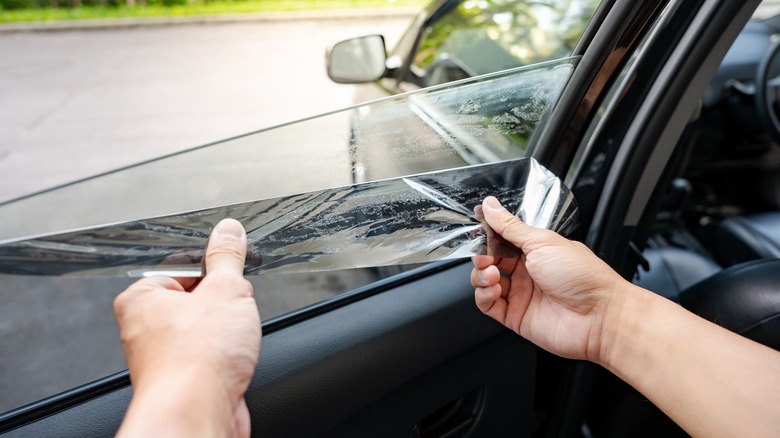
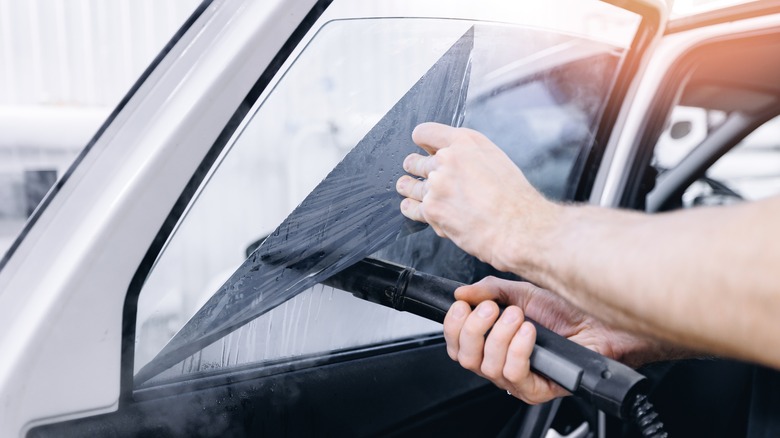
Roll the tinted window down a couple of inches to reveal the edge of the tinted film. Hold your heating tool a few inches away from the edge of the film and begin applying heat. As the film is heated, the edge will gradually start to peel and curl away from the window. Be patient, as this can take a few minutes, especially if you're using a hair dryer.
Once a decent amount of the film has peeled, carefully insert the edge of your razor or scraper into the revealed gap. Gently and slowly guide the edge through and down the inner surface of the film to loosen it further. As large swaths come loose, you can gently pull the film off with your hands. Continue until the whole sheet has been removed. Once it's off, spray some isopropyl alcohol to dissolve any remaining adhesive residue, wiping it off afterward with a clean cloth.
Just like that, your window is tint-free. Give it some time to dry before you apply a new tint.