5 Tips For A More Organized Google Chrome
When the internet came to be, people rejoiced at how convenient it became to fetch information about virtually anything under the sun. Some few decades later, you still experience that same convenience, but now on a more massive scale. You've moved away from only browsing the web for information and are now online to message your friends, watch videos, create documents, and even manage projects. The internet has turned into an integral part of your daily life, and with so many things you're doing online, it's no wonder that your Google Chrome browser always looks like a hot mess. There are dozens of open tabs, notifications keep popping up out of nowhere, and you can't even tell where that YouTube video is playing from.
If this sounds like a familiar scenario, and you've reached the point where your browser clutter is messing with your productivity, here are some quick, easy-to-implement Chrome tips to keep your browser neat and organized.
Sort your open tabs into tab groups

Let me guess — you have at least fifteen tabs opened on Google Chrome, some of which are spread out across different windows, others you don't even know when you last used. Even though they're cluttering your browser. You just don't want to close them because you're "still using them" and aren't done with them quite yet. But having dozens of tabs can be quite chaotic. Sooner or later, you'll find yourself distracted by your overloaded screen or will spend hours trying to find a certain tab.
If you want to organize Chrome while still keeping all your tabs, then tab groups are the key. This native Google Chrome feature arranges your tabs into groups, so instead of seeing 106 tabs all at once, there will only be a limited number of them displayed. Here's how to use tab groups:
- With your browser opened, right-click on any tab.
- Select Add tab to new group (or Add tab to group if you've already made a tab group before).
- Click on New group.
- Enter a name for your group. Make sure it's something you can easily distinguish from your other groups.
- Assign a color to your group.
- (Optional) Turn on Save group to save the tab group to your bookmarks bar.
- Drag other relevant tabs next to the tab group you just created to automatically add them.
- To remove a tab, simply drag it away from the group.
- Click on the tab group name to collapse it and hide all tabs inside.
Then, just rinse and repeat until you have all your tabs added to a certain group.
Add tabs to the Reading list or Bookmarks for later use
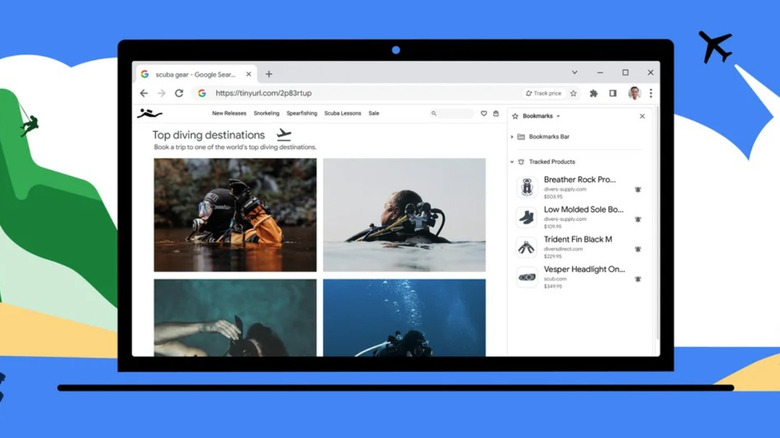
There will always be those web pages that you'll want to visit or read sometime later. You don't actually need the tabs open at this very moment, but you also don't want to close them for fear of losing track of them. Instead of having these later-use web pages accumulate in your tab bar, you can just add them to your Bookmarks or Reading list. Chrome's Bookmarks is for the pages you think you'll frequently need in the future. They're saved in the bookmarks bar at the top of your browser for easy access. The Reading list, on the other hand, is for those sites you'll typically come back to only once. The saved pages here are separated based on what you've already read and what you haven't, to make it easier for you to find your next material.
To add a page to your Bookmarks, go to that specific page in Chrome and click on the star icon to the right of the address bar. Then, press Done. You should immediately see your new bookmark appear in the bookmarks bar. If you want to compress the pages in your bookmarks bar, you can either rename the page or remove its name altogether. Simply right-click on the bookmark, select Edit, and in the Name field, write a shorter label or delete the name to leave only the page's icon in the bookmarks bar. Hit Save to save your changes.
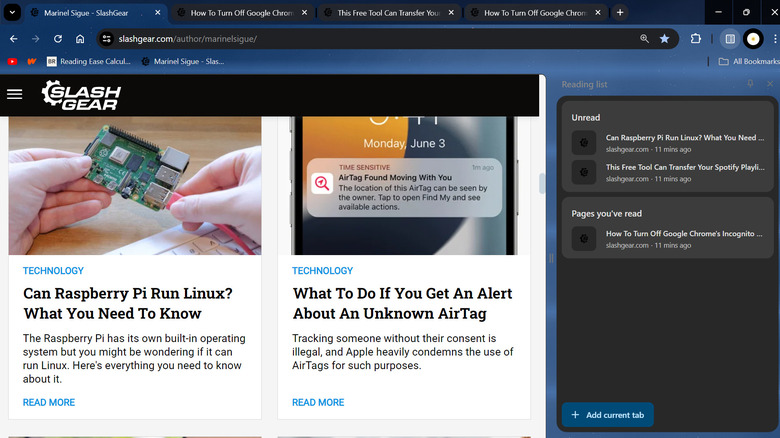
To add a page to your Reading list, right-click on the page tab in the tab bar and select Add tab to reading list. You can then open the Reading list from the menu by going to Bookmarks and lists > Reading list > Show reading list.
Use a tab manager extension to save tabs in groups
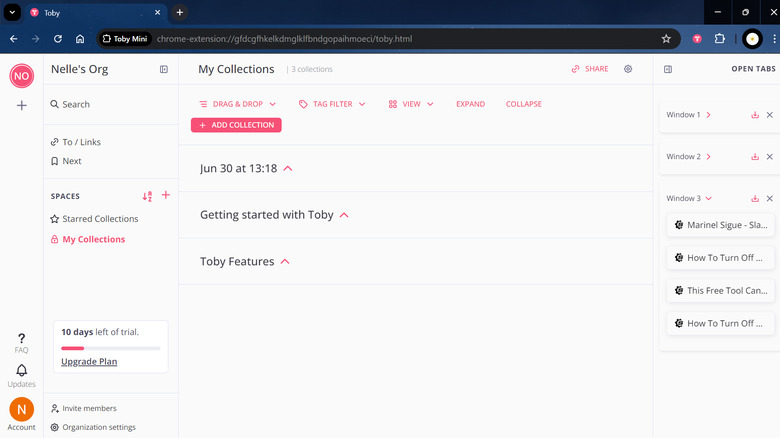
One of the Chrome extensions that will make your online life easier is a tab manager like Toby. In just one click, this extension can close all the tabs in your window and save them into a group that you can quickly open later. Toby can come in handy when you have a set of tabs you'll want to use later. Instead of saving the pages, closing them, and then re-opening them individually, Toby simplifies the process for you. Follow these steps to use Toby:
- Install Toby from the Chrome Web Store by pressing Add to Chrome.
- Click on Add extension in the popup that appears.
- Create a new Toby account if you don't have one already.
- Sort your tabs into their corresponding windows. Toby bundles every window into a single group, so make sure your window only contains the relevant tabs you need for that specific group.
- To save a window:
- Open a new tab. This should open to your Toby page.
- On the right side panel, browse through the list for the window you want to save.
- Click on the save icon next to your window of choice.
- Rename your Toby group.
- Press Save to finish.
- To open your group:
- Go to your Toby page by opening a new tab.
- Find the group you want to open.
- Press Open tabs (diagonal arrow icon) next to the group name. The pages saved in that group should automatically open all at once.
Do note that if you'd like to revert to your old New Tab settings, you need to uninstall Toby.
Customize your Chrome homepage shortcuts
Every time you open a new tab in Chrome (assuming you're using Google as the default search engine), you'll land on the homepage where you can find a search bar for your next query. However, this homepage isn't only good for typing in your specific search request. You can also customize your Google Chrome homepage to include shortcuts to your favorite websites. This makes them much more accessible to you. Plus, it eliminates the need to save your favorite sites on the bookmarks bar, ultimately decluttering your interface. Here's how to add shortcuts to your Chrome homepage:
- Launch Chrome.
- Set Google as your default search engine by clicking on menu (three-dot icon a the top-right corner) and navigating to Settings > Search engine. Then, change it to Google.
- Open your homepage by clicking on a new tab.
- At the bottom-right corner of the homepage, select Customize Chrome.
- Scroll down to the bottom of the right side panel.
- Turn on Show shortcuts.
- If you want to allow Chrome to automatically create shortcuts of the pages you frequently open, select Most visited sites. You will then see your shortcuts appear almost immediately on the homepage.
- If you want to make the shortcuts by yourself, select My shortcuts. Then, do the following:
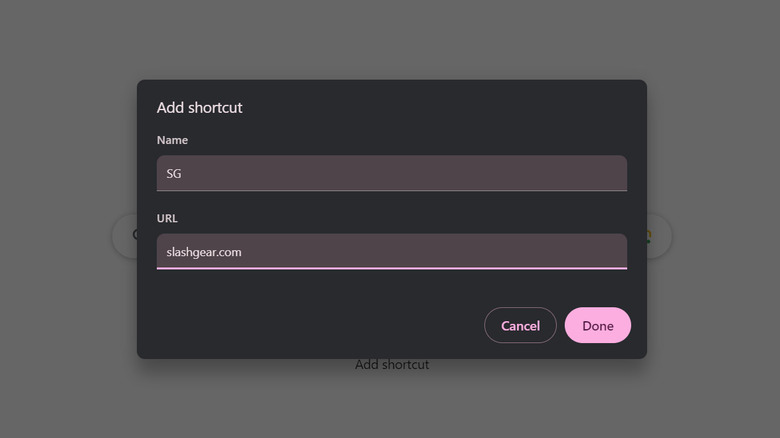
- On the homepage, click on the Add shortcut button below the search bar.
- Type your preferred name for the shortcut.
- Enter the address of the webpage.
- Press Done to save your shortcut.
- Click on the shortcut on the homepage to test that it works. This will also update the shortcut's default icon to the webpage's icon.
You can have up to a total of ten shortcuts on the homepage.
Create a new profile to keep your personal and work tabs separate
If you're a student or a self-employed professional, chances are good that you're using your computer for both work and personal needs. You have a window for the case study you need to finish, and another window for your backyard gardening project. While two windows is pretty manageable, things can quickly get confusing once you start needing multiple tabs and windows for your different work and personal research. And then there's the issue of having your browsing history, reading list, and bookmarks all mixed together, making it hard to look for links you need. To solve these issues, it's a good idea to create a separate Chrome profile for your work and personal accounts. Follow these steps to do so:
- Click on your profile icon in the top-right corner.
- Under Other profiles, press Add.
- Sign in with a different Google account, or select Continue without an account.
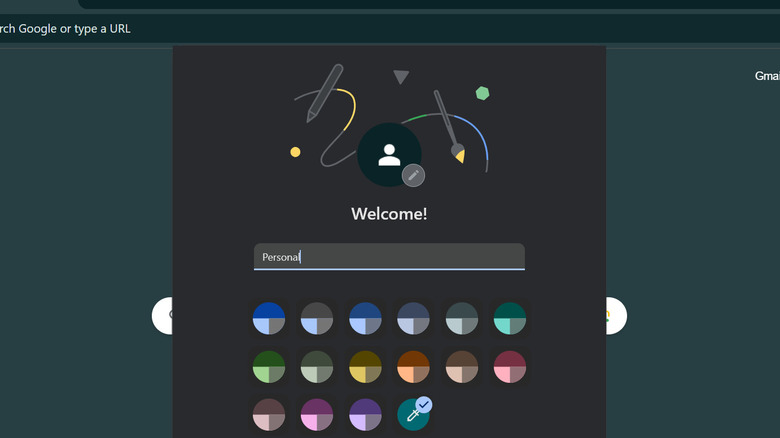
- Personalize your new profile:
- Type a label (e.g., Work, Personal).
- Choose a theme.
- Hit Done to save your profile.
- Select the profile icon at the top.
- Click Edit (the pen icon) to further customize your profile.
- Assign an avatar to make it easier for you to distinguish between your different profiles.
- (Optional) Turn on Create desktop shortcut to add a shortcut to your profile directly on your desktop.
Now, whenever you need to switch to a different profile, all you have to do is click on your avatar and select your profile from the list.