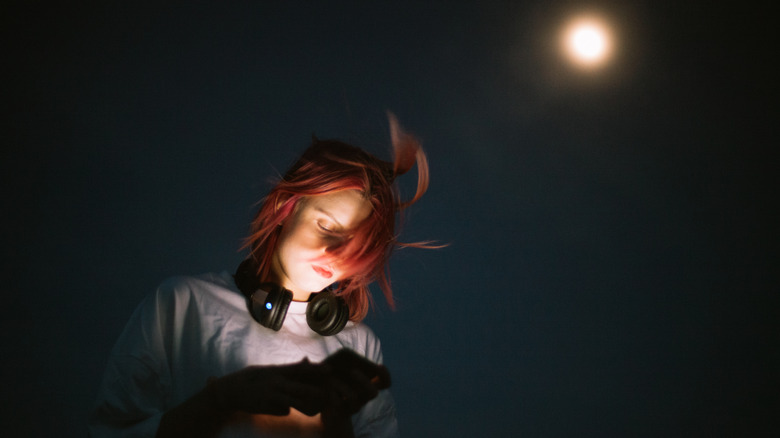
How To Take The Best Pictures Of The Moon With Your iPhone
The iPhone camera has come a long way, but there are still some shots that are tricky to capture, particularly in low light. All iPhones since the iPhone 11 come with night mode, which is automatically activated in low light environments. Night mode might take a few seconds to capture a shot by slowing the shutter speed, essentially letting more light hit the sensor to output a brighter picture.
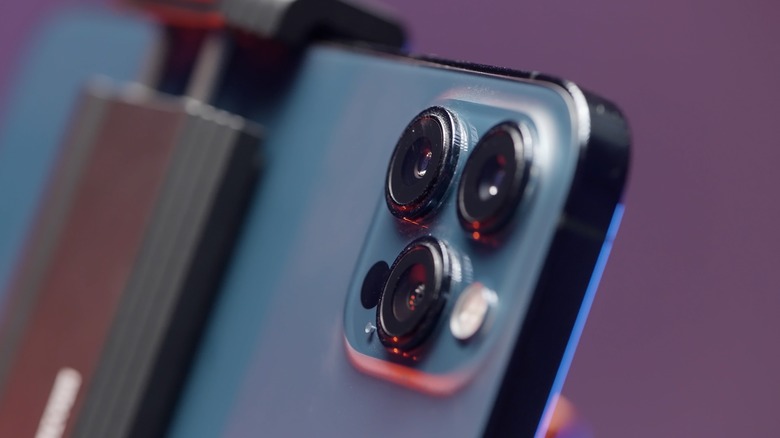
Night mode is great for capturing cityscapes, low light portraits, or incredible astrophotography pictures with your iPhone, but taking a photo of the moon is complicated. For starters, the moon is over 200,000 miles away from the Earth, so getting a close-up view with a smartphone camera, even with the 5x telephoto lens on the iPhone 15 Pro Max, isn't going to give you the same results as using a zoom lens with a DSLR.
The other issue with taking moon photos is the contrast between the moon and the sky. The moon is a bright orb in a dark background, as a result of which the camera interprets the scene as dark by default, increasing the overall brightness and making the moon appear overexposed.
There are some settings and tricks that can help you get a good moon picture with an iPhone, and while you're not going to get the results a digital camera might produce, you can still end up with aesthetically pleasing images that are great for sharing on social media.
Setting up to photograph the moon
The best pictures of the moon require a bit of planning, and a key aspect of this is framing the shot. While it's tempting to focus only on the moon, having additional objects in the frame, such as trees or tall buildings, can make for a more interesting picture.
You might need to adjust the angle of your iPhone to capture the entire frame, either positioning it higher or closer to the ground. When taking a picture of the moon, it's important to keep your iPhone completely steady. Night mode uses a slower shutter speed, which means it takes longer to capture the image. Any minor movements when the iPhone is handheld can result in a blurry shot. The best way to ensure stabilization is by using a tripod for your iPhone, since this also allows you to capture the moon from different heights and angles. You can also improvise by propping your iPhone up against a steady object.
A full moon looks magnificent on a clear night, and while this can make for stunning photos, it's also when the moon is at its brightest, making it more difficult to capture. Other phases of the moon, such as a crescent or gibbous moon, are often easier to photograph. It's also worth considering when to photograph the moon. The stark contrast between the moon and a dark sky can be tricky to capture. Instead, try taking pictures of the moon before sunrise or an hour after sunset. Since the sky isn't completely dark, you're going to get a more evenly exposed photo.
How to take a picture of the moon with an iPhone
Before taking a photo of the moon, turn off the flash. Next, frame your shot. While it is tempting to use digital zoom to get as close as possible to the moon, this is going to result in a grainy image. Instead, use optical zoom. The moon will appear much smaller, but the overall image will be sharper and more detailed. The optical zoom will vary depending on which iPhone you have. Some iPhones offer only 2x optical zoom, while the iPhone 15 Pro Max has 5x zoom.
Once you've set up for the shot and ensured your iPhone is stabilized, follow these steps:
-
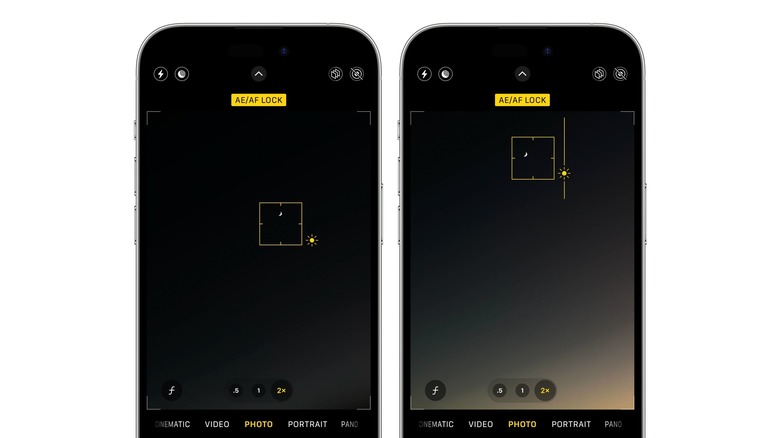
In the Camera app, zoom in as far as possible by tapping the 2x, 3x, 4x, or 5x button.
-
Tap the moon to focus.
-
Long press the moon in the viewfinder to lock the focus. AE/AF Lock should appear at the top of the screen in yellow.
-
Drag the sun icon next to the focus box down to lower the exposure until the moon is clearly visible.
-
Tap the shutter button and wait until it stops spinning before previewing your shot.
Take a picture of the moon in video mode
Another way to take a picture of the moon with an iPhone is by extracting it from a video. This is a popular method seen on Reddit and TikTok, given that videos appear more zoomed in than photos. This is because the iPhone camera has a default 4:3 aspect ratio for photos, while videos are in 16:9, resulting in the image being cropped to that ratio.
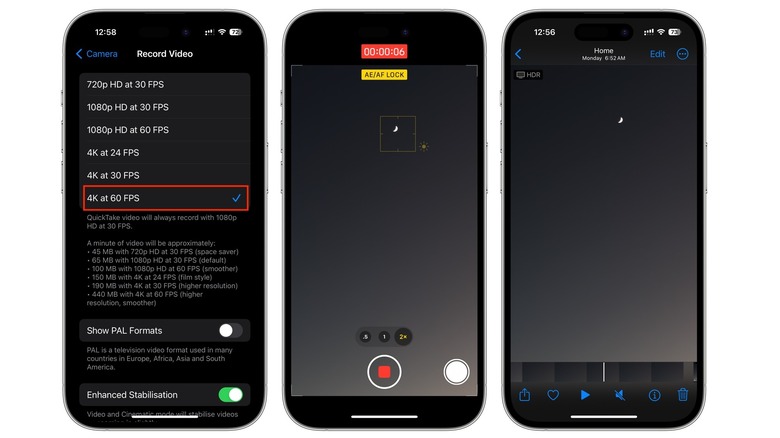
To ensure the best possible quality for moon pictures taken using the video method, you'll need to switch the resolution to 4K 60fps. Here's how to do this:
-
Open the Settings app.
-
Tap Camera.
-
Tap Record Video.
-
Tap 4K at 60fps.
Next, follow these steps to photograph the moon:
-
Swipe to video mode in the Camera app.
-
Tap 2x, 3x, 4x, or 5x to zoom in optically.
-
Line up your frame and make sure your iPhone is stabilized.
-
Tap on the moon, then press and hold to lock focus.
-
Drag the sun icon down to reduce the exposure.
-
Press the shutter button to start recording.
-
Press it again after a few seconds to end the video.
While you can take a picture while recording video with the iPhone's QuickTake feature, this will result in a lower quality image. Instead, you can manually extract the image from the video. Here's how:
-
Open the Photos app and tap the video to autoplay.
-
Tap the pause button, then tap the tiny preview at the bottom of the screen to expand the visible frames.
-
Scrub through the frames using the slider at the bottom.
-
Once you see a frame you like, tap the middle of the screen to make the controls disappear.
-
Take a screenshot and crop the image if necessary.