This Tool Helps You Transfer Your Spotify Playlist To YouTube Music

For many people, their go-to app for music streaming has always been Spotify, and why not? It has all the new hits, thousands of classics, and every popular genre you can think of. Add that to the fact that Spotify is packed with handy features, such as blended playlists, a sleep timer, and jam sessions. However, it's far from being the only music streaming app out there. Many others have started emerging in recent years, to decrease Spotify's overall market share. One such competitor is YouTube Music. In terms of the price for a Premium plan, there's not a significant difference between the two, but since YouTube Music Premium is already bundled with YouTube Premium, those who use YouTube Premium find this a better deal and are making the switch.
If you've also decided to ditch Spotify for YouTube Music for whatever reason, you may be struggling with the issue of transferring your playlists and liked songs. Of course, you don't want to remake all your playlists and re-like all your favorite songs, especially if we're talking about hundreds and even thousands of music tracks. Who has time for that? Thankfully, there are several online tools that can easily do that for you. The catch, however, is that transferring thousands of songs typically requires paying for it. If you prefer to go down the completely free route, then consider checking out the spotify2ytmusic tool. We'll walk you through what this tool can do and how to use it.
What is the spotify2ytmusic tool?
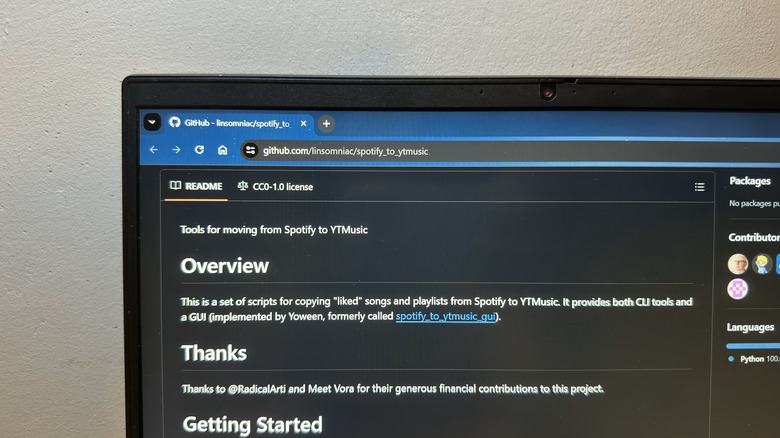
Developed by computer programmer Sean Reifschneider, the spotify2ytmusic tool is designed to let you migrate your playlists and liked songs from Spotify over to YouTube Music at no cost at all. The problem for many is that it involves using command line interface (CLI) prompts, meaning you'll be on your Terminal or Command Prompt app for half the time. The tool does come with a graphical user interface (GUI) you can use, but the installation and set up process will still be a bit technical.
Compared to the Spotify-to-YouTube Music sites, the spotify2ytmusic_tool is noticeably more tedious. In those sites, all you generally need to do is log in to your Spotify and YouTube Music accounts, pick the playlists and liked songs you want to transfer, and then start the migration. It's as easy as that. However, they usually only allow you to transfer a limited number of tracks for free.
If you've decided that Spotify isn't worth it anymore and you prefer not to spend on a tool you'll only use once, then using the spotify2ytmusic tool might just be worth the trouble. Before you get started with installing and using the tool, make sure to get Python installed on your computer first. You can find instructions on how to do so for your specific OS in the official Python documentation. After installation, reboot your computer to complete the process.
Step 1: Install and set up the spotify2ytmusic tool
The spotify2ytmusic tool can be a bit overwhelming at first glance, but somehow manageable if you're familiar with CLI commands or just up for the challenge. Here's how to get it set up on your computer:
- Launch the Terminal app on Mac and Linux or the Command Prompt app on Windows (open it using the "Run as an administrator" option).
- Install the spotify2ytmusic program by running pip install spotify2ytmusic.
- Type s2yt_gui into the Terminal/Command Prompt to open the GUI.
- Look at the tabs at the top. Each one represents the steps you need to make for the transfer from Spotify to YouTube Music. For the setup, you'll only go through Tabs 1 and 2.
- Do the tabs one by one. Make sure the current tab's process is done before moving on to the next one.
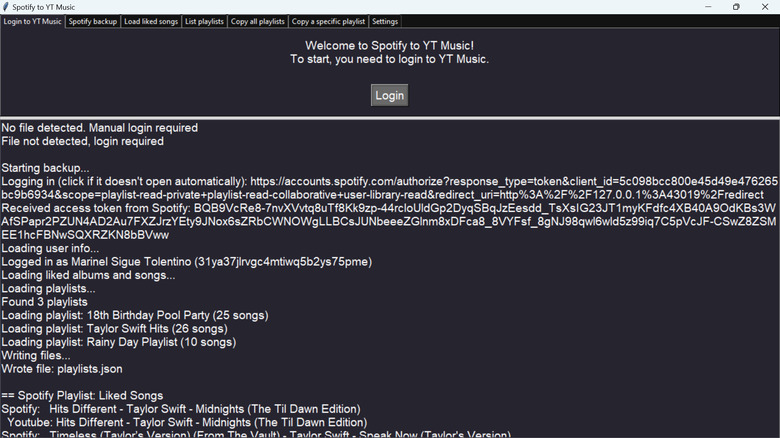
- Tab 1: Log in to YouTube Music. This will open a signup page on your browser. Simply follow the on-screen instructions. Once you see a "Success" message, return to the GUI.
- Tab 2: Backup your Spotify playlists and liked songs to your computer. This will also open a browser page, where you'll log in to Spotify and grant the spotify2ytmusic tool access to your account. Go back to the GUI and wait for the backup process to finish. This will be indicated by a "Wrote file: playlists.json" message at the bottom.
- While still in Tab 2: Rearrange your songs in the correct order. If you don't do so, the songs on your playlist will be upside down, with the last song on top, and the first song on the bottom. To do this, download the reverse_playlist.py script and run python .reverse_playlist.py ./playlists.json -r on your Terminal/Command Prompt.
Let the process finish before moving on to the next step. Don't close the GUI just yet!
Step 2: Transfer your liked songs and playlists
Now that the setup's done, you can proceed with transferring your liked songs and playlists. Here's how:
- Complete Tabs 3 through 6:
- Tab 3: Transfer your liked songs. Once that's done, you should see a message at the bottom of the GUI saying "Added [number] tracks."
- Tab 4: Retrieve a list of your playlists. This will generate a list containing the titles of your Spotify playlists and their corresponding IDs — which will be important later.
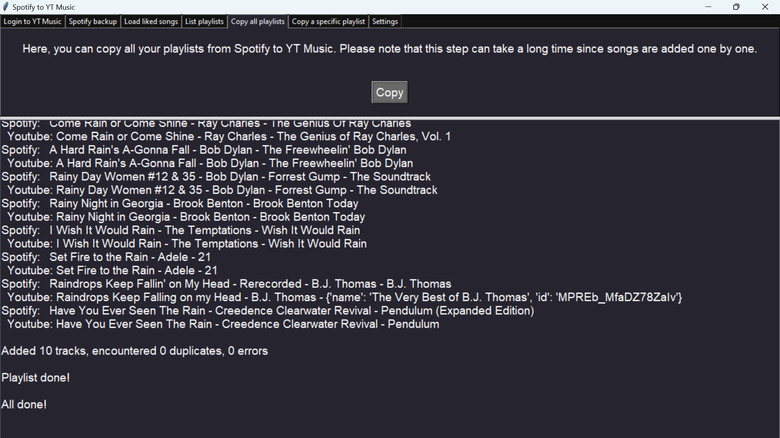
- Tab 5: Transfer all your playlists. An "All done!" message will appear to indicate that it's done. This can take anywhere from several minutes to a few hours depending on how many songs you have. If you don't want to copy everything and only need specific playlists, skip to Tab 6.
- Tab 6: Transfer individual playlists. In the Spotify playlist ID field, use the ID generated earlier for that specific playlist. In the YT Music playlist ID field, write a plus sign (+) to prompt YouTube Music to create a new playlist with the same name as your Spotify playlist. It should be finished once you get an "Added [number] tracks" message.
And you're all set! Open YouTube Music on your phone or browser to verify that everything's been transferred, and start enjoying your songs alongside YouTube Music features like sleep timer.