How To Unblur An Image With Adobe's Free Image Sharpener
So you're on vacation on a nice island. The weather's nice, the sunset is gorgeous, and everything's just picture-perfect. Naturally, you'd want to take photos for the 'gram and as keepsakes, but then the inevitable happens: your images come out blurry. It's either because you set the focus on the wrong subject or the view was just too distracting that you unintentionally shook the camera. Whichever the case may be, you don't have to panic! There's a host of image sharpener tools that can fix the situation with ease, one of which is Adobe Express.
Adobe Express is a free Photoshop alternative accessible on your browser. It comes with a sharpener feature that you can use completely for free and without having to sign up for an account. If you want to recover and unblur your photos, we'll walk you through the quick step-by-step process of how to use Adobe's free image sharpener.
Unblur your photo with Adobe Express
The free image sharpener in Adobe Express is pretty straightforward to use. Here's how to unblur your photo with this tool:
- Launch your browser.
- Visit the Adobe Express Unblur Images tool.
- Click on the Upload your photo button.
- On the Welcome page, press Let's go.
- Select Upload from device on the left side panel.
- Double-click on your blurred image to select it.
- (Optional) Zoom into your image for better accuracy by clicking on the percentage number in the top-right corner and selecting Zoom to fit selection.
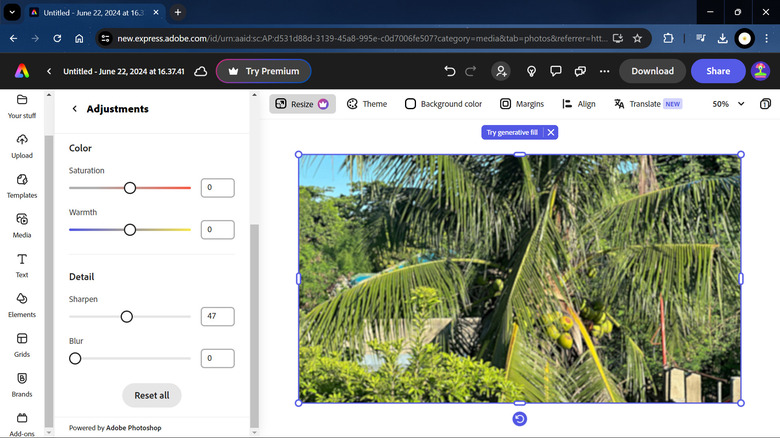
- On the image options on the left, select Adjustments.
- Scroll down to the Sharpen option.
- Adjust the value until you get your desired sharpness. This setting is automatically saved.
- Exit the Adjustments menu.
- (Optional) Continue editing your image with the free tools in the image options panel, such as background remover, generative fill, and effects.
- Download the edited photo by pressing the Download button at the top, choosing a file format (PNG, JPG, or PDF), and selecting Download.
You should now see the edited image in your computer's Downloads folder.
How else can you edit your images on Adobe Express?
On top of unblurring your images at no cost, you can also use Adobe Express for a whole range of other photo editing tasks. Here are the free quick action tools available on the web app:
- Remove background: Erases the background of your photos and allows you to add a different background.
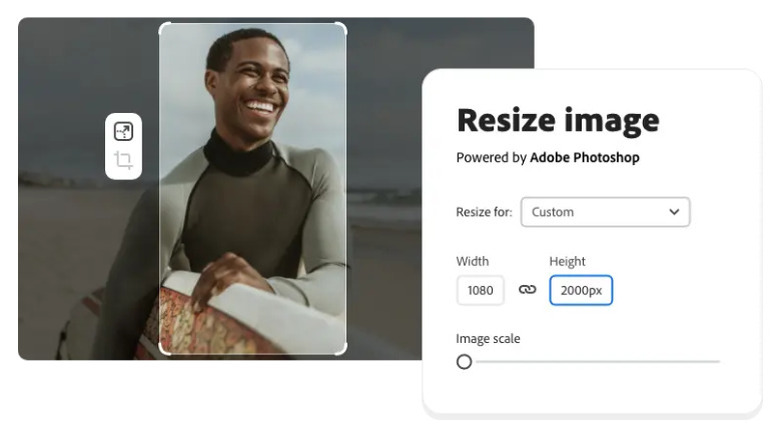
- Resize image: Have the option to resize the picture based on frequently used sizes on popular social media apps like Instagram and YouTube.
- Convert to JPG (or PNG or SVG): Converts your photo to a different file format to reduce size or improve the quality.
- Crop image: Freely adjusts the size of the photo based on your preferences.
Then, you can sign up for a free account and use the Adobe Express editor interface for further editing. It's similarly designed as other basic online editors with features like elements (e.g., shapes, icons, background), media (e.g., photos, videos, audio), templates, and add-ons like AI image generators and stock photo sources.