5 Things You Can Build With Raspberry Pi Zero
We may receive a commission on purchases made from links.
Few do-it-yourself computing products have taken the world by storm like the Raspberry Pi, after it was first released in 2012. As single-board computers (or SPCs for short) go, the Pi, with its focus on maximizing computing power for the most affordable price possible, was eye-catching at its launch price of $35. As Raspberry Pi has evolved and upgraded to include features like the ability to emulate increasingly complex classic game consoles, its price has risen too. The latest iteration, the Raspberry Pi 5, currently retails for about $80.
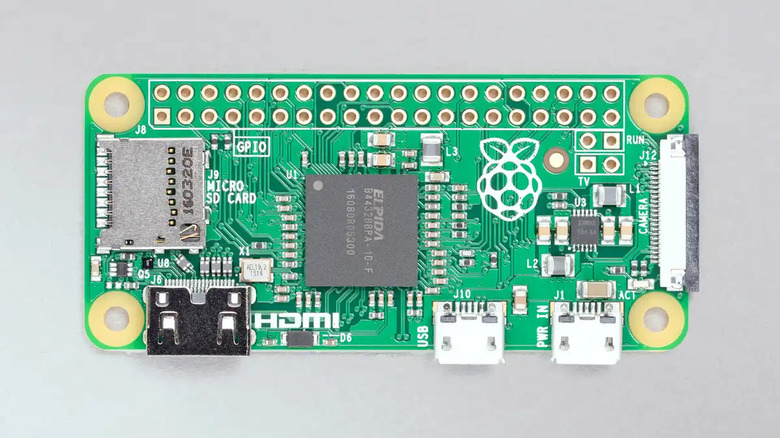
As the flagship Raspberry Pi grew, older chips and shrinking technology made it possible for the company to provide even smaller and more affordable computers. Enter the Raspberry Pi Zero series, which launched in 2015. It's not as powerful as its more expensive counterpart, but it can still do a lot for a $10 board that's about the size of a large pack of chewing gum. Because it's not quite as powerful, it's not necessarily the best fit for some of the projects that the regular Pi is most often recommended for, but because it's tiny and inexpensive, a lot of alternative use cases are opened up for it, as well. Let's take a look at some projects that can make the most of Raspberry Pi's bargain board.
Playing 2D era classic video and computer games
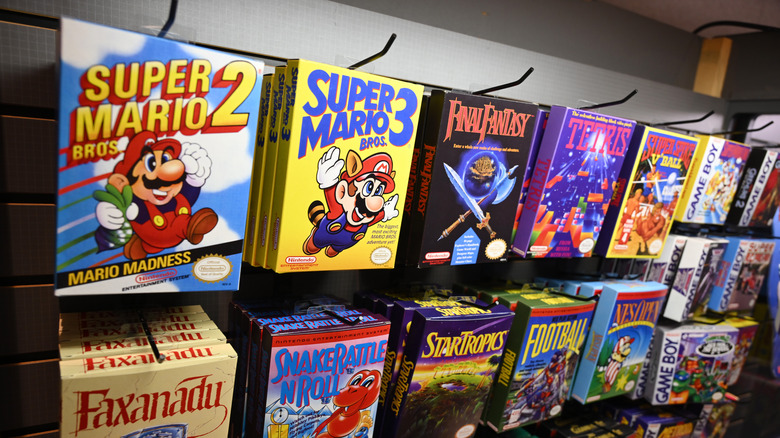
The Raspberry Pi Zero is a lot less powerful than the flagship Raspberry Pi board, but it can still pack a punch. Standard Raspberry Pi boards can emulate console games into the "sixth generation" that includes the PlayStation 2. The Raspberry Pi Zero, meanwhile, is able to handle games from pretty much every console and arcade system from before polygon-heavy 3D graphics became the norm.
On a more granular level, this means that you can use a Raspberry Pi Zero to emulate consoles as powerful as the Sega 32X and SNK Neo Geo, handhelds as recent as the Nintendo Game Boy Advance, personal computers as late as the 386 PC, and arcade games that don't rely on 3D graphics. That's still a heck of a lot of classic gaming content that you can run on a tiny $10 SPC. If you were a child of the '80s or '90s, or aspire to appreciate games from that time, then a Raspberry Pi Zero running RetroPie can get you pretty far. And the Zero is tiny enough that if you're a particularly sophisticated DIYer or are willing to buy a case/screen combo like the $79.99 Retroflag GPi, you can build your own handheld console around it.
A print server to turn an old printer into a wireless one
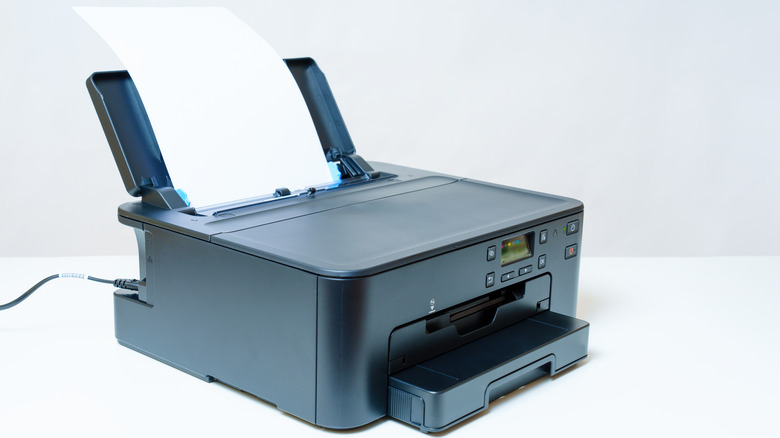
These days, people don't have much of a use for a printer very often. What was once a must-buy for most PC owners is now largely optional in a mostly-digital world. However, there are times when we still need one, such as when printing return labels for stuff we buy online. Maybe you don't want to spend $60 or more for a new wireless printer you'll occasionally use, but you have access to an older, hardwired printer. In that case, there is a way to modernize it into a wireless printer: Using a Raspberry Pi Zero as a wireless print server.
Parts-wise, this just requires the basics of the Pi Zero board, a microSD card with the operation system on it, and a USB cable. On the software side, you do need to know your way around a terminal window if you connect the Pi Zero to a monitor at first, and be comfortable with SSH if you run it "headless". Still, this is the kind of DIY project where that kind of thing is to be expected. Once you have the Common Unix Print System (CUPS) installed on the Pi Zero, you can log into it using another computer's web browser.
Smart speaker and/or networked music system
One popular way to harness the power of a Raspberry Pi Zero is to use it as the heart of a smart speaker, akin to an Amazon Echo or Sonos networked music speaker. Exactly how impressive you want to make it and how neat you want it to look depends on how much money and energy you want to put into it, but there are a lot of possibilities here.
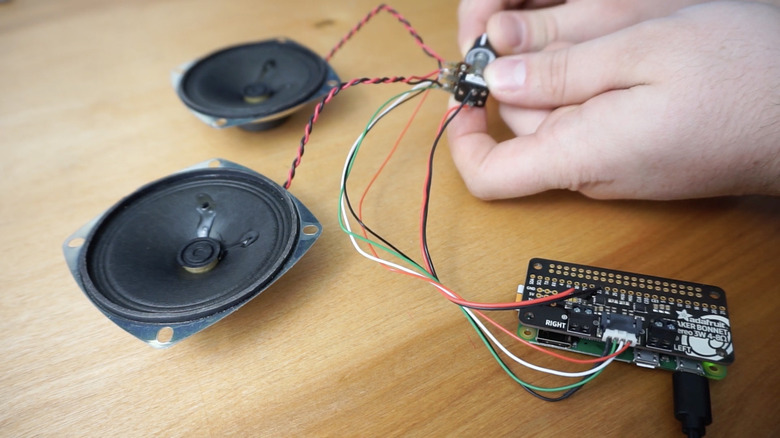
Getting sound out of a Pi Zero requires some extra hardware, as it doesn't include its own audio output hardware to keep costs down. On the board itself, you have the option of buying the Speaker Bonnet add-on, a tiny 3W amplifier. Alternatively, you can use USB to feed a digital to analog converter (DAC for short), the likes of which come at many levels of quality and price points. There are also Raspberry Pi-specific DACs available from companies like HiFiBerry, so there are a lot of options regardless of how much you're able to spend.
Putting together a networked music system is fairly straightforward, but a smart speaker can be more complicated because it needs a microphone and programming for voice controls as well. Just how much more complicated it would be depends on how professional you want the end result to look in terms of case design, indicator lights, or other bells and whistles.
Streaming stick for your TV
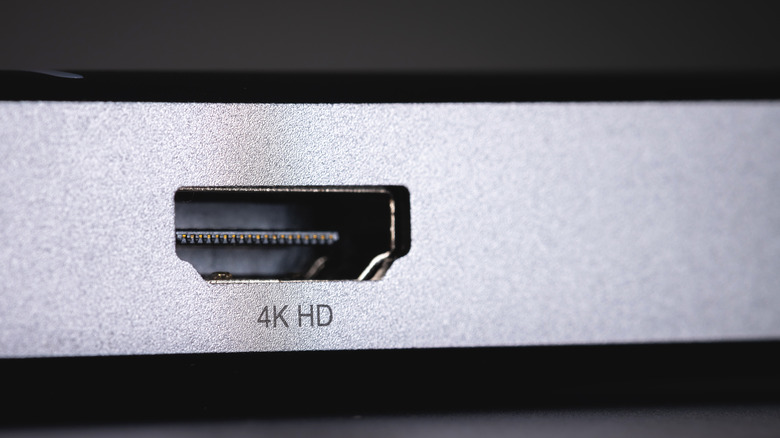
An HDMI streaming stick for your TVs is an area where the prepackaged options run inexpensive enough that you're most likely not going into the project with the goal of saving money by using a Raspberry Pi Zero. In a world where the Google TV sticks and boxes from Onn, a Walmart house brand, start at less than $15, there isn't much money to save by going the DIY route. But if you want to use the project as a way to learn how to make use of these $10 boards, then this is a relatively simple and inexpensive way to start.
The good news is that once you have the hardware working, there are a lot of different media center apps ranging from VLC to Plex that are available on Raspberry Pi OS, a Linux distro built for Pi boards. You could also pick a media-center-centric OS, like OSMC which is a Kodi-like Debian Linux, opening the DIY stick up to both your personal media library as well as whatever online content you can access via Kodi's add-on system.
Running Google's Android software on the Zero's aging chip is less likely, especially since nobody has appeared to have ported Google TV to the Zero. Maybe that's for the best, though. After all, the point is to tinker with a Raspberry Pi Zero, not duplicate a retail product. Maybe you're better off with something different, instead of duplicating the functionality of a $15 streaming stick.
Security system
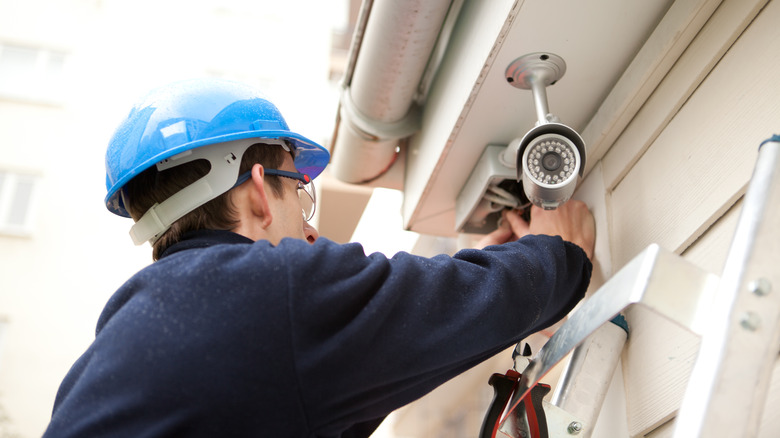
One product category that's gotten really popular among smart home enthusiasts is security systems. Harnessing the power of the internet has made many security systems easier to use, thanks to features like cloud video storage and the ability to answer your door when you're not home. And with camera modules available for the Raspberry Pi Zero, a smart home security system is also something you can easily build if you're into DIY tech.
Camera modules compatible with the Raspberry Pi Zero start at about $10, so this project won't break the bank, although just as with TV streaming sticks, you can get network-connected cameras for nearly the same price as the combined price of a zero and camera.
Software-wise, you can go with the free MotionEyeOS. You don't necessarily need a monitor attached to help set up the camera, but it might be worth using one at first boot to make sure everything is working correctly and to make it easier to determine the camera's IP address. The security software itself is accessed through a web interface, and once it's set up, it's relatively easy to use.