10 Mistakes You Might Be Making When Changing The Brake Pads On Your Vehicle
Changing the brake pads in your vehicle seems straightforward enough. Isn't it about removing the old ones and putting on the new ones? Well, it may seem simple, but there's actually a bit more to it than meets the eye. Even experienced DIY-ers can run into issues if they're not careful.
Maybe you've replaced your brake pads before with no problems, or maybe this is your first time — which is great since doing your own brake work can save you money. Either way, it's easy to overlook little details or make assumptions that could lead to unnecessary hassles down the road. We're not trying to scare you out of doing it yourself; we just want to help you avoid wasting time or cash.
By the way, it's good to know when it's time to replace the pads. Generally speaking, city cars should get new pads every 40,000 miles or so. Cars that spend more time on the highway can go 60,000 to 80,000 miles. Before jumping into replacing your new brake pads, it pays to be aware of these common mistakes that can turn a routine maintenance task into a major headache.
Neglecting safety precautions
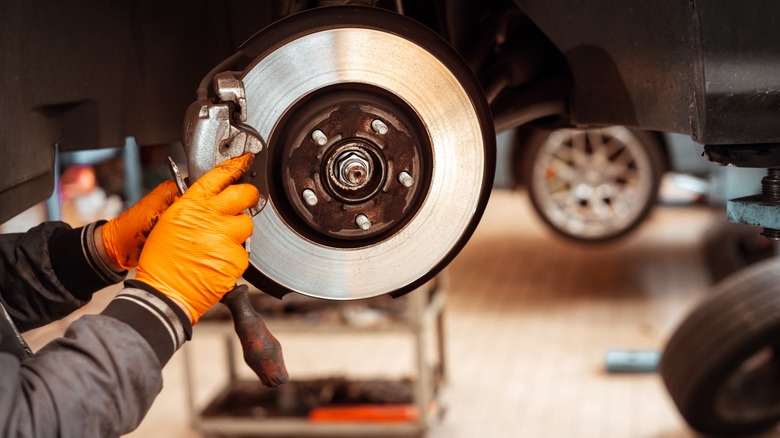
Before tackling a brake pad replacement job, park your car on flat, solid ground before popping the tires off — you don't want your ride rolling away while you're getting your hands under the hood. After that, safety should come next. Start by looking out for yourself, throwing on some gloves and safety glasses to avoid nasty cuts or particles in your eyes. Make sure to work somewhere well-lit, too, where you've got room to move around without tripping over stray tools. A clean, organized workspace will help minimize unexpected mishaps.
You'll need a few essential tools to replace the brake pads. At a minimum, a jack and jack stands (or lift if you've got access to one) to get the wheels off the ground. A lug wrench to remove said wheels — a caliper piston tool to squeeze back the pistons; a C-clamp to help hold everything in place; a good socket set and ratchet to crack loose those caliper bolts, and some wrenches just in case you run into any stubborn bolts or nuts along the way. Brake cleaner, anti-seize, and elbow grease are also good stuff to have on hand as well to keep things moving smoothly.
Work one side at a time from start to finish to keep things tidy. Turn the wheels towards the side you're tackling for better access, too. You should skip the air compressor to clean the brake components, as all that brake dust flying around is no good for your lungs. According to the U.S. Environmental Protection Agency (EPA), it can cause lung diseases like asbestosis, lung cancer, or mesothelioma.
Getting low quality brake pads solely for their lower cost
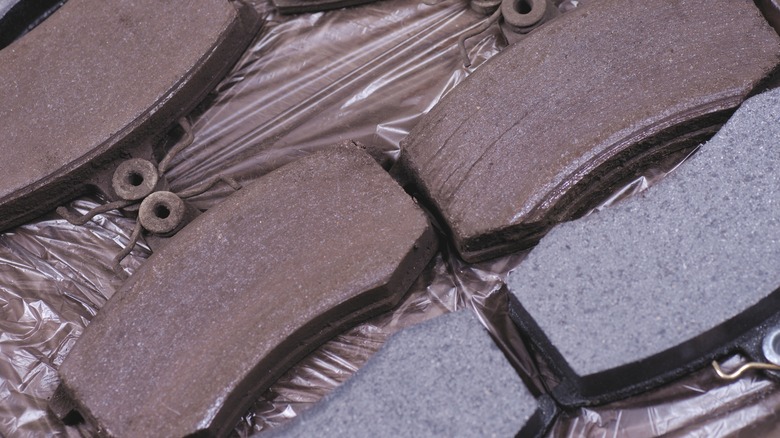
When it comes to brakes, it can be tempting to cut corners and save some money by going with cheaper aftermarket pads. However, in the long run, skimping in this area often ends up costing more through unnecessary repairs and potential safety issues down the road.
Inexpensive pads just don't last as long as higher-quality original equipment ones before needing to be replaced. You may save a few bucks upfront, but you'll be making more frequent trips to the shop for new pads. Over time, that extra maintenance really eats into any savings. There's also a risk of damaging the rotors underneath if cheaper pads wear down too far.
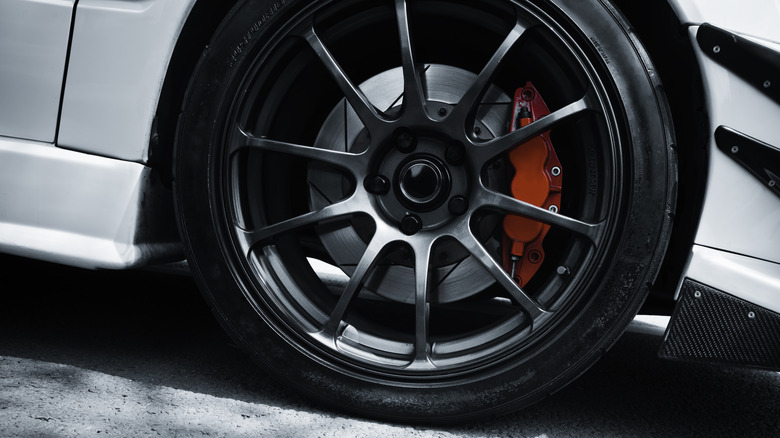
The performance of cheap brake pads is also a major concern in high-stress braking situations that require quick stopping. With inexpensive pads, you may not get the braking power you need in an emergency, potentially leading to accidents. Brake pad performance shows more under track conditions as well. On a racetrack pushing your abilities, affordable pads tend to require more inconsistent pedal modulation lap-over-lap to smoothly bleed off speed. You wouldn't have that predictable control over braking pressure.
Affordable aftermarket brake pads also face a greater risk of corrosion issues over time. The bare paint-masked steel composition common in many inexpensive replacement pads doesn't shield against rust as robustly as the galvanized formulations used in original equipment brake components. Just a few heat cycles could enable rust to work its way behind the friction material. When unchecked, that corrosion may eventually cause pad chunks to break loose, leaving you without brakes when needed most.
Not checking or replacing brake hardware
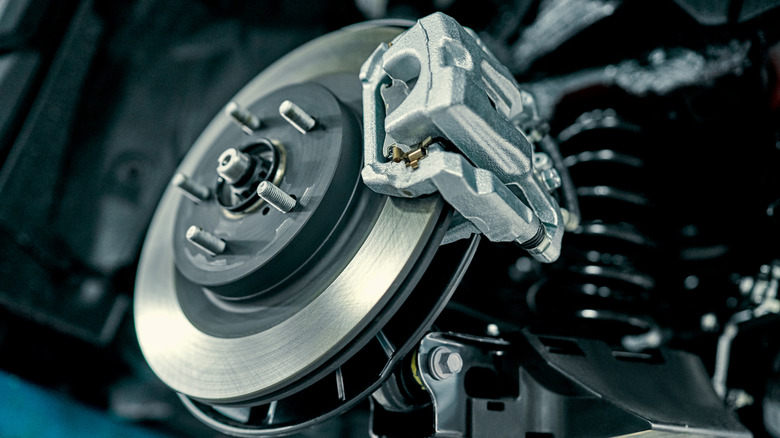
When changing your brake pads, it's worth taking a closer look at some of the other key brake components as well. After many years and miles of use, other parts may need attention. As a rule of thumb, calipers should be rebuilt or replaced around 75,000-100,000 miles or seven to ten years. Make sure to swap the whole caliper if it's leaking fluid, the pistons are stuck, or there's any visible wear or damage.
Be sure to check the caliper slide pins, too. They play a vital role in allowing the caliper to compress the brake pads smoothly during braking. If any look worn down or aren't moving freely, clean and lubricate or replace them. Otherwise, you could end up with uneven pad wear over time. Also, inspect the bolts holding on the caliper, look out for rust or corrosion, and swap them if needed.
Don't forget to examine the brake rotors themselves. How often you need to change your rotors? Generally speaking, they need replacement every 50,000-70,000 miles or so. Installing fresh pads on grooved or worn-down rotors reduces braking power. Also, give the pad shims behind the calipers a once-over, swapping any that feel loose or damaged. The shims help reduce noise and uneven pad wear.
Reversing the orientation of the brake pads
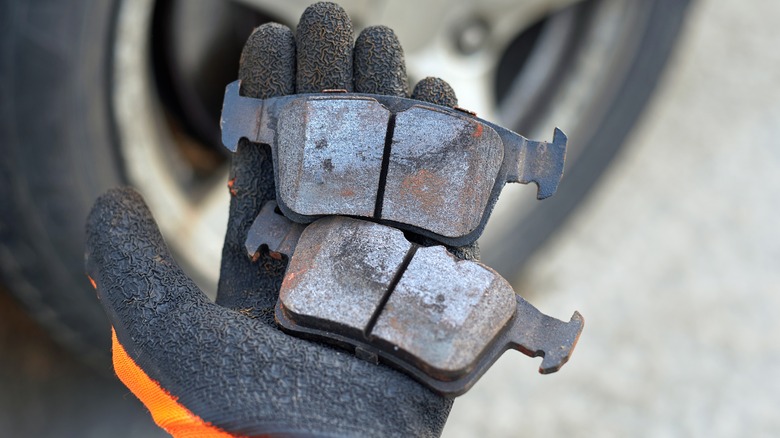
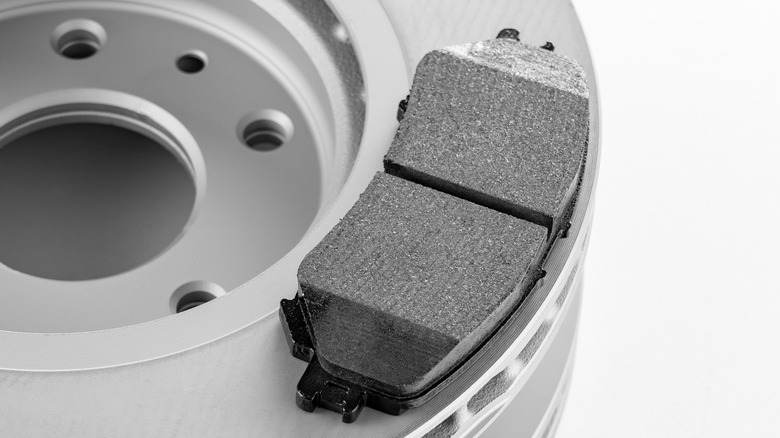
Brake pads can be standard or directional. Standard pads can go on either side since they're usually symmetrical. However, it's easy to accidentally put them on backward, which can lead to unpleasant issues down the road, such as damaged rotors and a brake pedal that feels weird due to the caliper piston not making proper contact.
On the other hand, directional pads have specific sides and must be oriented properly. Before you install the new brake pads, be sure to inspect both old and new sets closely for any arrows, letters, or other markings that indicate which way they face. Arrows often show the disc's rotational direction, while letters like "R" and "L" stand for the right and left sides of the vehicle.
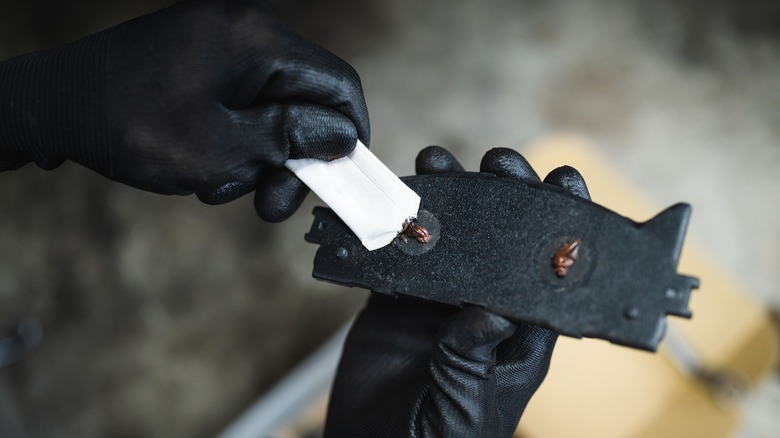
Don't forget about the positioning of the brake pad wear indicator, too. These tiny metal tabs let you know when your pads are done and need replacing. Locate the "leading" edge that makes first contact with the rotor during each rotation. On most vehicles, this inside part faces inward from the wheel. Position the indicator there and push it snugly into place so it doesn't rattle around.
Not bedding-in the new brake pads
When you install new brake pads, it's important to do a proper brake "bedding-in" process. This helps the new pads properly mate to the rotor surface and prevents a loss of braking power, known as brake fade. The ideal time for bedding is right after putting on the new pads; it's not something to put off. Taking the time for a controlled heating and cooling cycle allows the pad material to transfer onto the rotors in a safe way.
The ideal time to bed in new brake pads is immediately after installation. To do it right, find a quiet area like an empty parking lot where you can smoothly do some braking without stopping traffic. Then start at around 30-40 mph and press the brake pedal firmly but not too hard, slowing down 10 mph each time. Keep it low-key so you don't shock the pads.
Repeat this gentle braking as many times as you can, allowing time for the brakes to cool in between each one. You'll feel them start to bite more consistently as the material transfers. Taking it easy like this upfront saves headaches down the road. Proper bedding just makes your new pads last and perform their best from the get-go.
Lubricating the wrong components
Proper lubrication of brake components is important for maintaining braking performance and safety. The key is using the right type of lubricant in the right places. Too much lube in the wrong spot could cause problems.
Brake parts that slide or move, like caliper bushings, slide pins, abutment clips, and small screws holding the caliper, need a thin coating to keep things quiet and smooth. However, you've got to be careful not to get any on the brake pads or discs themselves. That's where the stopping power comes from, so you don't want anything interfering with the friction there.
It also pays to use the right lubricant for different brake components. Silicone or synthetic stuff works best on rubber or plastic seals in the long term since petroleum can degrade them over time. Meanwhile, the metal-on-metal bits appreciate a dry lubricant containing graphite or molybdenum disulfide to keep them sliding well. A brake cleaner is also handy for cleaning up brakes, but you would need to think twice before using it for engine components.
Remember, too much lube is as bad as none — you just want everything sliding freely without compromising the brake pad surfaces that squeeze the rotors. Take your time and be careful where you smear it.
Over-torquing or under-torquing brake components
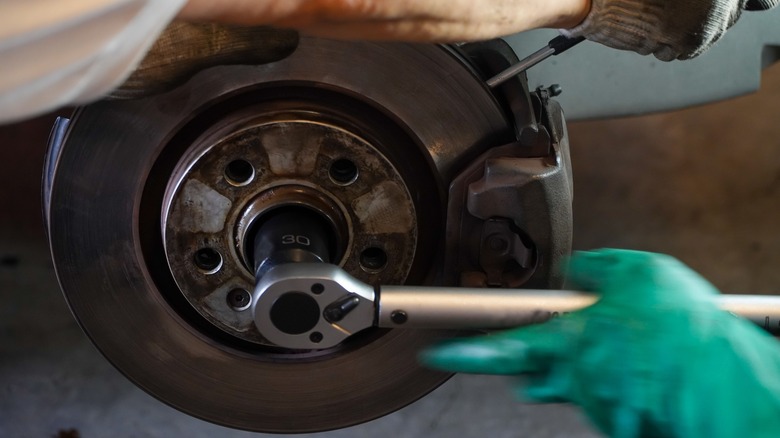
Properly torquing the brake components is important when changing the brake pads on your vehicle. However, there's debate over whether a torque wrench is truly necessary. Per Garage Journal, some mechanics say hand-tightening is fine, while others prefer using a torque wrench to play it safe.
Over-torquing or under-torquing parts can both cause issues. Over-torquing risks warping rotors or damaging hub flanges, which often happens with air tools without torque control. Under-torquing has risks, too – loose caliper bolts could lead to a bad braking situation quickly, and under-tightened lugs may cause more wear and tear on other pieces.
In the end, we'd say it's safe to use a torque wrench, which is one handy tool you can use from Harbor Freight for your brake job. If you don't use a wrench, you can hand-tighten, but avoid overdoing it. Some mechanics recommend just past hand-tight (what they called "gooden-fit"), not a full quarter or half turn more. Yes, experienced folks may feel they can feel it out without a wrench, but the peace of mind from precise tightening with a torque wrench is worth the few extra minutes. It eliminates any doubt and helps prevent potential problems later on.
Play it safe — your brakes are nothing to cut corners on.
Forgetting to adjust the parking brake after replacing the rear brake
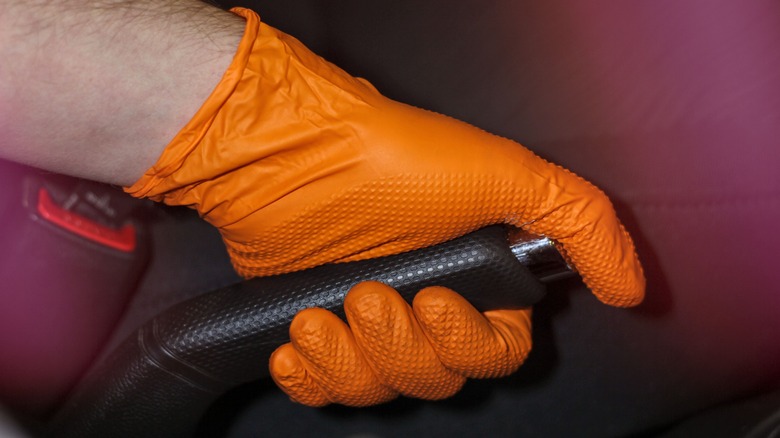
The parking brake, also known as the emergency brake, operates separately from the primary braking system in your vehicle. It's usually connected just to the rear brakes, and when you pull the lever, it applies pressure to the brake pads or shoes in the back.
When replacing the rear brakes, you'll want to check your parking brake adjustment to account for the new components. There are a couple of parts involved. First is the jam nut, which secures the steel cables holding it all together. You'll need to loosen that up so the cables can slide freely. Then, find the adjustment mechanism that tightens or loosens the cables. Often, if the parking brake lever feels loose and doesn't grab well, tightening it a quarter turn or so does the trick.
Other times, the brake might feel too tight. This can make the parking brake handle really stiff to pull, only allowing one or two clicks before it engages fully. Ideally, you want nothing less than three or four detents as the resistance builds up pull by pull. Adjust it until it feels just right. Don't forget to retighten the jam nut once it's set.
Be sure to spin the rear wheels freely afterward, making sure the parking brake isn't partially grabbing the brake rotors even with the lever fully released. Give it a test by engaging the parking brake while the car is stopped — it should hold steady without rolling.
Overlooking brake fluid level and condition
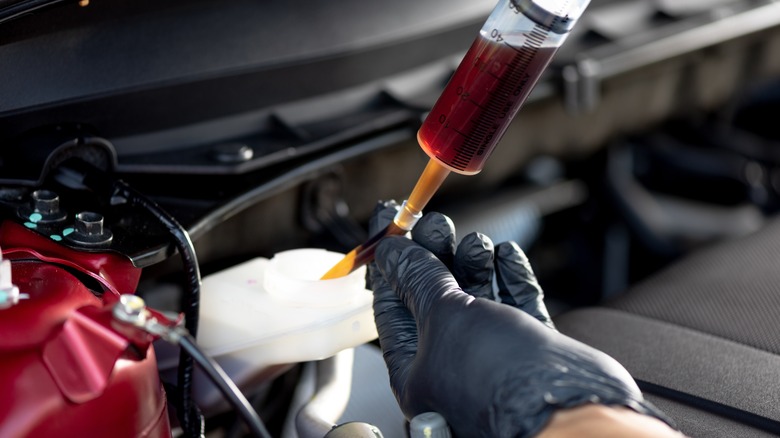
The brake fluid in your vehicle's brake system plays a key role in transferring the pressure from your foot on the brake pedal to the brake pads. When you press down, the fluid pushes the pistons out to squeeze the pads against the rotors or drums, slowing the wheels.
After changing your brake pads, make sure to fill the reservoir back up to the "MAX" line. Over time, as the pads wear down, the level will drop closer to "MIN." If it's been a while since your last brake job, it may be just low from normal use.
Brake fluid should be light and clear, with a hint of yellow or golden. However, if it looks darker, like brown or black, there's probably contamination from moisture, dirt, rust, or worn brake components. Stuff like that can cause corrosion and unwanted noise when braking. If the fluid looks really dirty, it's a good idea to flush the system and refill it with new fluid.
It's also worth knowing there are different types of brake fluid. DOT 3 is the most common. It's amber-colored and can withstand heat up to 401 degrees Fahrenheit when fresh or 284 degrees after it starts to degrade over time. Using the wrong type could seriously affect how well your brakes perform or even damage things.
Not bleeding your brake line
After swapping in those new brake pads, you might want to consider bleeding the brakes. It's not totally necessary, but it has some real benefits. This process gets any trapped air bubbles out of the brake lines. Even a little bit of air left in there can diminish your stopping power behind the wheel. It also risks putting more stress on other parts of the system over time, as everything has to work a little harder to compensate.
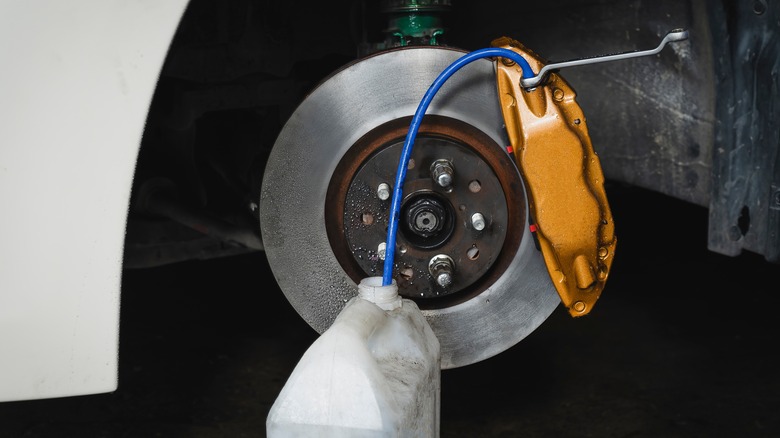
The bleeding process is easy – attach a clear hose to the bleeder screw on each caliper, with the other end submerged in a container of fresh brake fluid. This keeps any escaping air from sloshing back in. Then have someone pump the brake pedal while you crack open the bleeder screw — it only needs a few pumps before it can be sealed back up again before moving to the next wheel. Be sure to top off the fluid reservoir as you go so it doesn't run dry. Take your time and do each side properly to restore full braking performance and keep everything in good working order.
