How To Change A Drill Bit In Your Makita Drill (And What To Do If It's Stuck)
Makita, the first brand to introduce 18V lithium-ion tools in 2005, is just one of the choices of power tools sold at Home Depot. Additionally, there are other technologies that you'll only find within Makita's tools like XGT and STAR Protection Computer Control. However, as advanced and powerful as the tools have come to be, the basic function of battery-operated tools and how to use them has stood the test of time.
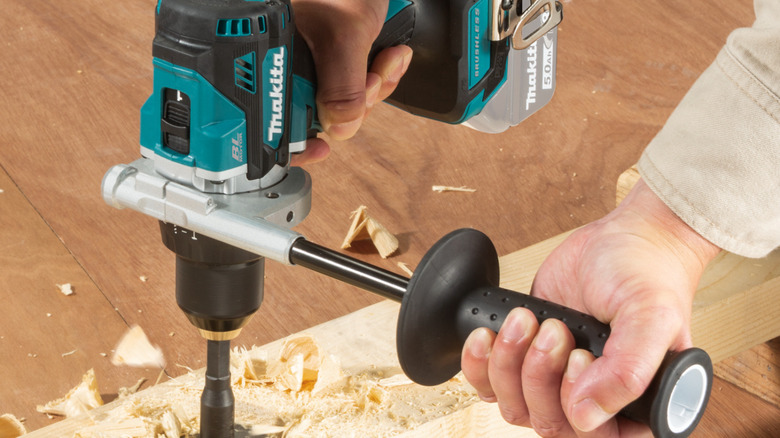
Makita has many types of top-selling drills that each serve their purpose. For example, a hammer driver drill, one of many basic handyman tools, is perfect for drilling holes in concrete and stone — though, if handled properly, you can still use them to drill simple screws into the wood without splitting it. However, when operating a Makita drill, especially if you're new to using one, you'll want to learn how to properly change out drill bits, so you don't run the risk of ruining your tool or hurting yourself.
Understanding your Makita drill
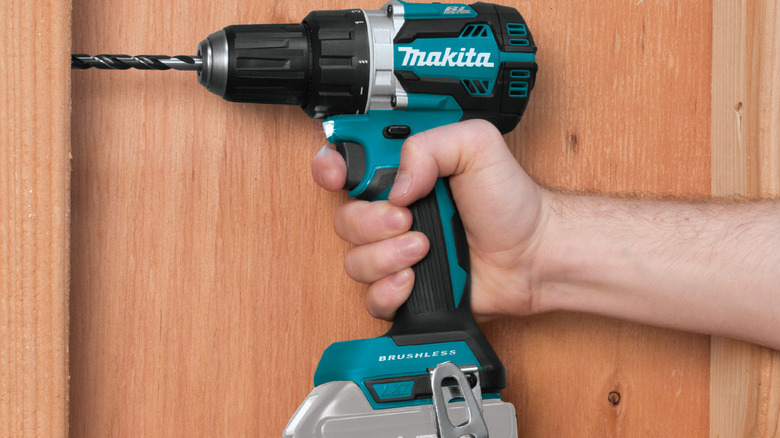
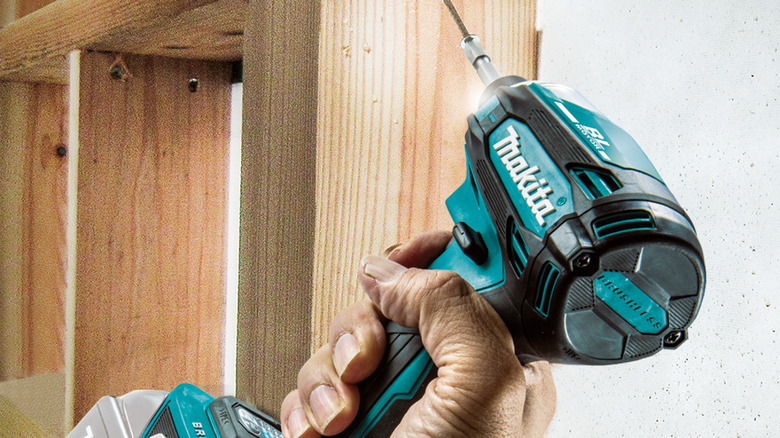
Before actively changing out drill bits, you'll need to have a general understanding of what the drill's components are, like what the icons and numbers mean on your drill. If you purchase a hammer drill, the icons just tell you which mode you're in — drill, screw, or hammer. The numbers are your torque settings. If you're working with an impact driver, you won't see these settings. Additionally, when you're changing drill bits out, you'll need to be comfortable with the forward/reverse lever, the trigger to start the drill, and the chuck. An impact drill works with a pull-out collar — we'll explain the different ways to remove and place a bit in these devices further down.
It's also important to note that there are different kinds of shanks for bits. There are hex, smooth, and triangular just to name a few. When handling a standard drill, the shank shape doesn't matter as much — just make sure there's enough grip on it to keep it secure. Impact drills require a different approach for different shank shapes, though.
How to change a drill bit in your Makita drill
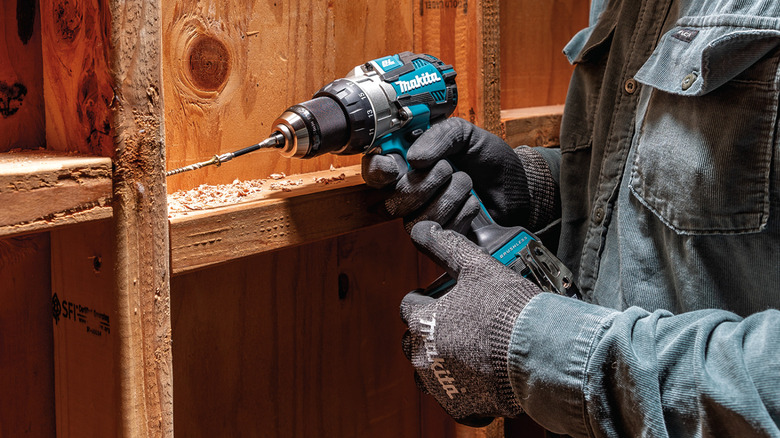
For a standard drill with a chuck that grabs the bit, according to Makita's instructions, you need to turn the sleeve to open the prongs — counterclockwise opens the chuck jaws and clockwise closes them back up. When the prongs are open wide enough, simply place the bit in and close it back up manually. However, many people who have used a drill like this will hold the sleeve in one hand while slightly pulling the trigger either forward or reverse to speed up this process. However, be advised that goes against recommendations from Makita, and you'll be doing so at your own risk of injury or worse.
To put a bit in a Makita impact drill, if you're using a hex shank, it can be directly inserted into the drill by pulling on the collar, placing the bit inside, and letting go to lock the bit in place. If you have other shank shapes for bits that you want to use, though, you'll need to purchase an adaptor for your impact drill. Makita makes a keyless chuck adapter, which has a hex bit attached to it to allow your impact drill to turn into a driver drill. Once inserted, the drill will perform the same way as a standard drill with impact power abilities.
What to do if a bit is stuck
If a bit is stuck inside a standard drill and you can't use the drill's power to loosen the chuck, try to untighten it manually. If that doesn't work, try placing a wrench or vice grips around the chuck. However, before putting too much force on the drill, check to see if it is still under warranty. Makita has a limited warranty on many of its tools, so the company may be able to help with the problem.
If a bit is stuck inside an impact drill because the collar is stuck, you can either spray WD-40 on it and let it sit or you can place vice grips around the collar and lightly tap it with a hammer until it comes loose. If the collar is loose but the bit is still stuck, you can repeat the same process as with the collar to get it loose. However, you'll need to place something between the collar and the rest of the drill to keep it in its open position. We also recommend removing the Makita battery to ensure that you and your drill stay safe. To help ensure that drill bit do not get stuck in the first place, make sure you choose the right drill bits for your Makita drill.


