When To Use Arduino Over Raspberry Pi
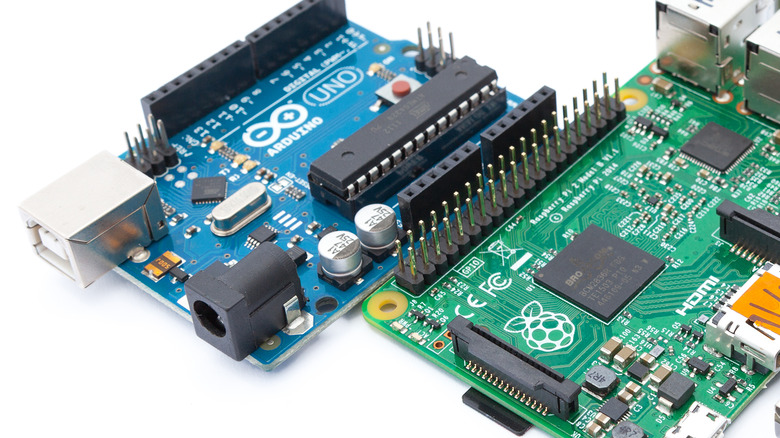
When comparing the Raspberry Pi and Arduino, it's no secret that the Pi is undoubtedly the more powerful board. It is, after all, a single-board computer (SBC) that can run a fully functional operating system. In fact, its latest iteration, the Pi 5, is packed with a 2.4 GHz 64-bit processor, VideoCore VII GPU, dual 4Kp60 HDMI port, USB 3.0 ports, and Bluetooth 5.0. That's why the Pi is the go-to choice for hobbyists and makers when it comes to projects involving computer vision, intelligent systems, and massive data analysis.
But being the higher performance board doesn't automatically mean that the Raspberry Pi should be the ultimate choice for all your DIY electronics projects. You'll inevitably run into scenarios when the Arduino is actually the more sensible option to use. If you're still confused about which to pick, here are five use cases when the Arduino microcontroller board is more beneficial.
Your project is hardware-focused
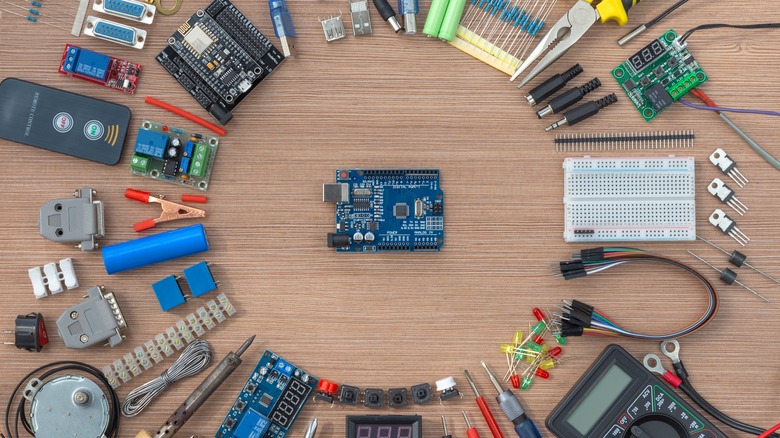
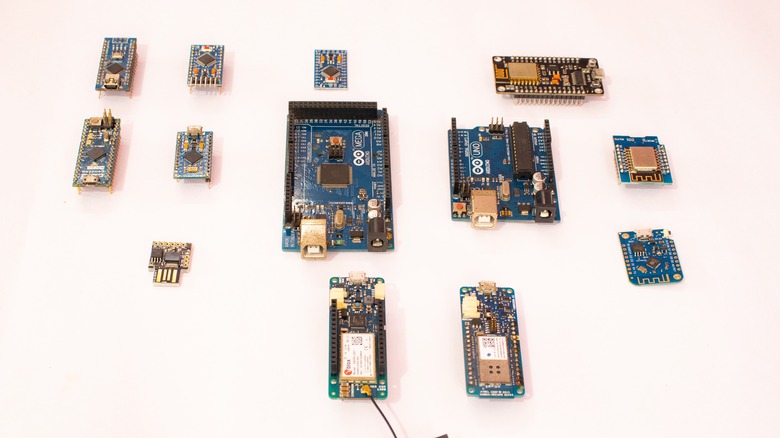
The Raspberry Pi comes with its own set of input and output pins for interfacing with electronic components. However, the Arduino remains the recommended platform when it comes to hardware-focused projects, and for good reasons. First off, projects centered on electronic components need sufficient input/output pins. Not every project you make can fit into the Raspberry Pi's 26 GPIO pins, especially the more advanced applications like multi-sensor weather monitors or home automation systems. That said, the Arduino is clearly the better option, as it offers boards capable of accommodating Arduino projects with multiple sensors and modules. There's the Arduino Giga R1 Wi-Fi featuring an impressive set of 76 pins and the Arduino Mega 2560 with a total of 70 pins.
Arduino boards are also ideal for hardware-centric projects as they're typically set up in places where wall outlets are inaccessible — think mobile robots, smart wearables, and bird feeders. Aside from the USB port, you can power your Arduino boards with any regular battery connected to its VIN pin. The supply voltage depends on the board, but the more popular ones use 9V. In contrast, you can't connect most batteries to a Raspberry Pi, as it needs 2.5 to 3A to power up (regular 9V batteries can only provide about 600mA).
On the software end, Arduinos make programming your electronic components a lot easier, too. All you generally need is the Arduino IDE, which already includes most of the popular libraries for interfacing with frequently used components like ultrasonic sensors and LCD modules. The libraries even come with example codes for your convenience. On the other hand, to program hardware with the Pi, you usually have to hunt down their libraries first, install them, and then consult their documentation for example codes.
You're using analog electronic components
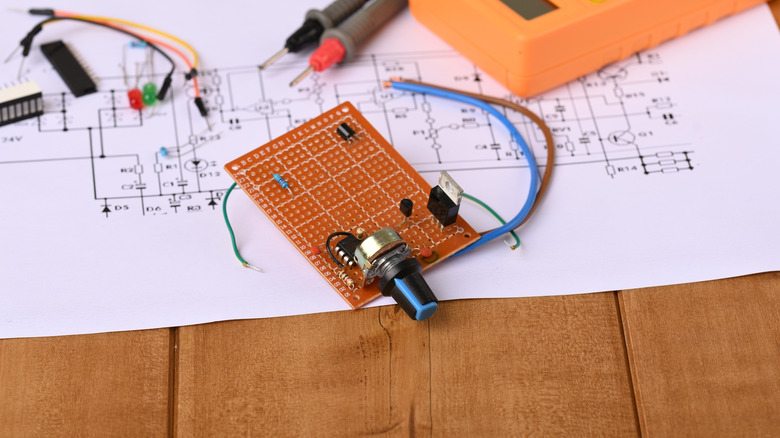
If you prefer to use the Raspberry Pi for your hardware projects, you can readily do so. However, there's an evident disadvantage when you're specifically working with analog components, such as IR distance sensors, pressure sensors, and even simple potentiometers: you can't use them directly with the board. The Pi, unfortunately, doesn't come with an onboard Analog-to-Digital (ADC) converter, so all of its input/output pins are only digital. To interface an analog input or output component with the Pi means having to buy an ADC chip first and then wiring it to the board.
Fortunately, one of the things the Arduino can do that the Raspberry Pi can't is connect with analog components out of the box. This makes it the more sensible choice for projects using such hardware. Most Arduino boards have an ADC chip with a 10-bit resolution that can output values from 0 to 1023. Popular boards like the Arduino Uno, Nano, Micro, and Mega are great examples of this. Some Arduino boards, however, feature more advanced ADC chips with better resolutions (meaning, you get more precise values). For instance, the Giga R1 has a 16-bit resolution (values of 0 to 65,535), and the Due has a 12-bit resolution (values of 0 to 4095). There are also other Arduino boards capable of switching between different resolutions, such as the Uno R4 Minima that can use either 10, 12 or 14 bits and the MKR Zero with eight, ten, and 12 bits.
You're working on a project that does repetitive input-based tasks
The thing about electronics projects is that they can span a wide range of complexity, from simple applications like an automatic watering system to more sophisticated devices like an AI-powered robot arm. Because of the Raspberry Pi's powerful chip and other onboard features (e.g., GPU, Wi-Fi, camera port), it can easily be used for either kind. However, these advanced features aren't usually required for basic projects that only perform repetitive and simple actions based on certain inputs. This makes the Raspberry Pi an overkill for such applications. In terms of usage, the Pi board is more suitable for complex operations like data-logging, image processing, and machine learning. Using this board just to print messages on an LCD module or read values from a temperature sensor isn't exactly the best utilization for the board, as you won't be maximizing its potential.
Conversely, the Arduino is the ideal board for basic projects, as they're designed specifically for reading input values and producing equivalent outputs. They also run only one program at any given time. Depending on the application, this program can be a single task repeating over and over again or multiple processes cycling continuously. Projects that fall into this category include an RFID-based door lock mechanism, a trash can that opens automatically when approached, and a weather station, among other things.
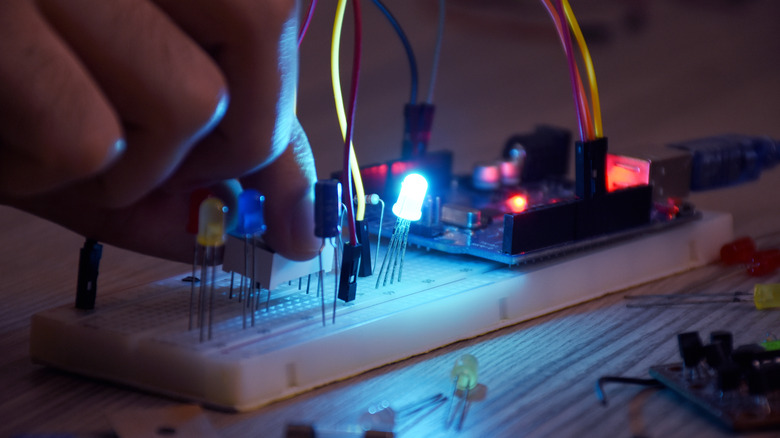
You're a beginner wanting to learn electronics
If you've always been fascinated with building circuits and writing codes for hardware control, then buying an Arduino is an excellent first move to get you into the world of electronics. Yes, the Raspberry Pi can also create circuits and programs, but it's way too advanced for a beginner for a couple of reasons. One, you have to deal with installing and configuring an operating system before you can even get started with programming your hardware. On the contrary, most of the popular Arduino boards are essentially plug-and-play. After connecting it to your computer, you can begin coding right away.
Using a Raspberry Pi for your electronics projects also means having to learn how to use the command line interface (CLI). This is because most of the time, you'll be using sensors and modules that need third-party libraries, and they're typically installed using command line commands. Running your program on Raspberry Pi is also done via the CLI, so it's essential to be proficient with this tool. In comparison, you won't have to memorize commands to install any library or run your Arduino sketch. Since everything's done on the Arduino IDE app, you only need to click on a couple of buttons to install libraries, test your sketch, and upload it to your board.
Another challenge with the Raspberry Pi is its documentation. It isn't entirely geared towards using sensors and modules. You may need to dig deeper or turn to third-party resources to learn how to set your Pi up with your components. The Arduino documentation is the complete opposite. Here, you'll learn everything you need to know, both hardware and software-wise. There are even dedicated "Getting Started" pages for specific boards if you prefer to focus on that.
You're in need of a small board
While the board's size isn't a major concern for some projects, there are instances when it's definitely worth considering. For instance, you need a tiny board for portable devices like smart wearables and environment monitors. It's also beneficial for projects with a compact chassis, like a drone or handheld gaming console. In terms of size, the Arduino is a clear winner over the Raspberry Pi.
The smallest board offered by Arduino is any of the members of the Nano family. They come with dimensions of only 18 by 45 mm, significantly slimmer than the Raspberry Pi Zero (30 by 65 mm) and the Raspberry Pi 5 (56 by 85 mm). Each Nano board also features different functionalities like Wi-Fi and Bluetooth connectivity, built-in environment sensors, and MicroPython support, so you're sure to find one that meets your project requirements. If, however, they don't seem to be a great fit for your needs, there are several other small Arduino boards you can use instead, including the Micro (18 by 48 mm), MKR Zero (25 x 61.5 mm) and MKR WAN 1310 (25 by 67.64 mm).