Arduino Nano Vs Raspberry Pi Pico: What's The Difference?
For years, there has been a clear distinction between the Arduino and Raspberry Pi boards. There are some things the Arduino can do that the Raspberry Pi can't, and vice versa. When you think of Arduinos, what comes to mind is hardware-focused projects with all sorts of sensors and modules. When you think of Raspberry Pis, on the other hand, you immediately picture a computer where you watch videos, write documents, and create Python programs, as well as run servers and homelabs.
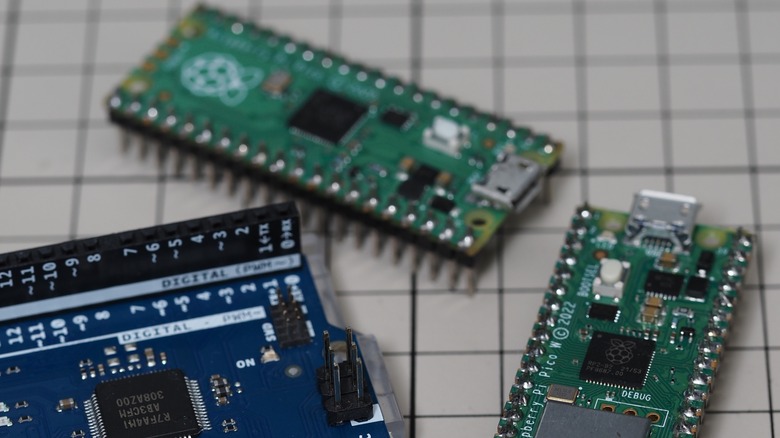
However, the line that divides the Arduino and the Raspberry Pi became blurry with the release of the Raspberry Pi Pico just a few years ago. The Pico, just like the Arduino boards, is a microcontroller, and a tiny one at that. In fact, it's only slightly larger than Arduino's smallest board, the Nano, at 51 mm x 21 mm. Both boards are excellent options for circuit building and prototyping, but are there any differences between the two and is one better than the other?
What is Arduino Nano?
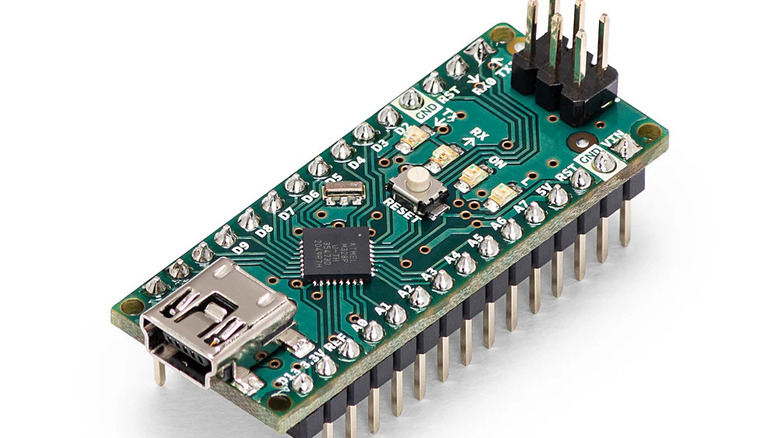
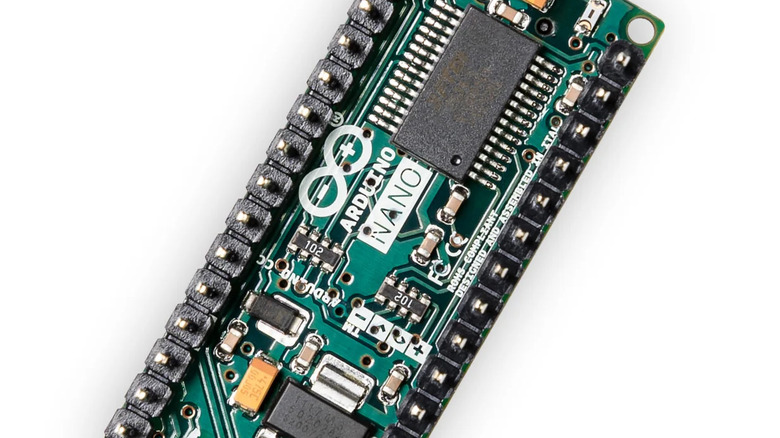
The founding member of Arduino's smallest board family, the Arduino Nano is one of the recommended boards for beginners because of how basic it is. It comes with no fancy modern features like Wi-Fi, Bluetooth, or onboard sensors, and it has male headers, in contrast to the female headers typically found in bigger boards like the Uno and Mega. The Nano also conveniently works with the Arduino IDE out of the box. This makes it easy for newbies to play with, especially when creating simple code or building circuits on a breadboard (you can easily insert the Nano into a breadboard, unlike the Uno or Mega).
Application-wise, hobbyists and professional developers typically use the Nano for projects that have to be compact and light, such as interactive jewelry, portable monitors, and even mobile robots and drones. Given its slim profile, you'll have no issue fitting it into tight spaces.
What is Raspberry Pi Pico?
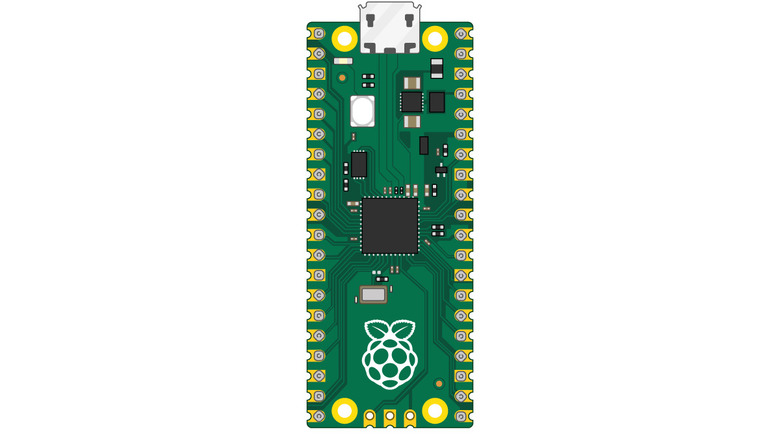
Released in early 2021, the Raspberry Pi Pico is the Raspberry Pi's first-ever microcontroller board. It's powered by Raspberry Pi's very-own chip, the RP2040, and is designed to be a low-cost platform for those wanting to get started with embedded systems and electronics in general. The Pico is the smallest board offered by Raspberry Pi, with dimensions of only 21 x 51 mm.
Since the Raspberry Pi is primarily known for its single-board computers that can replace your standard laptop and desktop, you might initially think that the Pico is just a tiny substitute for the Pi 4B or Pi 5. However, this can't be further from the truth, as the board is far simpler in nature. In fact, the Pico is more similar to Arduino microcontroller boards, which are made to be interfaced with a wide variety of hardware, from basic LEDs and buzzers to more sophisticated LCD and Wi-Fi modules.
[Featured image by Raspberry Pi Foundation | CC BY-SA 4.0]
A more powerful processor on the Pico
The Arduino Nano is powered by an Atmel ATmega328. It's an 8-bit AVR microcontroller that operates at a clock speed of 16 MHz and comes with 2 KB SRAM, 1 KB EEPROM, and 32 KB flash memory. The bootloader, however, occupies 2 KB of the flash memory, so you essentially have 30 KB of usable space left for your sketches.
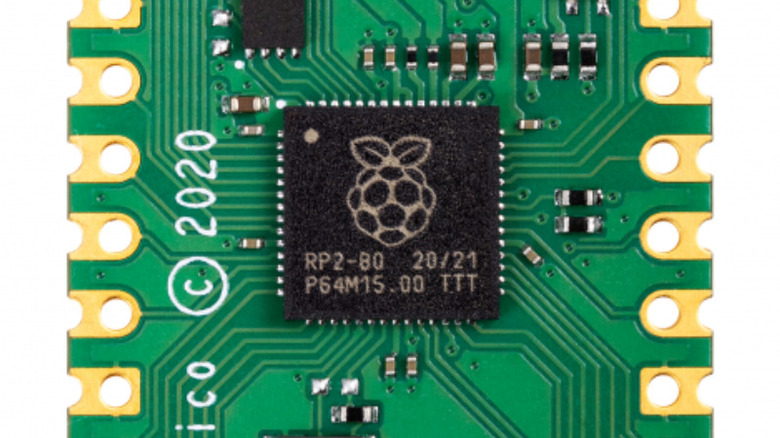
The Raspberry Pi Pico is fitted with the Raspberry Pi-made RP2040 chip. It features two processor cores capable of running from 48 MHz up to 133 MHz – This is a huge performance leap from the Nano. The Pico's microcontroller memory is significantly larger too. Its embedded ROM, which stores the flash boot sequence, initial startup and flash programming routines, and utility libraries, has a capacity of 16 KB, and the embedded SRAM, where your code and its required data are stored, stands at a substantial 264 KB. While the RP2040 has no integrated flash memory itself, the Pico includes 2 MB of onboard flash memory to complement the microcontroller chip. What also sets the RP2040 apart are its two built-in features: a real-time clock (RTC) that provides accurate date and time, and a voltage-dependant temperature sensor.
Different pinout configurations
The Arduino Nano and Raspberry Pi Pico have distinct pin configurations. The Nano includes 14 digital pins (for both digital input and digital output components) and eight analog pins. Six of these analog pins can also be interfaced with digital components, bringing the Nano's total digital pins to 20. On the other hand, the Pico has more to offer. Out of its 26 I/O pins, all 26 can be used as digital input or output pins and three as analog input pins. The Pico also has more PWM output pins. While the Nano comes with only six, the Pico features a whopping 16 PWM pins.
Then there are the pins that double as communication pins. On the Nano, you can access one UART (pins D0 and D1 as RX and TX), one SPI (pins D10 to D13 as SS, MOSI, MISO, and SCK), and one I2C/TWI (pins A4 and A5 as SDA and SCL). The Pico, however, doubles these numbers. It offers two UARTs: the first TX/RX pair is accessible via pins GP0-GP1, GP12-GP13, and GP16-GP17, while the second pair is on GP4-GP5 and GP8-GP9. There are also two SPI controllers and two I2C controllers available on the Pico. And similar to its UART channels, you can access them via multiple pins and not just a singular set, unlike the Nano (you can refer to the Pico pinout guide to avoid confusion).
The Nano and Pico do have some pinout similarities, though. They both have a reset pin, an onboard LED, and an analog reference voltage pin. Additionally, both include power pins for external components, but the Pico is only equipped with one (3.3V), while the Nano has two (3.3V and 5V).
Separate programming methods
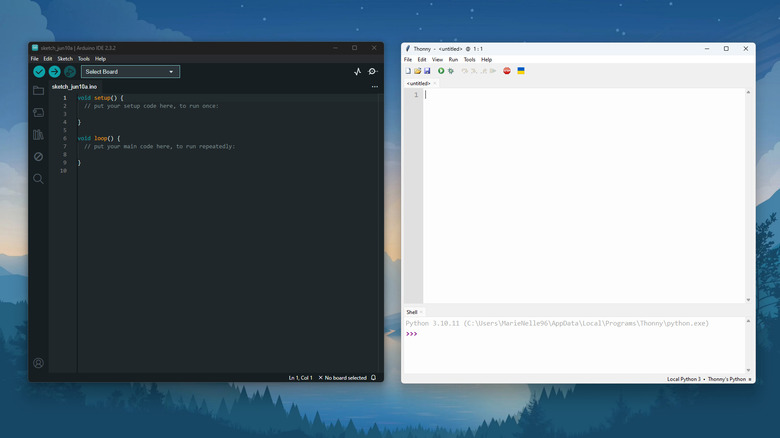
The Arduino Nano and Raspberry Pi Pico are programmed in different ways. The Nano uses the Arduino IDE with the Arduino code language (based on C++). If you're already familiar with this, you'll find it easier to write your own Arduino sketches. Any time you find a function or structure element confusing, you can consult the documentation. Conveniently, the Arduino IDE comes as a desktop app and as a cloud version, which is accessible from any browser, but requires an account to use. The best part is that you don't need to install anything on your Nano to make it work with the IDE. It already includes a bootloader, so you can simply plug it into your computer and start writing a sketch in the IDE right out of the box.
For the Pico, there are two main programming languages supported: MicroPython and C/C++, with the former being easier to learn and set up. Unlike with the Nano, you first need to install the MicroPython bootloader on the Pico before you can program it. There's no dedicated IDE for writing the code, but most hobbyists, and the Pi Foundation itself, recommend the Python-focused Thonny IDE. Thonny works like the Arduino IDE — it can run the code, upload it directly to your board, and even serve as a serial monitor where you can print messages. If you're more interested in programming with C/C++, there's an 88-page guide you can refer to.
Distinct power source options
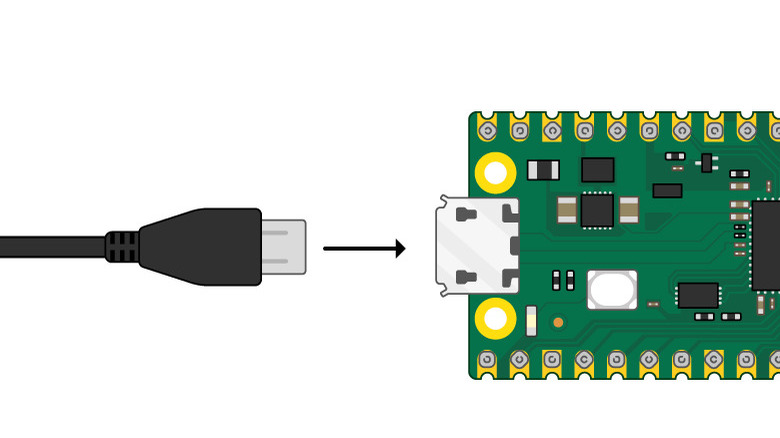
The Arduino Nano and Raspberry Pi Pico support different input voltages, so they also use different power sources. However, they can both be powered with a 5V supply via their onboard USB ports. The two boards have distinct connectors, though: the Nano has a mini-B USB and the Pico has a micro-USB, so they can't share the same cable.
Other than the USB port, there are other ways to power the Arduino Nano. You can use an unregulated external power supply with a rating between 6 and 20 volts, and connect it to the Nano's VIN pin on Pin 30. Often, the supply is a 9-volt battery, as it's portable and easily replaceable. You can also power the Nano with a regulated 5 volt source by connecting it to the 5V pin on Pin 27 instead of the VIN pin.
Like the Nano, the Pico features power pins. It has a 3V3 pin, where you can connect 3.3 volt supplies, but the more commonly used power pin is the VSYS pin, which supports a minimum of 1.8 V and a maximum of 5.5 V. This means you can use either a single battery pack or two to three connected AA batteries to get your Pico up and running.
[Featured image by Raspberry Pi Foundation | CC BY-SA 4.0]
There's a significant price gap
Aside from the technical aspects, one of the most significant differences between the Arduino Nano and Raspberry Pi Pico is the price. The official Nano board is available at the steep price of $24.90. You can, however, opt for the Nano Every, which is essentially an upgraded version of the classic Nano, for only $13.70. Since the Arduino platform is open-source, a host of Nano clones have also emerged in the market, some of which you can buy for as little as $19 for a pack of three boards. Arduino clones are a great option if you're on a budget — they're legal and are exact or very close reproductions of the board, so you generally won't run into any trouble.
Despite this, the Raspberry Pi Pico is still the least expensive option. It comes in two versions: with or without headers. The headerless board only costs a modest $4, while the Pico with pre-soldered headers is just a dollar more. These affordable prices stay true to Raspberry Pi's goal of making the board as accessible to everyone as possible.
Which should you buy?
If your goal is to get started with microcontrollers and electronic circuits, either one is a good buy. However, as the Nano and Pico are entirely different boards with entirely different specs, each has certain advantages.
For instance, the Nano is the better choice if you're a complete beginner. That's because Arduino not only has detailed documentation on this board but also features an official project hub, where you can browse through a host of tutorials and projects specifically using the Nano. This board has also been around for over a decade, so finding third-party guides and fellow hobbyists who have plenty of experience with it wouldn't be an issue. In contrast, the Pico just came out in 2021, and there aren't as many resources for it yet. In terms of application, the Nano comes in first place when you're in need of a more compact microcontroller board. It may only be smaller than the Pico by a few millimeters, but this difference can make or break a project that's dependent on dimensions and weight.
Conversely, the Pico is highly recommended if you're on a tight budget or if you're just curious about microcontrollers and want to experiment without burning a hole in your pocket. There's a $20 difference between the Pico and the genuine Nano, making the former the obvious choice if you're conscious of the cost. You might also want to get the Pico rather than the Nano when building demanding projects with multiple components. Thanks to its 26 digital pins, high chip performance, and expansive memory, you'll be able to run bigger and more complex circuits.
Software-wise, the Nano is great if you already have a background in C/C++. If Python is your language of choice, though, go with Pico.
