5 Awesome Raspberry Pi 4 Projects Every Gamer Should Know Of
Raspberry Pi may be well-known in the DIY and electronics sphere. But with recent models' hardware upgrades such as the Raspberry Pi 4's 8GB variant, the platform has quickly become a hit in the gaming world.
If you're wondering which Raspberry Pi model is best for your gaming project, there's a growing list to choose from, each with different specs. However, the Raspberry Pi 4 is a huge upgrade from the previous generation, offering an improved CPU and a RAM boost. That means you can easily run old-school games, including Game Boy and NES titles, but it's also not too powerful for your needs. This is a mini computer designed for educational purposes, so if you're expecting to play CS:GO or other CPU-busting games, you're in the wrong place.
Whether you want to explore classic titles or see what the Raspberry Pi 4 is capable of, there are projects for all gamers. With a simple setup requiring only a display, an HDMI cable, and a MicroSD card or USB drive, you can begin your gaming adventure in no time. Here are five awesome Raspberry Pi 4 projects for gamers to check out.
Play retro titles using RetroPie
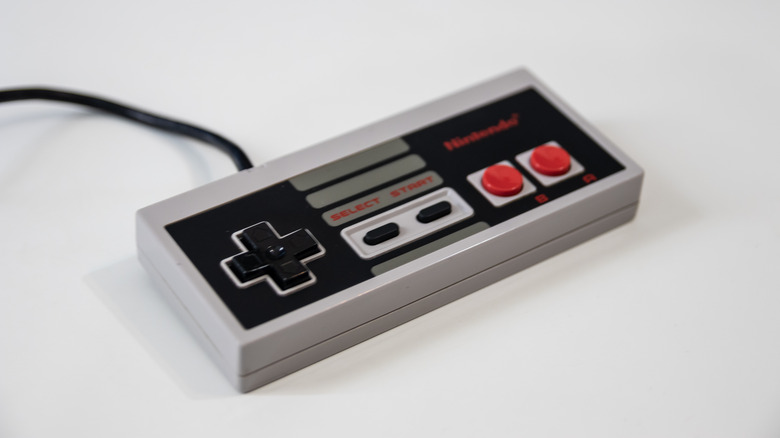
If you grew up in the era of "Pacman," "Donkey Kong," and the original "Mario Bros.," you may be surprised that you can relive your childhood with the Raspberry Pi 4 and an old display. RetroPie is a free Raspberry Pi emulator that sits on top of Raspberry Pi OS. There are a host of classic games across a large span of consoles, from as early as the Apple II right through to the Nintendo Wii. Before using emulators, it's important to know that sharing ROMs online is illegal, and that you can't legally play ROMs that you don't own a copy of. SlashGear does not endorse or encourage piracy of any kind.
You can install the emulator by copying the RetroPie image to an SD card, or installing it from scratch. If you're following the first method, you'll need to download a free program called blanaEtcher, which enables you to write OS images to your SD card.
After some basic configuration, you'll be ready to start adding games to your system. Here are the steps to add games to RetroPie:
-
On your computer, create a new folder called "retropie" inside a formatted USB drive.
-
Connect the USB drive to the Raspberry Pi 4 port. RetroPie will automatically populate the folder with console names.
-
Plug your USB back into your computer to see a list of the available consoles.
-
Once you've found a ROM you want to play, place it inside the folder of the correct console in your retropie folder.
Advertisement -
Place the flash drive into your Raspberry Pi, wait for the games to transfer, then restart RetroPie to see them.
Run PSP games through an emulator
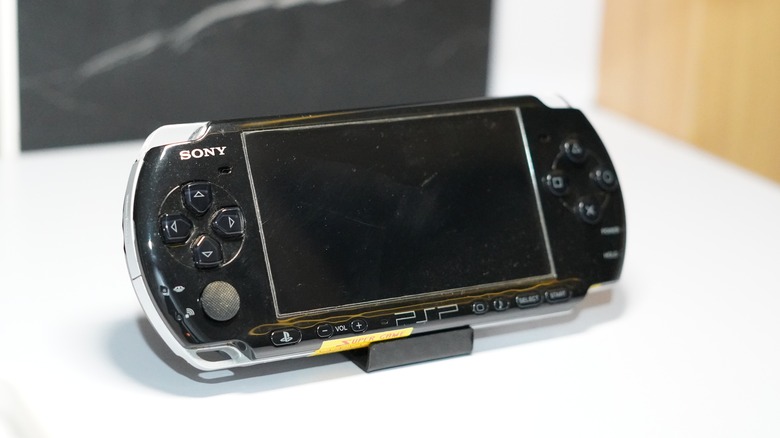
If you grew up in the '00s, you may have owned a PSP, Sony's handheld console capable of rendering 3D graphics. The portable console enjoyed a healthy 10-year lifespan, before fizzling out of the marketplace in 2014.
You can run PSP games with your Raspberry Pi thanks to a free emulator called PPSSPP. The emulator is open-source and well-known for its wide compatibility and customization options. While the emulator will function on slightly older versions of the Raspberry Pi, you won't be guaranteed the same performance as delivered on the Raspberry Pi 4.
As with most Raspberry Pi projects, you'll need first to make sure your software is up to date. To do this, you'll need to update the packages list and install any upgrades, which can be done with the following commands:
sudo apt update
sudo apt upgrade
As the PPSSPP emulator doesn't offer a Raspberry Pi build, you'll need to compile the software in the terminal. Following this, you can install the PPSSPP emulator using the following command:
sudo make install
Once installed, you'll find the PPSSPP emulator in the Games section on your Raspberry Pi's Start Menu. Now, you can enjoy a host of PSP titles in HD, including options to upscale textures for improved graphics. There's also the ability to transfer save files from your PSP to the emulator, so you can enjoy games undisrupted on any sized screen.
Install Steam on Raspberry Pi 4
Released a year before the PSP, Steam shook the gaming world and continues its legacy today as the go-to place for PC gaming, and you can run it on a Raspberry Pi. You're only getting a quad-core processor on the Raspberry Pi 4, meaning you'll be limited to playing low-end games or on lower settings. If you want to upgrade your gaming experience, consider getting the Raspberry Pi 5 — a major overhaul for the Pi series.
Unfortunately, the Steam Client isn't compatible with ARM-based processors (as featured on the Pi 4). However, if you're eager to get Steam running on your Raspberry Pi, there is a workaround thanks to two applications: Box64 and Box86. These applications make it possible to run x86 applications (designed for 32-bit processors) on the ARM-based Raspberry Pi.
For this project, you'll need to ensure you have the correct equipment, especially as you'll be downloading larger files. Steam games are known for taking up a lot of space, so make sure your MicroSD is at least 64GB if you're going to download a handful of titles. If you need more space, consider using an SSD. You'll also need a Micro-HDMI to HDMI cable for connecting your Pi to a monitor, as the Raspberry Pi 4 (and other models) only features a micro-HDMI port. The Steam Client runs on many Raspberry Pi operating systems for beginners, including Ubuntu and the official OS: Raspberry Pi OS.
Access Xbox Cloud Gaming on Raspberry Pi 4
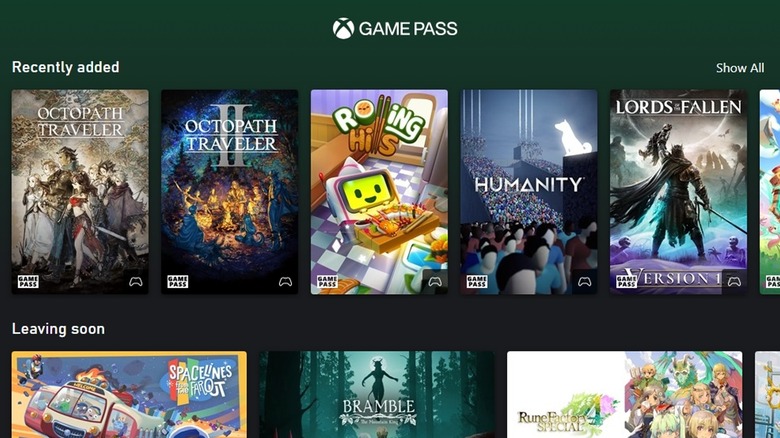
If you're an avid Xbox fan, these days you're probably subscribed to Xbox Game Pass, Microsoft's service for playing a regularly updated set of top-end games. Thanks to Xbox Cloud Gaming, running new Xbox titles on your Raspberry Pi 4 isn't too much of a challenge.
First, you'll need to make sure your software packages are up to date, as demonstrated earlier. You'll also want to check if your controller is compatible with Xbox Cloud Gaming, which you can check on Xbox's official website.
To access and play games via Xbox Cloud Gaming, you'll need Chromium, which comes preinstalled Raspberry Pi OS. From the taskbar at the top of the screen, click the globe icon (internet browser) to open Chromium. Next, visit the official Xbox Cloud Gaming page and sign in with your Xbox account. You may receive a message saying that the browser isn't recognized or supported, as Chromium isn't on the list of officially supported browsers.
Using whatever controller you've plugged into your Raspberry Pi, you can now scroll across the games library and start playing titles. It's best to avoid AAA titles, as the hardware is far from what you'd get on a gaming PC. However, similar to Nintendo Switch Online, Xbox Cloud Gaming isn't limited to newer titles. Thanks to services like Antstream, you can play a host of classic retro titles on your Raspberry Pi web browser. This is a great alternative way to enjoy classic titles without needing to download and organize ROMs.
Set up a Valheim server on Raspberry Pi 4
Valheim is a recent and incredibly popular survival game set in a world of Norse mythology. Originally released on Steam, the game migrated to Xbox and is now available on Mac. Continuing to showcase its OS compatibility, you can build a dedicated server on Valheim using your Raspberry Pi 4.
For best performance, it's recommended to use the 8GB RAM Raspberry Pi 4 variant. However, the server will still work if you're a 4GB RAM model. If you're using a 32-bit machine running Debian, it's important to note that the server will only run on 64-bit operating systems.
As we'll be using the Steam Client, you're going to need to install Box64 and Box86 for your Valheim server. The next step is to create a new directory called "steamcmd" for installing the Steam Client. Once made, you can download and extract the Steam Client in the terminal.
Setting up your Valheim server requires quite a few lengthy commands which are beyond the scope of this article. However, you can find many tutorials online guiding you through the process. You'll need the App ID of the Valheim Dedicated Server (which is 896660), and you'll need to create a password of at least five characters for your server. To check if your server is active, enter the following command at any time:
sudo systemctl status valheim
Creating a Valheim server on your Raspberry Pi 4 isn't a project for beginners. But if you're familiar with the terminal and have the Steam Client installed already from the third project, you're one step ahead.

