Arduino Nano Vs Micro: What's The Difference?
Apart from understanding the Arduino's code language, one of the most confusing parts about the platform — especially for beginners — is picking the right board to use in a project. Sure, it isn't such a big deal when you're just starting out as most professionals and experienced users recommend the Arduino Uno. However, while the Uno is a helpful board for your beginner projects, it still has its limitations, so you can't just use it for every one of the Arduino DIY devices you plan on making. One of its drawbacks is its considerably big size at 68.6 x 53.4 mm. It also has fewer pins than other boards, and its USB port is somewhat outdated (who still has a USB-B cable nowadays?).
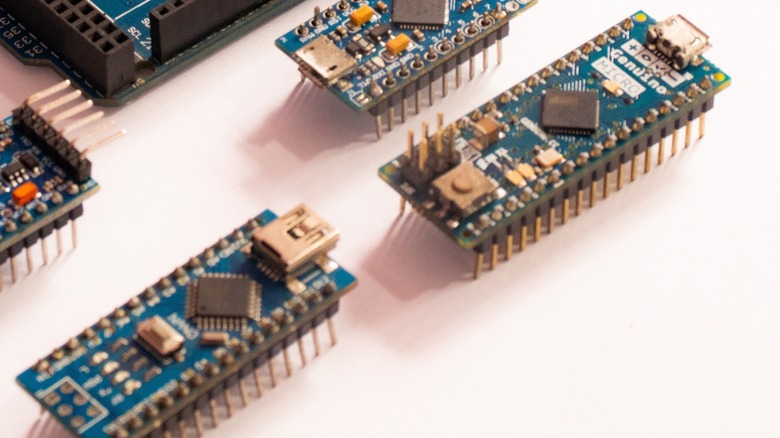
But even after eliminating the Uno from your selection, you'll still be left with a wide array of Arduino boards to choose from. To narrow it down, think about what your project needs. If a small board sounds like the most appropriate choice, there are two options: a Nano and a Micro. They look like the same board to the untrained eye, but they're different from one another. Here's a rundown of their differences to help you decide which is better suited for your needs.
What is Arduino Nano?
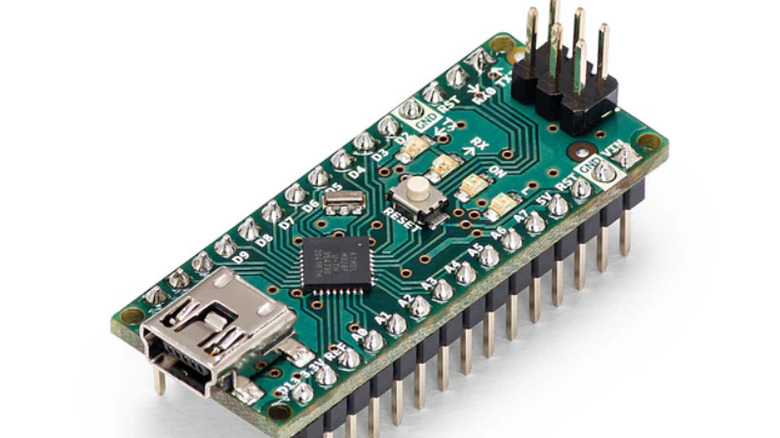
The board that started Arduino's Nano family, the Nano is a classic platform ideal for basic circuit building and breadboard prototyping. It's similar to the iconic Uno in a lot of ways. For instance, it's based on the same microcontroller, uses almost identical pinout configuration, and can also be powered via USB and the VIN pin. The price difference between the two boards is minimal too, with the Nano available at $24.90 and the Uno at $27.60. However, the Nano, when compared to the Uno, is significantly smaller, making it the better option for portable projects.
In terms of specifications, the classic Nano board doesn't offer much. Its iterations, on the other hand, are packed with more modern features like integrated environment sensors, Wi-Fi, Bluetooth, and Matter IoT connectivity, and MicroPython support. If you ever need such functionalities in your project, you can pick one of the Nano family members and replace it directly with the classic Nano. It's easy to transition your components to the new board as the family generally follows the same pinout (with a few differences here and there).
What is Arduino Micro?
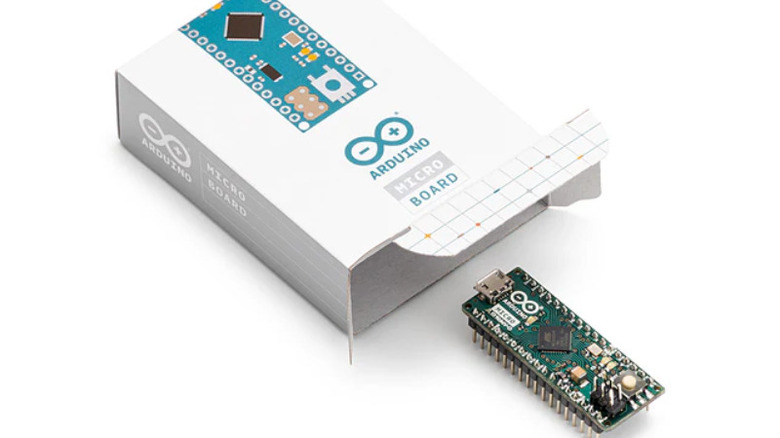
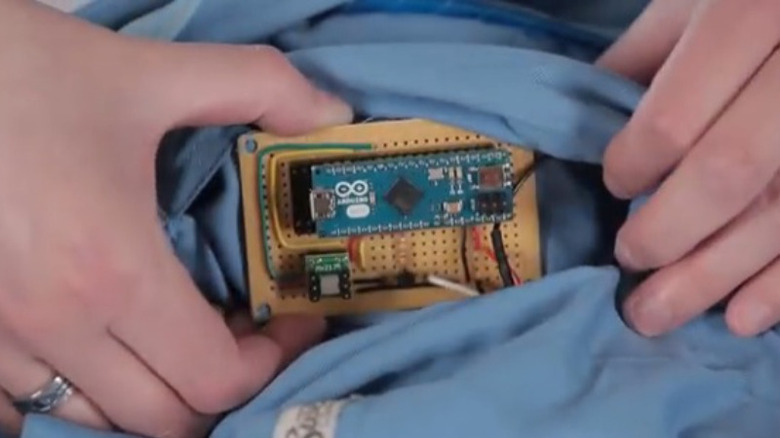
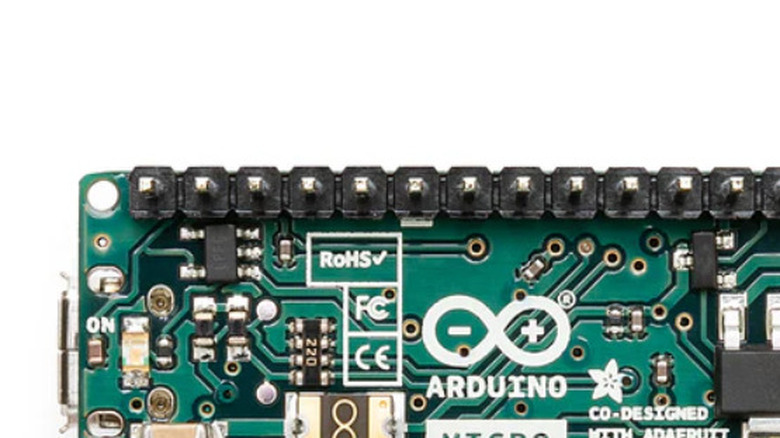
Released in late 2012, the Micro is one of Arduino's small boards (although it isn't considered the smallest in the entire Arduino family). It's like a shrunken version of the Arduino Leonardo as it features the same ATmega32U4 microcontroller, micro-USB port, and pinouts. It also operates at 5V and requires an external supply of 7 to 12V. The only difference, aside from the obvious size, is the lack of power barrel connector on the Micro.
Like the Nano, the Micro's size and male pin headers make it perfect for prototyping with a breadboard. However, Arduino also offers this board without headers pre-soldered. If your project calls for female pin headers or you just prefer the flexibility of choosing which type of header to use on your board, you can go with this headerless version. With headers, the board costs $24.90, while without the headers, you can buy it at $22.10.
Microcontroller
Although they're both 8-bit and AVR-based, the microcontrollers on the Nano and Micro are entirely different. The Nano runs on an ATmega328 with a clock speed of 16 MHz, flash memory of 32 KB, SRAM of 2 KB, and EEPROM of 1 KB. Its bootloader only consumes 2 KB of the flash memory, providing you enough space for your sketches. In addition to this main processor, the Nano also has another chip on board, the FTDI FT232RL, which handles USB communication as the ATmega328 itself isn't capable of doing so out of the box.
In contrast, the Micro is equipped with an ATmega32U4. It has almost similar specifications as the Nano's microcontroller, which features 16 MHz clock speed, 32 KB flash memory, and 1 KB EEPROM. However, it comes with a slightly larger SRAM of 2.5 KB. The Micro's bootloader is also bigger at 4 KB, so you can only use smaller sketches with this board compared to the Nano. The main advantage of the ATmega32U4 is that it can communicate over USB natively unlike the ATmega328. This means that when connected to a computer, the Micro not only appears as a COM port but is also detected as a generic mouse and keyboard. This functionality enables you to use the board (connected to some push buttons) as an alternative keyboard that can send ASCII characters to a computer or an alternative mouse capable of mimicking your computer's cursor.
Size
At first glance, the Nano and Micro look almost the same size. However, there's actually a subtle difference between the two. The Micro measures 48 mm in length and 18 mm in width and weighs about 13 g. The Nano, on the other hand, comes in the smallest form factor Arduino offers, with the same 18 mm width but a shorter length at 45 mm and lighter weight at 7 g.
If you just need a board for general-purpose prototyping, either of these two will do the job. But if your project is primarily concerned with the board dimensions and weight, the safest bet is to go with the Nano. This is especially true when developing wearables and portable devices like watches and drones, where the chassis needs to be as compact and lightweight as possible. However, you can still pick the Micro for such projects if you're okay with making a bigger housing for your device.
Pinout
Despite the differences in size and microcontroller, the Arduino Nano and Micro share some similar pinout configurations. They both have two GND pins, two reset pins, one AREF pin, and three power pins (3.3V, 5V, and VIN). Their onboard LEDs are connected to pin D13, and their serial RX/TX pins are on pins D0 and D1, respectively. Additionally, the Nano and Micro feature 20 digital pins, labeled as RX, TX, D2 to D13, and A0 to A5. Among these, six (A0 to A5) double as analog input pins on both boards.
That's where the similarities end. When it comes to the pins' special functions, there's a massive difference between the two. For one, the Nano has two extra analog input pins (A6 and A7), bringing its total to eight. The Micro, on the other hand, includes a total of 12 analog input pins, six of which are accessible via digital pins D4, D6, D8 to D10, and D12. The PWM output pins on the two boards also differ, with the Nano having six (D3, D5, D6, D9 to D11) and the Micro having seven (D3, D5, D6, D9 to D11, and D13). You'll notice a difference between the SPI and I2C/TWI pins, as well. On the Nano, the SPI pins are on digital pins D10 to D13, and the I2C/TWI pins are on A4 and A5. Meanwhile, on the Micro, the SPI pins are on pins MO, SS, MI, and SCK. These are completely isolated and can't be used as standard digital I/O pins unlike the Nano. You can only connect them to SPI components like the BME280 environment sensor, RC522 RFID module, and TFT display module. The I2C/TWI pins on the Micro are on D2 and D3.
Which should you buy?
For Arduino beginners, these two boards are nearly interchangeable, especially when used in simple circuits like the Arduino's built-in examples. If using the board to familiarize yourself with Arduino and electronics in general, then it doesn't really matter which one you pick. However, it's a different story if you already have certain projects in mind.
As the Arduino Nano and Micro cost the same ($24.90), deciding which one to buy boils down to your project requirements. If you need the smallest-ever board to build DIY devices like portable environmental sensors or mobile robots, you can't go wrong with the Nano. Its size makes it easy to develop a compact chassis or squeeze the board into ready-made or off-the-shelf housing. The Nano is also a great choice when your code is pretty large. Since it has more usable flash memory than the Micro (30 KB vs 28 KB), it's better at handling long sketches.
On the other hand, the Micro is the more suitable option in certain projects, such as those that use nine to twelve analog inputs and at most seven PWM outputs. If you're working with an SPI component, you'll also find the Micro's dedicated SPI pins useful as it frees up all 20 of your digital pins for other sensors and modules. The Micro is also the more obvious choice than the Nano if you're looking to add keyboard and mouse functionality to your project.
