10 Key Smartphone Photography Tips (And Why You Should Be Using Them)
We all carry smartphones with us at all times, and most modern smartphones boast powerful cameras capable of shooting beautiful photos. However, no camera can take great photos alone, and the photographer needs to know what they're doing to a certain extent to get the best results from the incredible technology. Many smartphone owners are amateurs when it comes photography and just point and shoot subjects without really thinking about what they're doing, and this can lead to disappointing results. However, thankfully, there are plenty of techniques all smartphone owners can use to improve the photos they take with their mobile device.
If you look at friends' photos enviously, wondering how they achieved such good photographs, this article is for you. It features 10 key tips that should improve the quality of any photos you take on your smartphone. And most require no investment beyond the initial cost of the smartphone itself. Which you likely already own.
Personally, I own and use a Google Pixel, which has a decent camera. It's one of the top Android phones for photography, but any mid-range to high-end smartphone released within the last few years will enable you to take mightily impressive mobile photos. That is, as long as you focus on the basics as well as the subject you're shooting.
Regularly clean your smartphone camera lens
Before you even attempt to point your smartphone camera at a subject and shoot, you need to ensure that your equipment is up to the task. The most basic element of this is to clean your camera lens (or lenses) to prevent anything getting between you and your subject. This is just one part of the process of deep cleaning your smartphone.
Your smartphone's camera lens will attract a lot of dust and dirt over time, and this needs to be cleaned off regularly to ensure it isn't sullying your shots. Given that you carry your phone around with you everywhere, pulling it in and out of your pocket and placing it on various surfaces, it's bound to get dirty quickly. And this could easily impact the quality of shots taken.
Cleaning the lens(es) of your smartphone camera is as simple as wiping it with a lint-free cloth. While you shouldn't immerse your phone in water, obviously, you can also use a wet wipe or other dedicated cleaning cloth. As long as the end result is a clean camera lens free of dirt and dust, then the method used is somewhat unimportant. Once your equipment is cleaned, you can get started shooting.
Focus on framing and consider composition

Rather than mindlessly pointing and shooting at a subject, you need to be more aware of the whole frame you're capturing. It's easy to pull your smartphone camera out of your pocket and take a quick snapshot, but just like with dedicated cameras, composition is an important element of good smartphone photography. There are countless composition techniques you can use to improve your smartphone photography — too many to list here. However, some of the most common techniques are leading lines (where you use visual elements like sidewalks, roads, walls, and fences to draw the viewer's eyes in), filling the frame (where you ensure there are interesting elements spread throughout the whole frame), and the rule of thirds (which we discuss in-depth further down the article).
Don't get bogged down considering different techniques. Instead, use your natural aesthetic ability to spot good shots. In the above image, I spotted an opportunity to capture a busy scene of an industrial town in the north of England. I purposely included the wall in the foreground to provide context and also changed the angle I was shooting from the ensure all of the buildings and structures were below the line of the hills in the distance. This photograph took 30 seconds longer to capture than a quick snapshot would have, but the difference that extra time spent framing the scene made a huge difference to the end result.
Take multiple shots to capture the moment in time
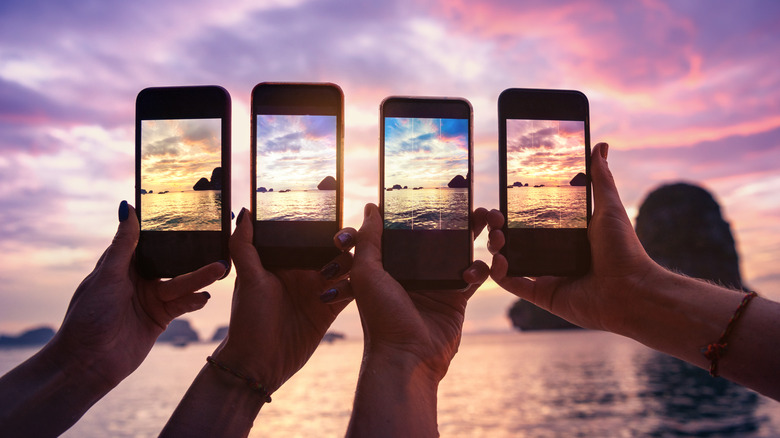
With near-unlimited storage on modern devices, there's no reason not to take more than one photo of each subject and in each situation. You can then pick the best one afterward. Take multiple shots in each situation to ensure that moment in time you wanted to capture isn't lost forever.
Obviously, not every situation allows for this. If you're shooting a fast-moving subject, for example, you'll probably only have one shot at it. However, in most cases, you'll be able to press the shutter button multiple times, changing the framing as you go, focusing in or out, or changing something else up.
This is especially important with living subjects (humans and animals), as they're constantly moving, meaning a photo taken one second could be vastly different than one taken a second later. Even landscapes of seemingly unchanging scenes can be impacted by a change of lighting, focus, or angle. Once you understand and appreciate that photos capture a moment in time, the need to shoot multiple shots in most cases becomes clear. So while it's inadvisable to chase perfection, taking a few different shots increases the chances that you'll capture the exact image you want to capture.
Use your camera's full range of features

Many people just use the most basic features of their smartphone camera, pointing it at a subject and shooting a photo or video. However, most smartphone cameras and camera apps have multiple features you're probably not using (or not using correctly). Some are very easy to understand, even for newbies, and can make a huge difference with the results you'll produce. Others are more complicated and therefore only suitable (or necessary) for advanced users.
Regardless, before you even attempt to take photos with your smartphone, take some time to explore the settings and full range of features within the camera app. This is the only way to ensure you're making the most of the technology. Ten minutes spent looking through your smartphone camera's features (or reading the guide that came with your phone) could enable you to take better photos for years to come.
On my Google Pixel, there are multiple shooting options, from portrait to panorama; a timer; the option to enable or disable framing hints; different grid types (including a golden ratio); and much more. And while the camera app will do most of the work for you, it's well worth exploring the various options so you at least understand what they do.
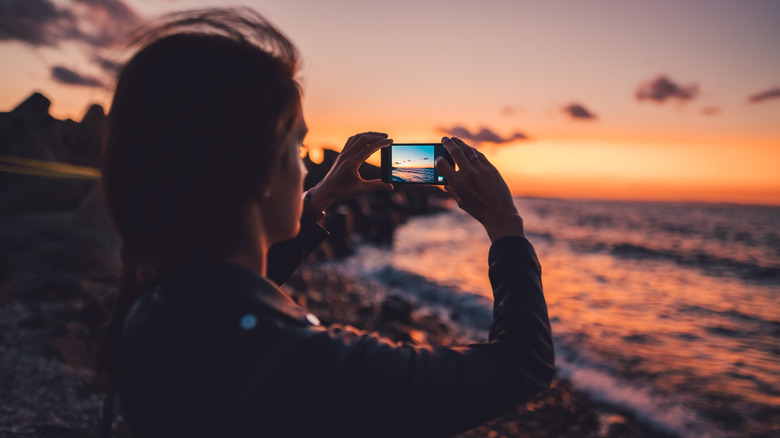
Use lighting to your benefit
You'll have probably heard it said that lighting is the key to good photography. It's certainly a key element that can make the difference between average photography and amazing photography. So with this in mind, be sure to use the lighting of the situation to your advantage.
Whether shooting into the sun to make it a feature, or changing the angle to improve the contrast, being aware of the lighting can make a huge difference. Professional photographers care a lot about lighting, but even amateur photographers using their smartphones should keep lighting in mind. The range of ways you can use lighting to make your mobile photos look better is broad. Shooting into the sun can add a focal point for your photo or allow you to backlight a subject, but even then, the effect will be different depending on your focus and where your subject is in the frame. Lighting also means shadows, and these are also key features of photography.
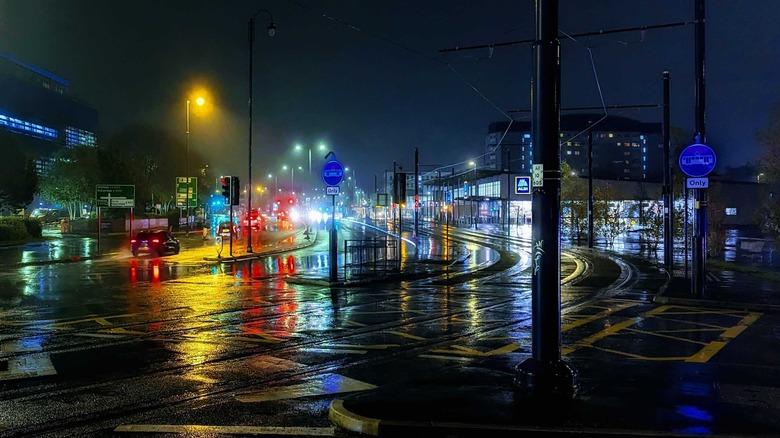
In the above image, I was walking home on a particularly sodden night (even for the UK) when I noticed the impact that the combination of rain and light had on this part of town. In the daytime, this would be an extremely boring photo of a nondescript road junction, but with the lights from the cars and stores, this scene suddenly became much more interesting.
Look for opportunities to experiment

While smartphone cameras can't quite compete with DSLRs and other dedicated camera equipment, they do come with their own set of advantages. For example, having such a small and easy-to-handle camera opens up the possibility for experimentation that just would not be possible with a bulkier camera. And the best way to experiment is to shoot from different (unique and unusual) angles. Try shooting from low angles, looking down on a subject, or through a small gap to create a natural frame. Anything goes, and the more you experiment with your camera, the more you'll learn and understand about composition.
You likely carry your phone with you everywhere you go, and that affords smartphone photographers the opportunity to take unique and interesting photos when a shot presents itself. In the above image, I was sat on a bench having a break from the heat while on vacation when I saw that the staircase in front of me presented an opportunity for a photo that most people wouldn't think to take.
While it's good to learn and understand the basics of composition, there are no hard and fast rules when it comes to photography. And that is especially true with smartphone photography. Experiment, and see what happens.
Use the rule of thirds with the grid lines to help
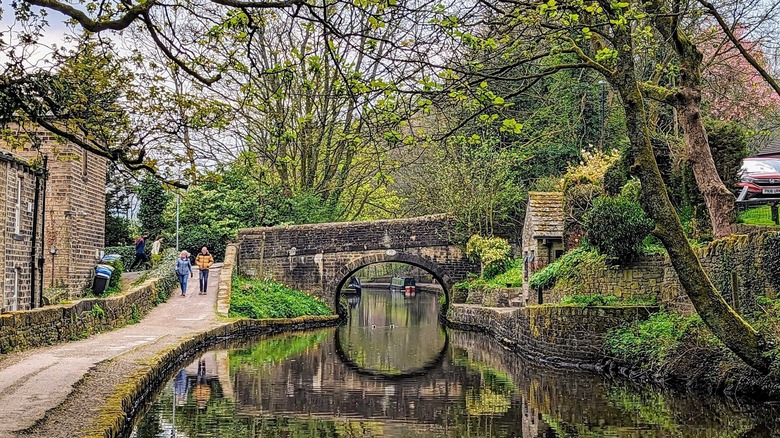
As mentioned earlier in the article, the rule of thirds is one of the most common composition techniques photographers use. Mainly because it's easy to understand and accomplish and is capable of producing amazing results. It's one of a number of composition techniques photographers employ, but it's the one I would recommend all smartphone photographers, regardless of their skill level, try.
The rule of thirds is a really simple technique that enables you to take better smartphone photos. As the name implies, it suggests visually splitting a photo into thirds, both horizontally and vertically. This generally provides viewers with a more interesting viewpoint than if the photographer simply focuses on getting the subject right in the center of a shot. To help you see the rule of thirds, you can turn on the 3x3 photo grid on your camera app to take any guesswork out of the process. To do so, enter the settings on your camera app, and look for a setting labeled Grid Type or something similar.
In the above image, the water line (and therefore reflection) is two-thirds down the photo, with the sides of the bridge (and walkers on the left) splitting the photo into vertical thirds.
Buy extra equipment to improve your photographs
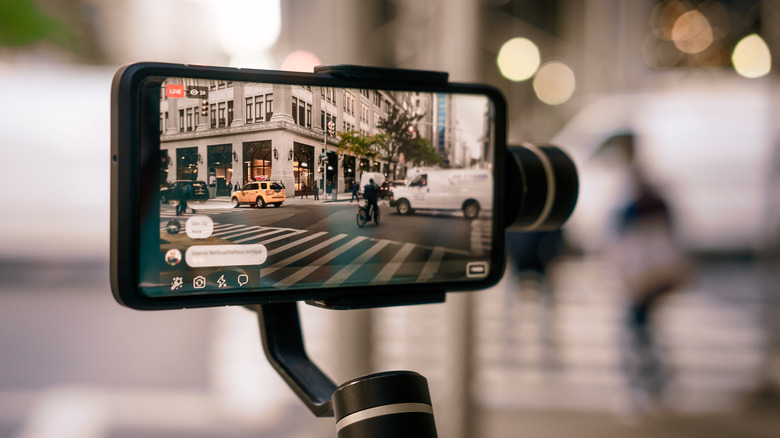
If you're really serious about smartphone photography, you can buy extra equipment to aid in your efforts. This includes clip-on lenses, tripods, gimbals, and other equipment designed to help you take better photos. These products are all readily available and can make smartphone photos (or video) look much more professional. In fact, with a good smartphone camera and some extra equipment, you'd be hard pushed to detect that they haven't been shot on a dedicated device such as a DSLR. In terms of video, filmmakers have even made whole movies on smartphones, with the results often fantastically impressive.
While not essential by any means, these add-ons give you the opportunity to go from shooting snapshots to proper photographs (or video). The obvious starting point is a small tripod, as they're an affordable way to up your mobile photography game. Tripods offer extra stability when shooting landscapes and other serene scenes, and when paired with a timer, they allow for better selfies too.
Clip-on lenses are also affordable and can increase the range of shots your smartphone camera is capable of taking. You can even buy full sets of lenses that you can clip on and off as the situation demands. While not necessities, these add-ons are a good option for those looking to up their smartphone photography game.
Focus on the subject rather than blindly shooting

As mentioned previously, it's far too easy when shooting on a smartphone to just blindly point your camera at something and shoot away. However, taking a moment to properly look at what you're shooting and focusing on the subject can make a huge difference in the results you get. It's easy to forget to tap the screen to focus on the subject, or just assume it's unnecessary to do so. However, it's a one-second job that can make a huge difference to the end results. You can even try focusing on different parts of the screen for interesting results — especially if you have a deep composition with elements in the foreground, middle ground, and background.
In the above photo, I made sure to focus on the part of the wall just above and to the right of the water wheel. This ensures that this is the part of the photo the eye is drawn to, with everything else fading away. It also aided the visibility of the shadows from the water wheel, providing a sense of depth to an otherwise quite ordinary image.
Given how easy it is to shoot with your smartphone and how the storage capabilities of modern devices enable you to shoot multiple photos, it's too easy to snap away mindlessly. But that will result in a series of disappointing photos you will never look at again. Therefore, it's better to really think about what you're shooting and take care to choose your subject carefully within the frame.
Use editing tools to improve your shots in post
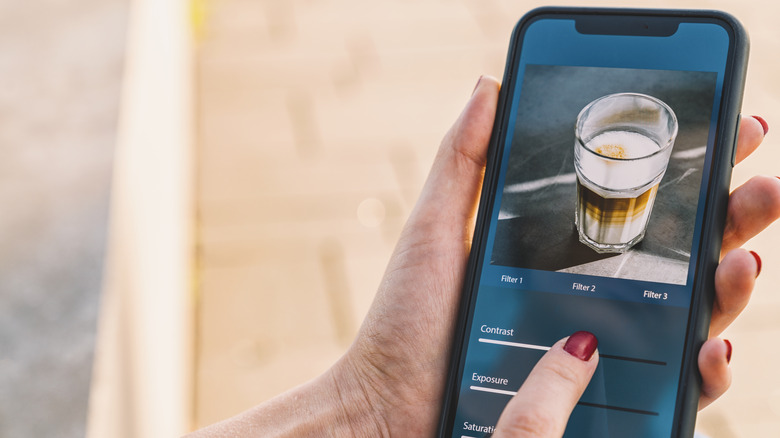
Possibly the best thing about smartphone photography is how easy it is to edit your shots after the fact. Of course, Photoshop has existed for a long time, allowing skilled editors to transform digital photos, but with smartphone photography, those tools are accessible to everyone, and easy enough for anyone to use.
Even bad smartphone shots can be made to look good with some simple digital editing. I personally recommend Snapseed as a simple yet effective editor. It's available on Android and iOS (despite being owned by Google), and it's completely free and simple enough for anyone to use. With an editing app such as Snapseed, you can apply filters, resize and reorientate and even add markup elements such as text. The range of editing tools available means that you can make a single image look vastly different and have multiple copies of the same shot, all of which look unique.
Even if you don't want to use a dedicated editing app, your camera app will likely offer some simple editing tools such as filters, the ability to crop and rotate, and the option to change certain elements such as brightness and color tones. So you really should use them (and learn to use them well) to make your smartphone photos look better.