10 Mistakes Everyone Makes When Taking Photos With Their iPhone

Smartphone cameras push the boundaries of what is possible in photography. The iPhone has evolved quite a bit since it launched in 2007. While some think that the latest model's camera gives proper DSLR cameras a run for their money (which still isn't the case), for the everyday shutterbug, the convenience of having a pocket-sized, high-quality camera to capture everyday moments and memories is amazing.
However, it's not the gear that makes the photographer, but how the photographer uses it. If you hate looking at photos that look like they were taken with a potato, it may not be the iPhone's fault.
With how quickly technology evolves, it can be difficult to keep up with it all. The learning curve can be higher than you expect, and some people just give up in frustration. It may not even be your fault too. It's worth checking out why your iPhone camera isn't working and how to fix it.
There are many mistakes people make when taking photos using an iPhone, and most aren't hard to correct. Let's look at some of the most common mistakes and how to level up your photography game.
Under or over-exposure
There's nothing more frustrating than having a shot that's either too bright or too dark. You can try to salvage the image by using editing apps, but often you're left with a lot of detail missing, and a picture that just doesn't look how you remembered it. Adjusting the exposure settings on your iPhone is like walking a tightrope. Lean too far to one side, and your photo is too bright; lean too far to the other, and it's too dark. It's all about finding the right balance.
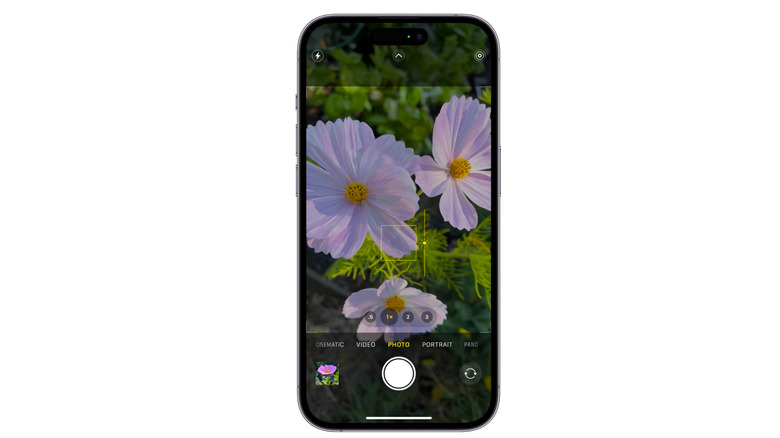
You can use the iPhone's autoexposure feature and leave it at that. When this isn't enough, the camera app has a "+" and "-" icon that allows you to control your exposure settings. Drag the scale left or right, and you will notice the screen getting brighter (more exposed) or darker (less exposed). You can also tap to set focus and then adjust the exposure by swiping up or down on the screen.
It's important to understand the lighting in your surroundings and how it impacts your final shot. If you're shooting a scene with shadows, set the exposure for brighter areas in for a more balanced image. If you're ever on the fence, play it safe and slightly underexpose your photo, as it's easier to edit and brighten up darker areas than it is to darken blown-out highlights.
Poor composition
Beauty is in the eye of the beholder, but it's also that important people can see whatever it is you're trying to take a photo of. If you weren't going for the artsy, blurry, abstract expressionist look, you might be making the mistake of not setting a focal point. Without a subject for the viewer to focus on, a photo can appear chaotic and disorienting.
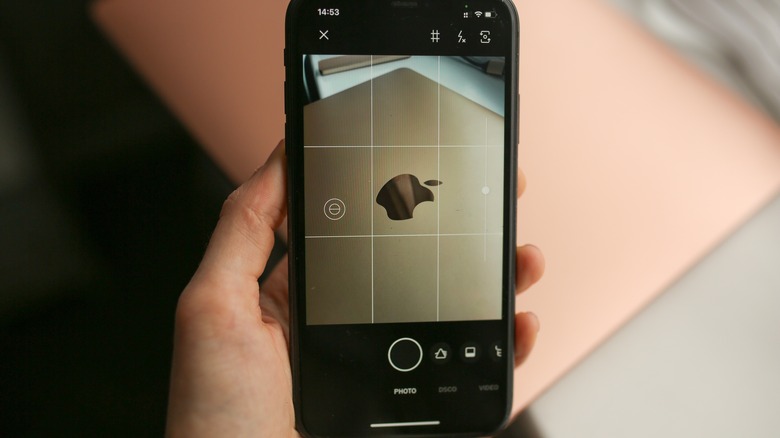
One way to fix this is to tap your screen to focus on whatever you're trying to capture.
Try using portrait mode on your iPhone to get a shallow depth of field (DOF), keeping the subject in focus while the background is blurred. This will make your subject stand out. While these are technical aspects of the iPhone that can help you focus on whatever you're shooting, this is just a starting point for you to take it further with creative composition.
Taking the time to get good composition can significantly enhance a photo's impact. Your iPhone camera also has specific settings to get better photos.
Live Photos misuse
At first, the iPhone's Live Photos feature appears like a little magic time traveler, capturing for up to three seconds (1.5 seconds before and 1.5 seconds after you press the shutter) to take a photo. It may seem like a neat trick for more dynamic moments — not quite a still image, and not quite a long video — but there are also reasons to turn off live photos on the iPhone.
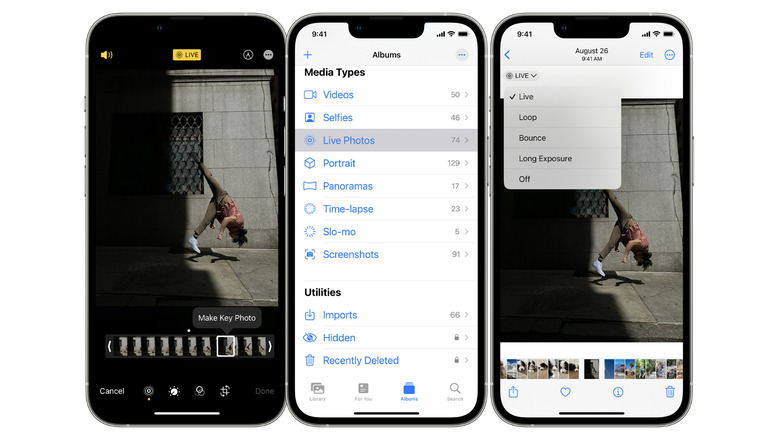
While the Live Photo feature offers more effects like loop, bounce, long exposure, and the ability to select a key photo out of a series of shots, if you're just looking to take a photo, you may not need all those bells and whistles. You're also generating much larger files, which can hog up all your storage space.
To toggle Live Photos on and off, once your camera is ready to take photos, you'll see a little bullseye icon at the top of the screen. Tap it, and a slash will go through it, indicating the feature is off. This is a temporary fix, so if you want to shut it off by default, go to settings, tap the camera, and then go to preserve settings. Next to Live Photo, make sure the switch is turned on.
Using digital zoom
One of my biggest pet peeves is seeing people using their fingers to pinch in or out to zoom in on their iPhones, and degrade the final image to an unrecognizable, pixelated mess, like something out of "Minecraft."
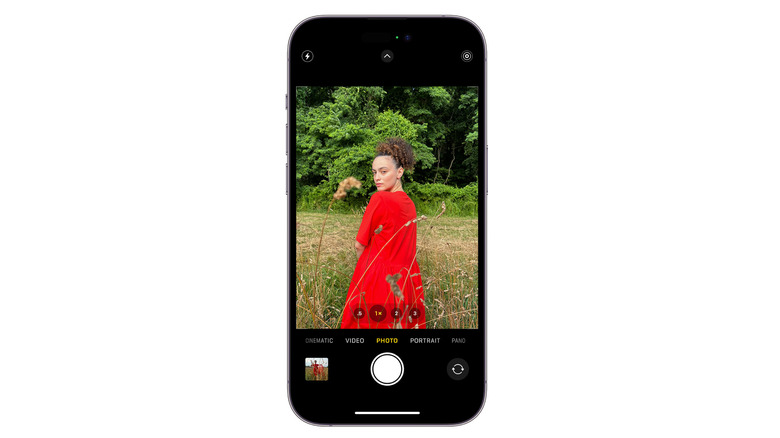
The lower image quality when using digital zoom limits the field of view. Unlike optical zoom, which blows up a specific area of the scene, digital zooming just enlarges an image already there. If you have to zoom, opt for the optical zoom route by tapping the preset numbers at the bottom instead of using your fingers to pinch — especially if your iPhone has multiple rear cameras.
The reduced number of pixels makes photos taken even with a newer iPhone look like they came from a relic. As a general rule, to make sure you're getting the best image quality, keep the pixel count high, get closer to your subject, and crop it afterward.
Subject not in focus

A common mistake and a source of never-ending frustration is the constant shifting of focus the iPhone camera does when you're trying to capture a sharp image. If the subject's too far away, it won't stand out from the background. If you move too close, the subject blurs and the background is now in focus. You may be asking why the iPhone camera keeps refocusing and how to stop it.
To mitigate this migraine-inducing guessing game, let's focus on getting rid of the constant refocusing. You can do a few things to make sure your subject is always in focus. Besides the common culprits like a dirty lens, inconsistent lighting, and a constantly moving background, make sure the main subject is sharp by manually setting the focus.
You can tap and hold on the screen to lock auto-exposure and auto-focus (AE/AF). If the subject is too far away, it may not stand out. Try moving closer or cropping the photo later for a better composition. For quick shots, tap the screen to make sure the subject is detected.
Not cleaning your lens
This mistake takes the cake as the biggest facepalm on this list. It's like asking someone if they reset the router by turning it on and off again. Life is messy, and there are many ways your iPhone lens can get dirty. From dust, dirt, and lint in your pocket to greasy finger smudges, and changes in humidity fogging up the lens, all these things can affect your photo quality.
Try using a lint-free microfiber cloth to wipe your lens and remove fingerprint smudges, dust, or stains. Don't use rough material or even soft tissues like Kleenex, as this can scratch your lens if dirt is present, making matters worse.
If you've got a compressed can of air, spraying the lens can also help clean it without the need for chemical cleaners which can cause further damage. It's best to stick to water and a microfiber cloth. This small act can make a huge difference.
Blurry photos from camera shake

Some of us have steady hands, so steady that we'd be able to moonlight as surgeons. Some of us shake like we've got low blood sugar. A common mistake some iPhone users make is taking blurry photos because their camera is not stable. If you're using your hands, you may feel like Marty McFly in "Back to the Future 2" when he's playing Wild Gunman, and the two kids are like, "You have to use your hands. Like a baby's toy?" This iPhone hack offers a hands-free camera solution.
Taking blurry photos can be caused by low-light conditions and a slow shutter speed, which makes the camera more sensitive to slight movements. One way to reduce blur is to stabilize your iPhone with a tripod, gimbal, or any other support that keeps your phone steady. Some iPhones also have built-in optical image stabilization software settings to help reduce blur.
Using flash improperly
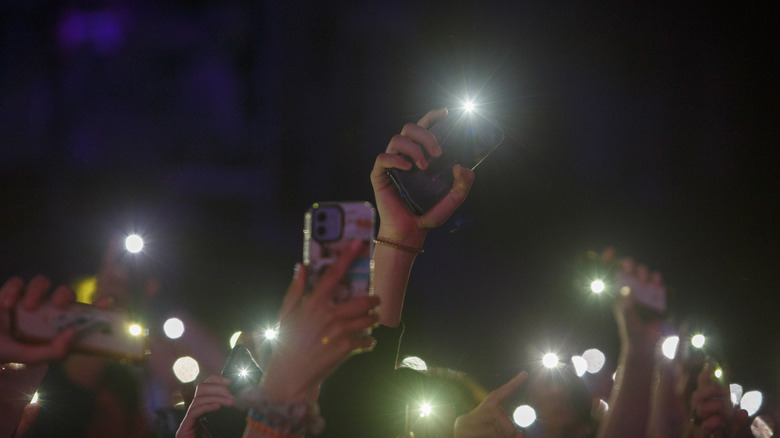
Using your iPhone's flash can lead to poor results. Light plays a crucial role in capturing aesthetically pleasing photos and solely relying on your iPhone's flash is a common mistake. No one likes red-eye or unflattering lighting.
Don't rely on your iPhone's automatic settings. If possible, try using an external light source like an LED that gives you control over the brightness and color temperature (measured in Kelvin). Try to get light at different angles so your shots don't look like you've just caught a deer in the headlights. Diffused lighting is best, as it is soft, minimizes harsh reflection, and is more pleasing to the eye. One trick is to put a piece of paper or tissue over the light source.
There are a lot of downsides with the iPhone's flash. It affects the overall exposure and color balance. It isn't powerful enough to light up large spaces, and if you're indoors, no one likes to get blinded by it. Leaving the flash on is usually an accident followed by an embarrassing apology. If you think using the iPhone's flash for night photography is a good idea, it often results in poor-quality photos. Consider using Night mode instead.
Wrong use of HDR settings
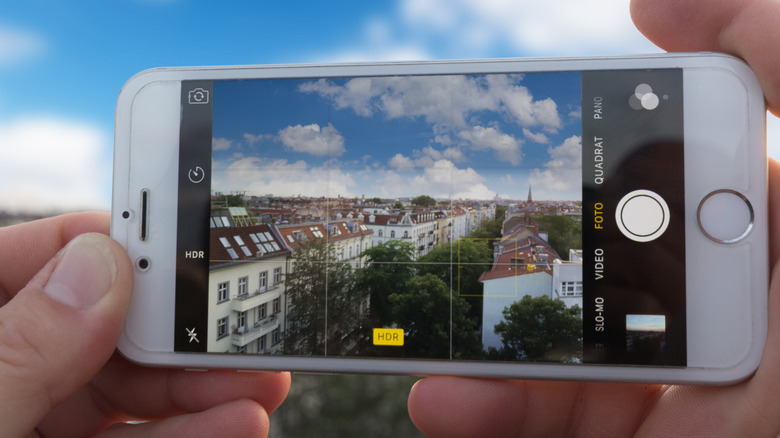
The high dynamic range (HDR) feature is often misunderstood, and sometimes iPhones will have this feature on by default. While it can enhance photos by giving them more contrast, it isn't ideal for every situation, and its overuse can make things look unnatural. The point of HDR is to balance light in high-contrast scenes, and using it in low-contrast, already well-lit scenes can give you overexposed shots. Knowing when to use HDR on your iPhone is a game changer.
HDR works by taking multiple photos at different exposures and combining them, which makes it sensitive to motion and can lead to blurry photos. Much like the blurriness caused by shaky hands, using a tripod is ideal when taking HDR photos. A good use of HDR is for silhouettes. It brings out details in shadows so HDR can illuminate the subject and create the effect. Overall, knowing when to manually turn off HDR can yield better results, especially in high-contrast scenes.
Over-reliance on Night Mode
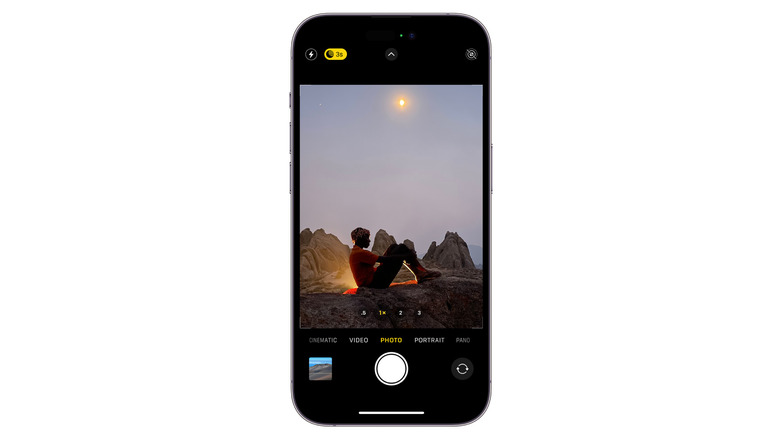
If you're taking photos using your iPhone at night, you've probably heard of "Night Mode." Although the name would make one think that the feature is meant just for taking nighttime shots, it's actually designed for all low-light situations. Even though Night Mode can brighten shots, if it's used in well-lit environments, you may end up with overexposed photos, go figure!
Night Mode works by slowing down the shutter speed to let more light in so any movement will be detected, leading to blurry shots. Using a tripod and keeping the phone steady will result in better, sharper images. Relying on auto settings, your iPhone may think it's doing you a favor by switching to Night Mode, but depending on the situation, you'd be better off controlling this manually.
The ideal time to use Night Mode is during twilight and dusk when the light isn't 100% dark yet. It's great for nighttime landscapes or cityscapes, or capturing the aurora borealis or bioluminescent plankton. It can help with portraits or time-lapse videos when lighting conditions aren't ideal, too. Just don't forget to use a tripod.