3 Ways To Power An Arduino Nano
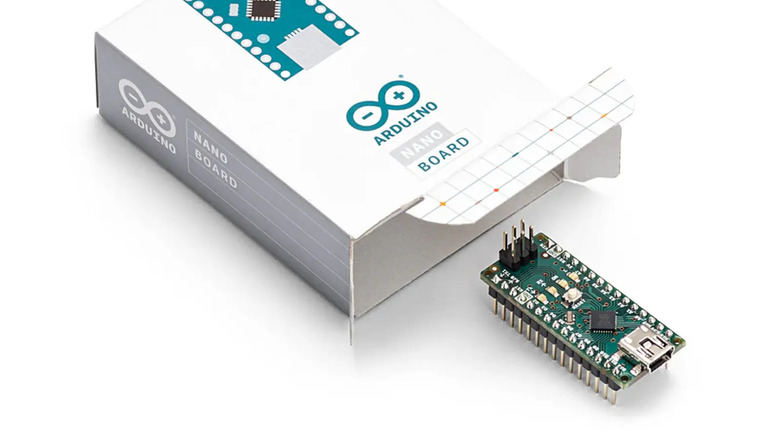
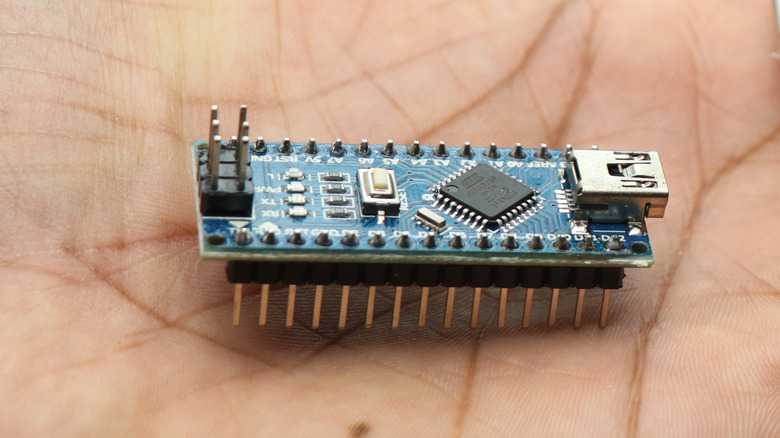
If you're developing a wrist watch, a small light-following robot, or a portable weather station with Arduino, one of the best boards you can use is the Nano, and for good reason. It's pretty compact, measuring only 18 mm by 45 mm and weighing seven grams. But despite its cute size, it comes packed with almost the same features as your regular Uno board. The Nano has the same flash memory capacity (32 KB), the same number of digital I/O pins (14 pins), and the same processor clock speed (16 MHz). The Nano even has more analog pins than the Uno (eight vs. six), making it the ideal choice when working with multiple analog components.
However, when it comes to power inputs, the Uno seems to be the better option. Comparing the Arduino Uno and the Nano, you'll notice that the former includes an onboard DC barrel jack where you can conveniently connect your supply. Because of the Nano's small form factor, it doesn't have much space to accommodate a jack. There are, however, still three other ways you can power your Nano: via the USB port, VIN pin, and 5V pin.
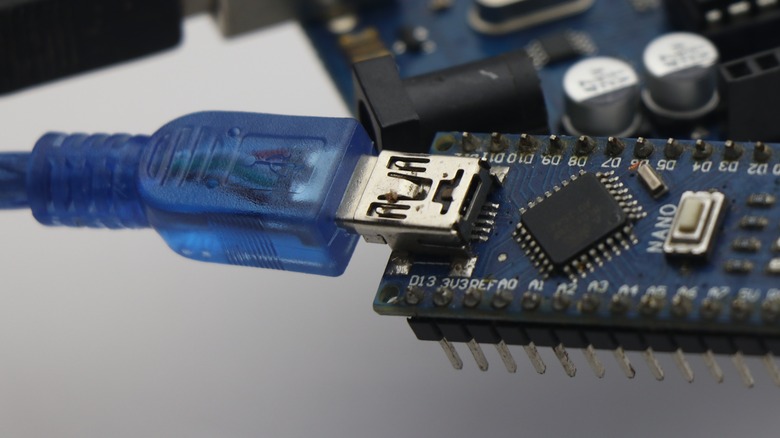
Connect a cable to the on-board mini-B USB port
Despite the massive differences in their sizes and purposes, all Arduino boards have one thing in common: a built-in USB port. This port is primarily used for connecting the board to the computer for tasks such as monitoring serial data received or produced by the Arduino. However, the USB port doubles as a power port. To use it as such, you need a USB cable and a 5V power source. In the case of the Arduino Nano, a mini-B USB cable is required. The power source, on the other hand, can be a powerbank, a phone charger, or even your computer — anything that generates 5V and supports USB is generally good to use. Once you have your cable and source, simply connect them to the Nano. Your board will automatically receive a regulated 5V supply and power up straight away. That's all there is to it, really. You don't need to mess around with any other components or worry that you connected the cable the wrong way. It's essentially a plug-and-play situation, making it one of the safest ways to power up your Arduino.
Because of this simplicity and safety, powering the board via the USB port has become the go-to method, especially for those getting started with Arduino. Using the USB on your computer is just so much easier when working with simple circuits like LEDs, PIR motion sensors, and other small loads. And yes, the supply provided by the USB port should already be sufficient for you to use the 5V pin as a power output for running your external sensors and components. That means using your computer as your power source for testing would be no issue at all.
Use the Pin 30 VIN pin
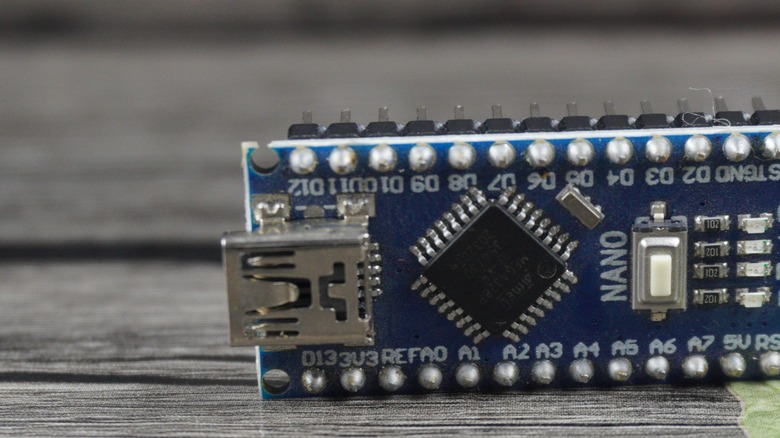
There are instances when you can't power the board via its USB port. Perhaps you're using the port for data logging purposes, or maybe you'll be placing the board inside a chassis where the port becomes inaccessible. Fortunately, you still have the VIN pin at your disposal. All Arduino boards have this pin, and it's connected to the built-in voltage regulator that makes sure your board receives a stable supply. For the Nano, the VIN pin is found on Pin 30 (although it's already labeled as VIN on your board).
When using the VIN pin for your Nano's power, it's important to keep two things in mind: what the voltage rating of the power supply is and how this supply is connected to your board. You can use a 6V to 20V unregulated external power supply, but the recommended range for the Nano is between seven and 12 volts only. To be safe and prevent any damage to your board or components, it's best to stick with this range. When it comes to connecting the supply, it's crucial that the connection is as follows: your Nano's VIN pin to the supply's positive wire and your Nano's GND pin to the supply's negative wire. One common mistake beginners make with Arduino is reversing this power connection. Doing so damages your onboard regulator, and worse, your entire Nano. That's why it's important to triple-check where the wires are plugged in.
To use the VIN pin on your Nano, you'll just need your power source (often, batteries are used) with the positive and negative wires exposed. It's also a great idea to connect a switch for the battery, so you can turn the power on and off as needed without unplugging the wires.
Use the Pin 27 5V pin
Another pin you can use on the Nano to power it up is the 5V pin (located on Pin 27, close to the VIN pin at the end of the board). This pin mostly serves as a power output pin that supplies power to your external 5V components, but you can also use it with a regulated 5V supply to boot up your board. The 5V pin can come particularly handy in cases when you're using a 5V supply — from a Battery Eliminator Circuit (BEC) for instance. You might not have a compatible cable to use this supply with the USB port, and 5V is too low to connect to the VIN pin (doing so likely won't power your board or will make it too unstable for your circuit to function as intended). If you're adamant about using 5V to power your Nano, the 5V pin is the way to go.
However, there are some considerations you need to keep in mind when using this power option. For one, the connection is similar to the VIN pin where your supply's positive wire goes with the 5V pin and your supply's negative wire goes with the GND pin on the Nano. It's important not to mix this up as the 5V pin is connected to a voltage regulator that can potentially be damaged if the polarities are reversed. Additionally, you want to make sure that you're using a 5V regulated supply — don't go over 5V, as this is the only rating supported by the pin.
When it comes to connecting your 5V supply, there really isn't much to it. All you need to do is expose the wires of your supply and connect them to the 5V and GND pins.


