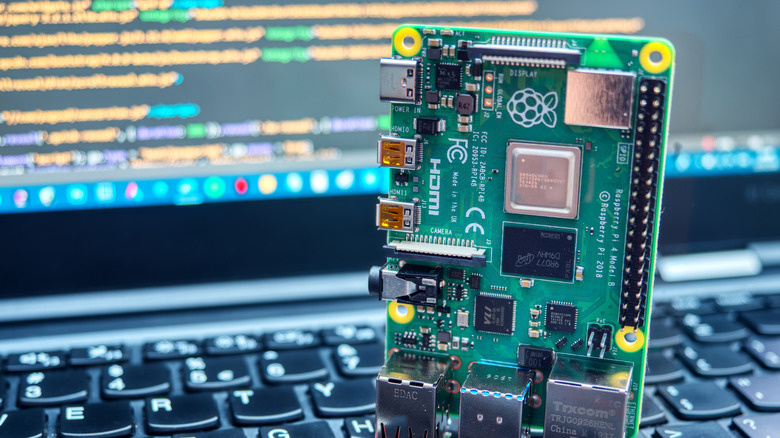
How To Boot A Raspberry Pi From A USB Drive
It used to be typical for every variation of Raspberry Pi to require booting from an SD or microSD card. It wasn't until the Raspberry Pi 2 Model B that the firmware received an update for booting from a USB drive. Using a microSD card as a boot device was a hassle because they're only capable of a bandwidth of 38 MBps. Meanwhile, other big name operating systems are booting from SSDs with SATA connections with speeds up to 600 MBps or M.2 at 4 GBps. The Raspberry Pi might be a tiny computer, but the way its OS boots is joining the big leagues.
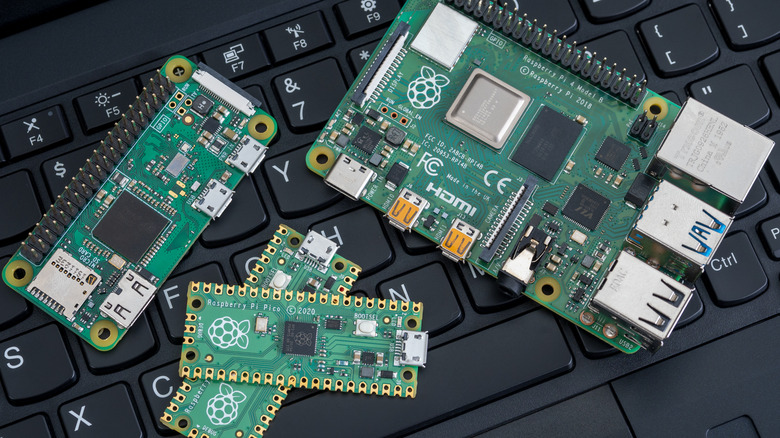
Along with all the differences a Raspberry Pi 4 had from previous iterations of the diminutive computer, it also came with two USB 3.0 ports, broadening the options for users. It's not just small thumb drives that users can plug in to one of the USB ports, either. With the right connections, an external SSD can be plugged in to a Raspberry Pi now, significantly boosting the speeds at which programs and the OS boot up. Using something larger than an SD card also means greater storage capacity, which is always handy. Users can try USB 2.0 connections, but the performance will be less than stellar, so stick with 3.0 connections.
Before you get started
As mentioned, early versions of the bootloader firmware didn't support booting from USB devices. To make sure it's possible, the Raspberry Pi needs to have bootloader EEPROM firmware dated Sep 3, 2020 or later. To check this, users can remove the microSD or SD card and boot their device. The firmware date will be displayed on the diagnostic screen. Alternatively, you can display the current firmware version in the Terminal app by running the following command:
vcgencmd bootloader_version
Booting from a USB drive also will only work if users are using Raspberry Pi OS version 2020-08-20 or later. There are also a couple of things users will need to ensure their Raspberry Pi boots from a USB device. First, they need a working Raspberry Pi with an internet connection or another computer with an internet connection, an SD or microSD card, and a USB drive of some sort.
Getting started
The first steps can be done with a regular PC, since it involves downloading the RPi OS from raspberrypi.com. Do the following:
- Click on the Software tab.
- Scroll down and download the Raspberry Pi Imager for the appropriate OS. For example, if using a Windows PC download for Windows. However, if this is all being done on the Raspberry Pi itself, open up the terminal and type this:
sudo apt install rpi-imager
- Find the downloaded Imager in the Downloads folder or wherever your downloaded files go to and open the Imager.
- Follow the instructions from the Installation Wizard.
- Click finish and wait for the Imager to open automatically.
Before doing anything with the Imager, connect the SD card to the computer.
- In the Imager, click on Choose Device.
- Select the Raspberry Pi device.
- Next, click on Choose OS.
- Scroll down and select Misc Utility Images.
- Click on Bootloader.
- Select USB Boot.
- The Imager will return to the main window. Click on Choose Storage.
- Choose the SD card.
- Click Next at the bottom of the Imager and the OS will be installed onto the SD card.
A warning message will pop up, alerting you that all data on the SD card will be deleted if you continue. Hopefully, you chose an SD card with nothing important on it, or it's all backed up somewhere else. Click Yes and let the process begin.
Now for the USB device
As soon as the OS is fully installed on the SD card, a message will appear, telling you that it was successful. At this point, you don't need the Imager anymore and can remove the SD card. From there, insert the SD card into the powered down Raspberry Pi. The green activity light on the Raspberry Pi will flash steadily and then, if the Raspberry Pi is connected to a monitor, it will turn green to let you know that the process is done. The Raspberry Pi will now boot from a USB drive. Power it down and remove the SD card.
The next steps will seem familiar because it's a similar process, but with the USB device you want to boot from.
- Insert the USB drive into the PC.
- Open the Imager you already downloaded.
- Click on Choose Device and select the Raspberry Pi you're going to use.
- Click Choose OS and select the operating system you want to boot.
- Click Choose Storage and select the USB device.
- Click Next and the imaging process will begin after a pop-up asking about OS customizations. If you have no customizations you want to employ, then click No. Otherwise, explore the settings you can change by clicking Yes.
- Just as with the SD card process, the Imager will alert you to any data on the USB drive being deleted. Click Yes to continue.
- Once the Imager is done, eject the USB device and connect it to the powered down Raspberry Pi.
Cloning the SD drive
Once you've followed the previous steps, your Raspberry Pi will boot from the USB going forward. However, sometimes users already have their operating system established and arranged the way they like it, or they've set it up for some home office projects. When they want specific data to carry over, cloning the SD card with the OS is a good option. If you want to copy your SD card, follow these steps:
- Connect the SD card and USB device into their respective ports.
- Go to the desktop menu.
- Select Accessories.
- Then choose SD Card Copier.
As long as the system recognizes the SD card and USB drive, they will appear in the SD Card Copier window. Select which device the data is coming from and which one it's going to in the dropdown menus. Copying the data from the SD card to the USB device should take roughly 10 minutes. Once the whole process is complete, turn off the Raspberry Pi and remove the SD card. Once it's turned back on, it will boot from the USB device, whether that's a thumb drive or an SSD.
