12 Ways To Restore Your Car's Headlights, From DIY To Complete Replacement
We may receive a commission on purchases made from links.
Headlights are a crucial utility on your vehicle, but looks matter, too. Whether you've installed aftermarket headlights or hope to preserve the original ones, keeping them clean and transparent is probably on your to-do list. Unfortunately, the elements are probably against you. Headlights often become foggy due to material degradation and exposure to the elements. Even if you garage your vehicle, daily exposure to sun, rain, and more can make your otherwise sweet ride look haggard. Generally, an exterior wipe-down won't help plastic headlights lose their cloudy cover.
The good news? A long list of DIY options could make your headlights as good as new. Or, you can skip the at-home methods and opt for a restoration kit or professional replacement. Consider these DIYs to restore your car's headlights and get back on the road fast, all while finding out what to do if the at-home methods don't quite hit the spot.
Note that all of the cleaning methods are typically used externally, on the outside of your headlights. Depending on the severity of the cloudiness — and how comfortable you are with taking your vehicle apart — you may want to hire a professional to clean the inside of the headlights, too. With all mixtures, avoid putting them directly on the body of your car unless you're using a product specifically for that purpose, like car polish.
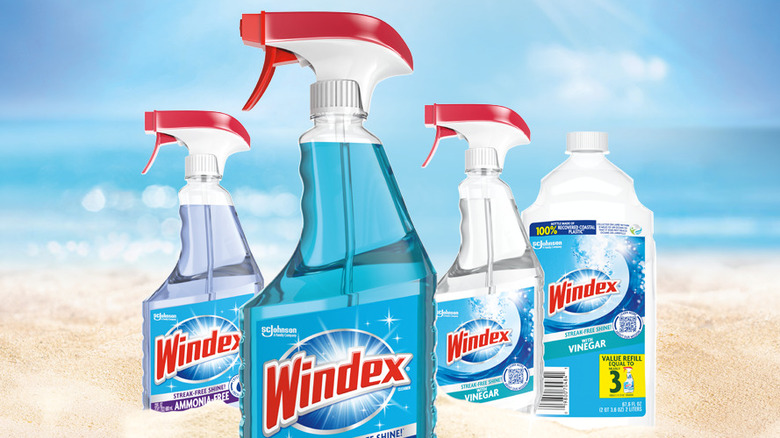
Windex
As an all-around glass cleaner, Windex is the handiest for windows and mirrors, but its utility doesn't end there. Windex is a simple solution for cleaning up foggy headlights, though it won't work for every scenario. Still, it's worth a try and is easy to check off the DIY list while fixing your headlights.
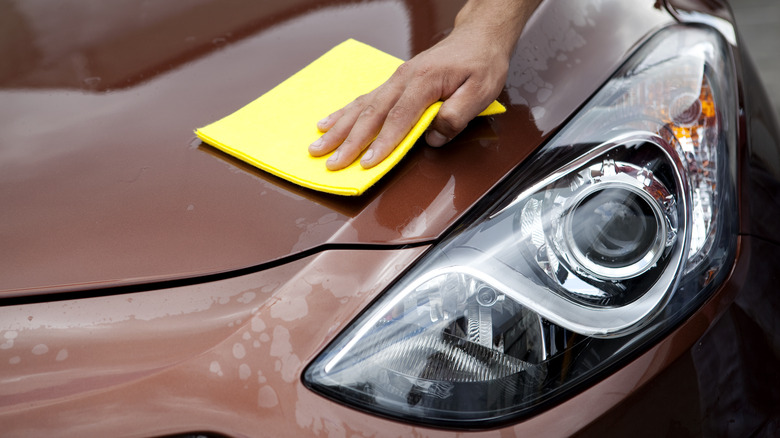
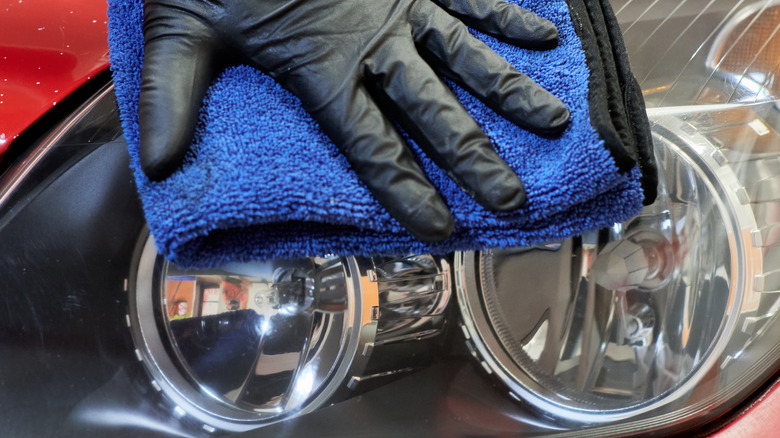
It's safe to use Windex on various other surfaces in your car, including plastic, vinyl, chrome, and steel. Don't grab a roll of cheap paper towels, though. Instead, use a cotton cloth, microfiber towel, or newspaper to avoid streaks and lint. Windex also recommends applying the cleaner to cool surfaces, so pull your car out of the sun before working on the headlights.
Depending on how cloudy your headlights are, an external wipe-off could remove most of the gunk and improve visibility. However, the interior might need a wipe-down, too. Removing your vehicle's headlights is an at-your-own-risk project, and you might uncover more damage by doing so. Instructions for removing a headlight lens vary depending on the make and model, but once you've disassembled the parts, there are plenty of other methods to try to revitalize them. If you do take this route, be sure the headlight casings are completely dry before reassembling.
This DIY method is available at most retailers – Windex costs less than $4 per bottle on Amazon.
Toothpaste and baking soda
A combination of toothpaste and baking soda is a common DIY remedy for clearing cloudy headlights, and you likely have both ingredients on hand. Any variety of toothpaste will do, but ones with baking soda or hydrogen peroxide might offer more of an effect. Avoid gel toothpaste, though, as it's not abrasive enough to work for this purpose. Typical non-gel toothpaste alone might be abrasive enough to remove grime on your headlights, but the baking soda adds more grit to the mixture. Most headlight restoration methods involve an abrasive material to scrape off surface debris, so a toothpaste and baking soda combination is an excellent and cheap place to start.
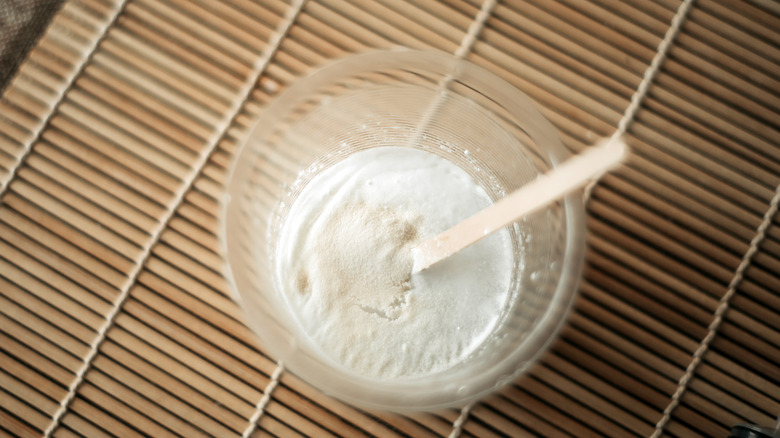
To use this method, mix a small amount of toothpaste and baking soda to apply to your headlights. Use a polishing motion to rub it around, applying pressure to make the most of the abrasive ingredients. Leaving the mixture to sit for a few minutes increases the odds that this method will work. After one application, rinse thoroughly and check for improvement. Repeat the application steps multiple times for the best results. If you don't see any improvement, head back to the kitchen for more ingredients.
Crest toothpaste with baking soda and peroxide is available on Amazon and costs around $3 per tube. Baking soda is unbelievably cheap at most retailers, and the brand is of no consequence.
Lemon and baking soda
Lemon and baking soda is another combination that can restore headlights, and it's not as messy as it sounds. Baking soda is a key player again because of its abrasive qualities, but the addition of lemon could help with de-greasing your cloudy headlights even more.
The trick to keeping this headlight cleaning DIY as neat as possible is slicing your lemon in half width-wise, then using the chunk of lemon to apply the baking soda. Running the lemon over the headlight surface may help the dry baking soda stick, so things could get messy, but at least your hands stay mostly clean. It may be tougher to leave the baking soda and lemon combination to sit, but you should be able to tell after polishing for a bit whether it's making a difference. An alternative is to mix up some lemon juice and baking soda in a bowl beforehand, then use either the lemon or a paper towel to rub the mixture onto the headlight.
Like other methods, this one requires a bit of a rinse and possibly multiple applications to see a desirable result. If you're not interested in chopping lemons, bottled lemon juice can also work in a pinch.
Baking soda and vinegar
Baking soda and vinegar is one the best cleaning combinations for your headlights, not to mention everything else around the house. Most people have both on hand, and the ingredients are cheap. While vinegar doesn't smell as pleasant as the lemon recipe, it should have the same effect because of its acidity.
Vinegar alone can dissolve mineral buildup, clean off dirt, and remove bug guts. Vinegar can even kill bacteria — not a concern with your headlights, but impressive nonetheless. Given how powerful vinegar is, adding baking soda is a double whammy for clearing up car headlights. The only precaution here is that when combined, vinegar and baking soda will bubble up, so you won't want to mix a solution too vigorously. Combining the baking soda with a spoonful of vinegar at a time to create a paste is the least messy way to go.
Making a paste also allows you to apply the baking soda much like other methods, using a paper towel or cloth to polish off dirt and grime. Rinse after using, and repeat if your headlights aren't as squeaky clean and clear as you'd like. Distilled white vinegar is the ideal ingredient, but other types (like apple cider vinegar) work, too. You can get distilled white vinegar on Amazon, too.
Car polish
Car polish is one of the best methods to make your headlights look brand-new, but it's pricier than the DIY route. Car polish is safe for your entire vehicle, so you won't have to take precautions while applying it to the headlight surface. You might want to purchase extra and wax your car while you're at it.
Nu Finish claims it's the best-selling and highest-rated car polish on the market, and it's rather affordable at under $9 a bottle. Nu Finish also claims you only need to wax your vehicle once a year. For headlight cleaning, it might take some rinsing and repeating. In addition, Nu Finish is okay to use in direct sunlight, and you only need a damp cloth to apply it. No worries if you get a bit sloppy while polishing your headlights either, as the polish is safe for chrome surfaces and fiberglass.
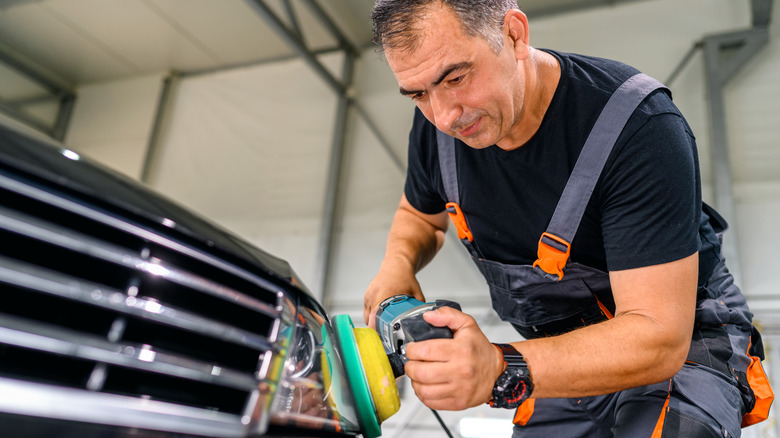
While you can apply Nu Finish or any other vehicle polish with a damp rag, many vehicle owners swear by an electric buffer. The effort should be worth it, as various users report that Nu Finish helps clear up murky headlights and keeps them from yellowing afterward. Grab Nu Finish car polish on Amazon, or pick up another type of polish at your local automotive store.
Headlight wipes
Headlight wipes could be a one-stop solution to cleaning up your headlights if the damage is mild. However, the wipes are something of a misnomer — most headlight wipes come in a kit with something abrasive to remove grime and surface imperfections first.
With ArmorAll, the brand's Amazon wipe kit is two-piece, with one wipe to clean and remove oxidized material and another to seal and UV protect. While wipes are convenient and fast, they might not be the most efficient method of restoring your car's headlights. Online reviewers were frustrated over having to use multiple wipes for a single headlight, meaning they had to buy more to complete the job. Your mileage may vary depending on the brand and the state of your headlights, but some consumers claimed theirs were hazier after applying the product. For mild cloudiness, wipes might be a simple solution, though far from the cheapest.
As far as brands, Dollar Tree sells some ArmorAll products, so this might be an affordable fix to try before moving on to more expensive methods. Rust-Oleum headlight wipe kits on Amazon are around $15 so still affordable for a DIYer if you only need to use one kit.
Magic eraser
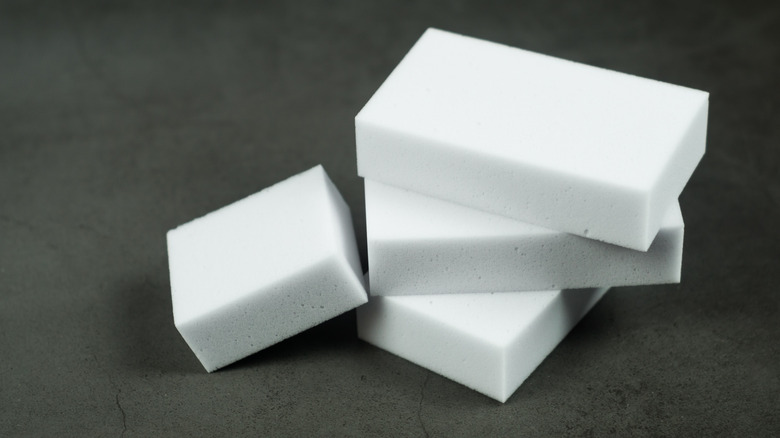
Yes, Magic Erasers are magic for your vehicle, not just around the house. The only caveat is you won't want to rub an eraser all over your vehicle because, by design, it will strip the paint off with a few strokes. Magic erasers are a "magic" solution for many messes but the science behind them is simple. Branded Mr. Clean Magic Erasers are made of melamine foam, a kind of heat-compressed plastic. The erasers are akin to fine-grit sandpaper, which makes them effective at removing stains.
To use a cleaning eraser for your headlights, get it damp the same way you would when cleaning the house. Gently begin scrubbing your headlights, keeping the eraser damp throughout. You'll need to rinse the headlight when you're done, but there's no risk of damaging the paint with any residue as the cleaning material isn't chemical.
While Mr. Clean brand is the original designer of the lightweight melamine bricks for consumers, many other brands have imitated the design, and you can find cleaning erasers at the Dollar Tree store, among other retailers. Order Mr. Clean Magic Erasers on Amazon or grab some (name brand or otherwise) next time you're at the grocery store or Dollar Tree.
WD-40
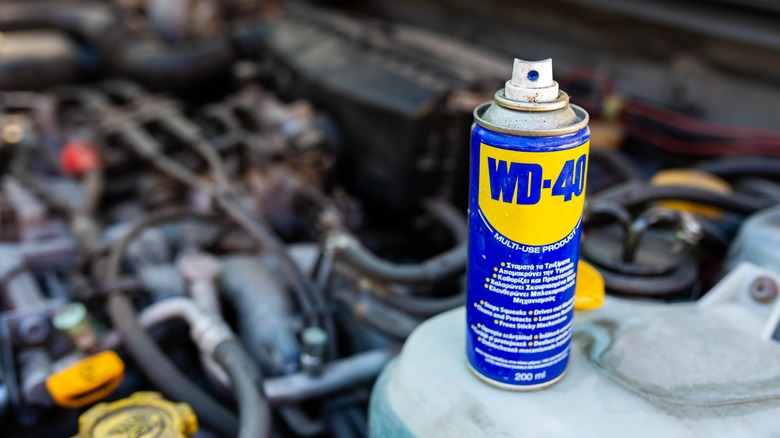
WD-40 can't fix every problem with your car, but it can do a lot. From keeping rust at bay to easing squeaks and stuck parts, WD-40 is a staple in every vehicle owner's garage. While you'll want to keep WD-40 away from certain vehicle systems — like brakes, tires, and engine parts — your headlights will do just fine with a chemical bath.
In fact, WD-40 can revitalize cloudy headlights and taillights and protect against future damage, and it's one of the easiest DIYs to apply. Spray it on, starting at the top of the headlight, and have a clean rag ready to wipe. Use a polishing motion to clean the WD-40 off, then repeat to hit any spots that didn't get soaked the first time. It might not be the cheapest DIY, so it didn't top our list, but you can't go wrong with a can of WD-40. If you don't already have this automotive must-have in your garage, WD-40 is available on Amazon for around $12.
You might want to add some type of polish to your cart, too, to help protect your headlights from future damage. Household oils like petroleum oil or olive oil offer short-term protection (until the rain or a car wash rinses them off), while a vehicle polish can seal things up more effectively.
Wet sanding
If you haven't noticed the trend yet, most DIY headlight restoration methods involve some means of stripping the top (or multiple) layers of grime off the plastic surface. Baking soda and other gritty substances help scrape off road grime, but with severely hazy headlights, you might need to bring out the power tools — or at least some sandpaper.
Dry sanding is one option, but because headlights are something of a delicate surface (light does shine through them), wet sanding is preferable as it's a bit gentler. For dry sanding a surface, you might grab whatever low-grit sandpaper you have lying around — 600 to 800 will work best.
Wet sanding can be done by hand with a sheet of higher-grit (around 1,000 and up) sandpaper; dampen the sandpaper and gently sand in a circular motion. Water is fine, but you can also use WD-40 to dampen the sandpaper. For wet sanding by hand, grab a wet/dry sandpaper kit from Amazon. For less than $10, you'll get a stack of sandpaper sheets.
Consider using an orbital sander with wet/dry high-grit sandpaper discs if your headlights are extremely cloudy. An orbital sander is a must-have for DIYers and will make quicker work of the sanding process. A wet/dry sanding disc set from Amazon will round out your sanding arsenal.
Restoration kit
On the not-so-DIY side, a premade restoration kit is a stronger contender for long-term headlight revitalization. The best headlight cleaning kits contain sanding tools and a solution to apply afterward. Brands like 3M, Meguiar, and Sylvania make multi-step kits with everything you need, from masking tape to sandpaper to vinyl gloves.
The idea is the same with each kit — clean and prep the area to protect your paint, sand down the headlight surface, and then seal it up with a specialized product. 3M's kit uses a wax protectant while Meguiar has a proprietary protective headlight coating, and Sylvania has a polishing compound plus a UV coating.
You might need some extras, but these kits aim to get the job done in one session. There will be some prep work involved, plus time reading instructions, but for drivers who are hesitant to DIY, it's a gentle foray into car care. Based on consumer reviews, headlight restoration kits are a tried-and-true way to revitalize your headlights, so if you're in a hurry, it might be worth it to skip the DIYs.
DIY replacement
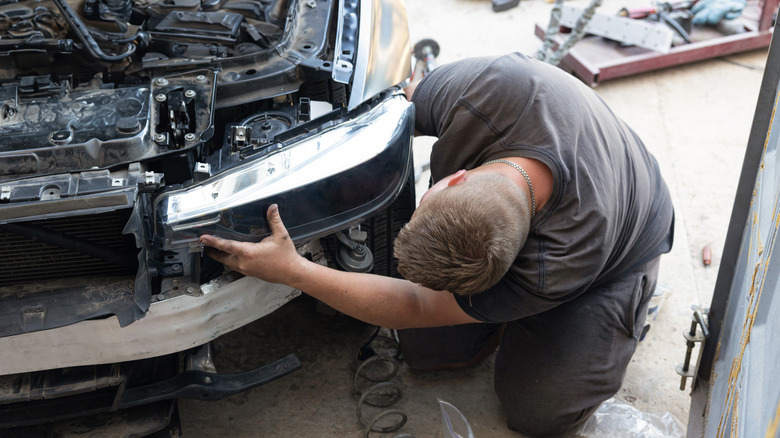
Many automotive tasks are tough to DIY. Depending on the make and model, you might even need a teardown to access essentials like your HVAC system. Fortunately, headlight replacement is one of the simplest DIYs for many vehicles. It could be as easy as disconnecting a few wires and popping off the headlight assembly. However, it could also be as tricky as removing the wheel well cover.
Once you've searched up your vehicle to see how tough removing the headlights will be, you can decide whether it's worth the effort to do a DIY replacement. For most drivers, it's as simple as replacing the bulb, albeit with some extra steps — and possibly tools. If the interior of the headlight is discolored or has moisture issues, it may be worth cleaning versus replacing outright. Attempting a few DIY methods may fix the problem, or you might find a seal issue that allows moisture and dirt in.
Fortunately, most replacement headlight assemblies are affordable from automotive stores and even Amazon. Costs also vary by make and model, but you can expect to spend anywhere from $80 to hundreds of dollars. It could even be thousands — Tesla replacement parts are notoriously pricey.
Professional replacement
Professional headlight replacement is often the last on DIYers' lists, often because of the cost. Depending on the vehicle (and whether the parts are easily available), headlight replacement ranges from $30 to $4,000 — a deceptively broad range — and even more on higher-end vehicles.
When you're paying a mechanic's hourly rate to break things down and install new parts, costs will be far higher than if you bought the parts on your own. However, if you've exhausted various DIY methods and still haven't cleaned up your headlights, hiring a pro could be worth it.
There's also the benefit of warranty work, which could avoid a hassle if problems arise with your replacement parts. Before shelling out for a headlight replacement, ask about maintenance and upkeep. Your mechanic might have a specific product to recommend that will keep cloudiness and yellowing at bay — or they might offer a restoration service that, while costly, makes things easy.
