How To Fix A Flat Tire At Home, And What You'll Need
According to the NHTSA, more than 10,000 accidents happen yearly due to bad or worn out tires. Flat tires are more or less inevitable, and chances are you'll have more than one in your life. However, driving with a flat tire is very dangerous. It not only puts your tires at risk of further and most likely irreparable damage, but it also compromises your safety and that of other road users.
We've already recommended keeping certain items in your car in case you get a flat. However, preparing for a possible emergency is only half the solution. Knowing what to do when you get a flat tire is equally important. This knowledge can save you from potential accidents. So, when you're home and have all the time to fix this little problem with your tire, what should you do? What tools will help you get the job done? Let's find out.
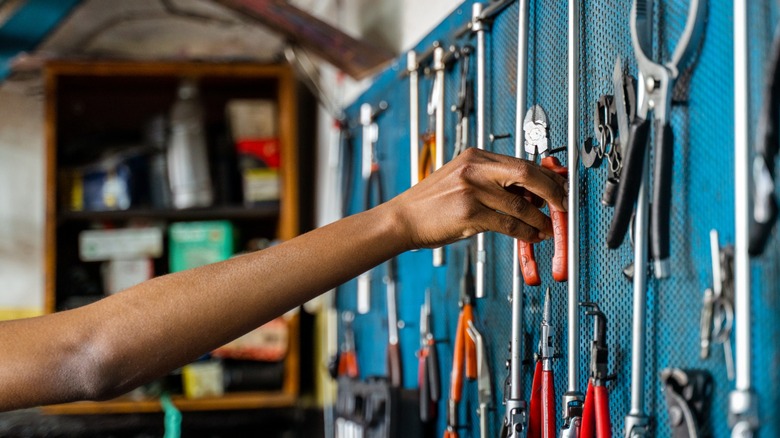
The tools and materials you'll need to fix a flat
When dealing with a flat tire, you have three main options: swap, plug, or patch. First, you can swap the flat tire with a spare. Alternatively, if you're up for a bit of work, you can locate the leak, remove the foreign object, plug the hole, or patch the problem area, and then inflate the tire to the correct pressure level. In more severe cases, your only option may be to replace the damaged tire with a new one completely. And in that case, we strongly recommend changing your tires in pairs for optimal performance.
The essential tools you'll need to fix a flat in your garage include a jack to lift the vehicle off the ground, a lug wrench to loosen and remove the lug nuts securing the tire to the wheel hub, a tire pressure gauge, an air compressor to inflate the tire, a pair of pliers to remove the foreign objects in the tire, wheel clocks to prevent the vehicle from rolling while it is raised on the jack, and disposable gloves to protect your hands.
If you are doing a swap, make sure you've got a spare tire that's in good condition ready. For a quick plug or patch, you'll need a tire repair kit. However, if the tire's condition calls for a full replacement, you might need to visit an auto-care shop.
How do you know you've got a puncture that's fixable?

Before working on your tire, you need to be certain it's a problem you should attempt to fix on your own. But how can you tell? Ideally, this is where an expert comes in. They can inspect beyond the general outer part of the tire and notice bigger issues that might not be so obvious to you.
However, to find out whether plugging or patching your tire is a viable fix on your own, you have to pay attention to the anatomy of a car tire. There's the tire tread, the sidewall, and the shoulder.
If the sidewall or shoulder is damaged, the tire must be replaced. According to the US Tire Manufacturers Association (USTMA), a tire with a damaged sidewall has become unsafe for the road. However, if it's part of the tire tread that is damaged, there's a huge chance it's repairable. All you need to do is check the size of the hole and confirm that it is not too big to fix. Small punctures, less than a quarter-inch in diameter, often caused by nails or screws, are fixable with a plug or patch. Anything larger or involving cuts, tears, or bulges requires professional attention.
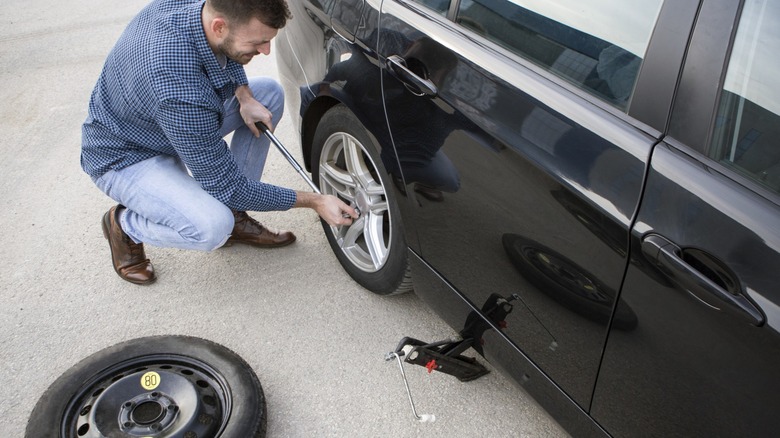
Raise the car and remove the flat tire
Start by ensuring your car's parked and the brakes are engaged. If you need to place safety markers close to the car to notify everyone around the house or garage that you're at work, please do. Their safety is just as important as yours. And speaking of safety, you should also place the wheel clocks. This prevents your car from rolling over and causing some possible damage.
Next, gather all your tools. Remember you'll need a jack, lug wrench, also known as a tire iron, tire pressure gauge, air compressor, pliers, and gloves. You'll start by loosening the lug nuts with the lug wrench or tire iron, but don't remove them completely. If you're struggling to loosen the nuts, apply some penetrating oil.
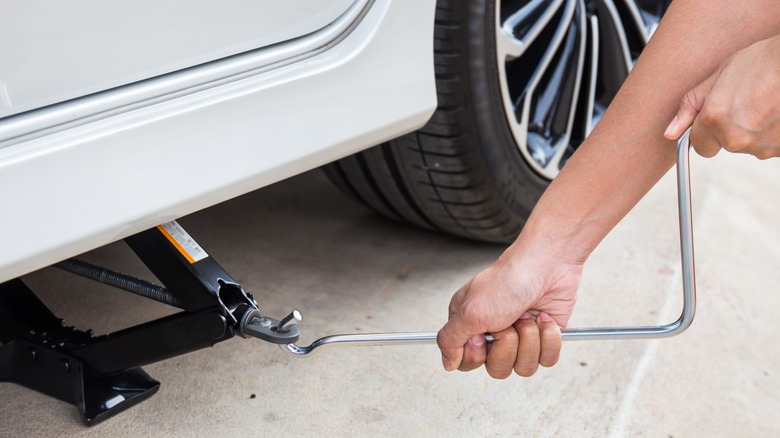
Once the lug nuts are loose, you can use the floor jack to raise the car. Instructions on where to position your floor jack will be in the owner's manual that came with your car, so grab that and have a look to ensure you're placing the jack in the right position.
As soon as the car is elevated and the flat tire is about an inch off the ground, you can remove the lug nuts completely, carefully remove the wheel, and then take off the flat tire. Remember to put the lug nuts somewhere safe so none of them go missing.
Find the leak and plug the hole
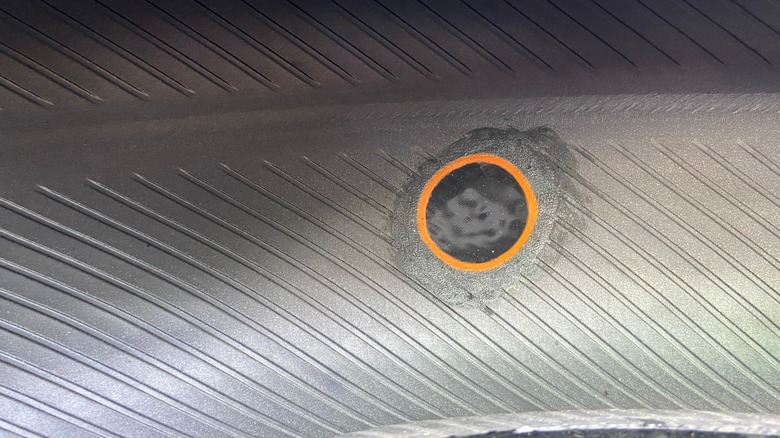
Sometimes, you can easily spot the problem area with a quick look at the tire. If the leak isn't obvious, mix some water and dish soap and then apply it generously to the tire. The problem area should start to bubble up.
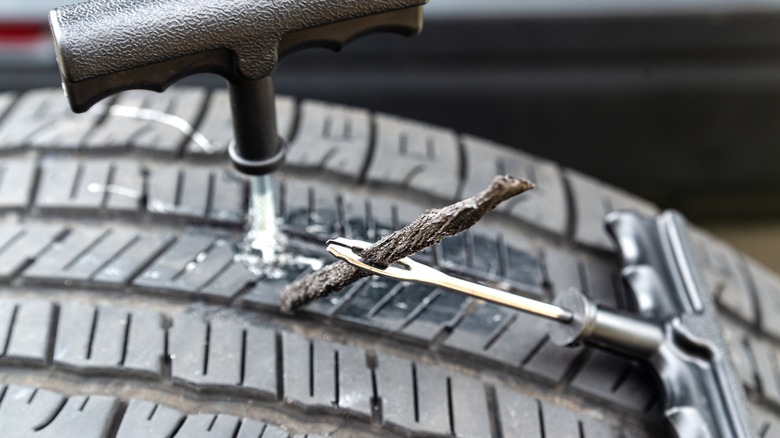
Once you've located the problem area, grab a tire repair kit and use the pliers to carefully extract the sharp object. This could require a lot of effort, so brace yourself. But before you pull it out, wear disposable gloves to protect your hands from getting cut. Once the nail, screw, or whatever the foreign object is has been pulled out, you can now plug the hole with the tire plug kit.
Begin by using a reamer, which is like a screwdriver, to clean out the hole. Then, use the insertion tool to push a tire plug, which looks like a sticky, thick string, into the hole and stop the leaking. Apply rubber cement to ensure the plug stays in place, and trim any excess material with the blade. Usually, there's a guide included in the kit to help you through each step.
Remember that this is a temporary fix and is safe only if done correctly. Ideally, you shouldn't plug or patch the same tire repeatedly. And you should definitely not plug or patch holes too close together. If you're getting too many holes too often, that's a sign you need to replace your tires.
Or patch the problem area
While a tire plug seals the hole from the outside, a patch seals the hole from the inside. It's a more complex procedure, and for a thorough fix, you can combine both methods. After removing the lug nuts and wheel, take out the valve stem core and separate the rim from the tire using a lug wrench or tire iron.
Find the hole. Ream the hole gently from both inside and outside with a low-speed drill and a carbide cutter with a speed of about 200 RPM. Then, apply some rubber cleaner fluid and scrape away the rubber particles on the inside with a scraper or buffer. But be careful not to shred the tire thin.
If you opt for a plug/patch combo, follow the plug repair steps first. Repeat the cleaning and scraping procedure. Then, you can go ahead and patch the tire. Start by placing the sealed patch on the problem area and mark an outline on the tire's inner lining.
Apply vulcanizing cement to the marked area and allow it to dry until tacky. Don't try to use an air compressor to quicken the process. Next, carefully remove the polyback from the patch and place it on the marked area. Then, make sure there's proper bonding with the tire's inner side using a stitcher or roller. Remove the top cover film from the patch and paint over it with repair sealant. Allow it to dry completely.
Mount the spare or reinstall the fixed tire
You'll have to reattach the rim, using a tire iron to pry each side of the tire open and slide the rim in. Next, insert a new valve stem core. Now, you can pump the tire with the air compressor. Make sure you consult your owner's manual to ensure you're pumping at the right pressure level.
Now, you'll put the wheel back onto the base and use the jack to lower the car to the ground. Screw the lug nuts back in a crisscross or star pattern, or as specified in the car manual. If you don't follow the prescribed pattern, the wheel will not be tightened evenly. And it's not safe to be driving and have your wheel fall off.
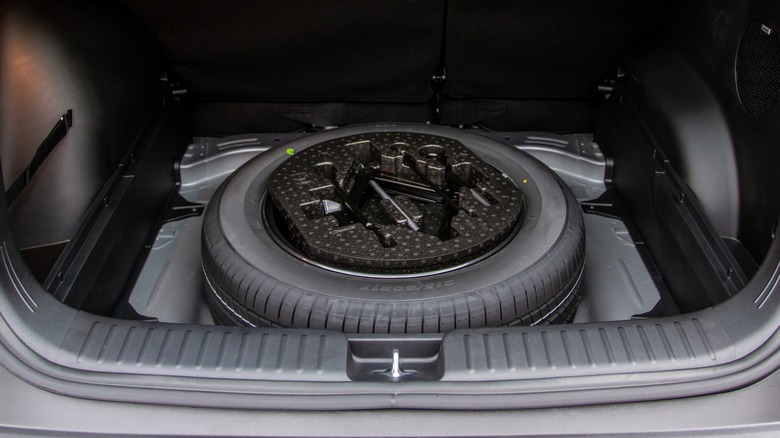
If you'd rather swap the bad tire for a spare and save time and the stress of figuring out whether the flat tire can be plugged or patched, then get the spare tire out of the trunk. Raise the car and remove the flat tire. Then, place the spare tire on the wheelbase, making sure the holes align with the lug nut posts.
Next, lower the car and tighten the lug nuts in a crisscross pattern. Finish by putting your old tire away and cleaning up any tools you've used. Finally, remember that you cannot drive on a spare tire for long. You still need to visit an auto shop and have a professional take a look at the tire.