Here's What The Icons And Numbers Mean On Your Ryobi Drill
If you own a Ryobi power drill then you may have noticed several icons and numbers that are displayed on different parts of your tool. It's easy to get overwhelmed by all the different toggles and settings if you don't know how they work. You might think that all you have to do in order to drill a hole or drive a fastener is pull the trigger, but there's a bit more to it than that. Some of these numbers and symbols are directly related to the functionality of the tool, but there are also a good deal of them that represent specific technologies that are built into your drill. Understanding the ins and outs of how your drill works will give you better control of your tool and allow you to execute your next project much more cleanly and efficiently.
Ryobi is one of the most popular power tool brands on the market. The Techtronic Industries-owned manufacturer has a catalog composed of hundreds of different power tools. There's even quite a bit of variety in the company's selection of drills, so you might be surprised to find that there are a few symbols on your new drill that you didn't have on your old one. Here's what they are, what they mean, and how to use them.
Speed
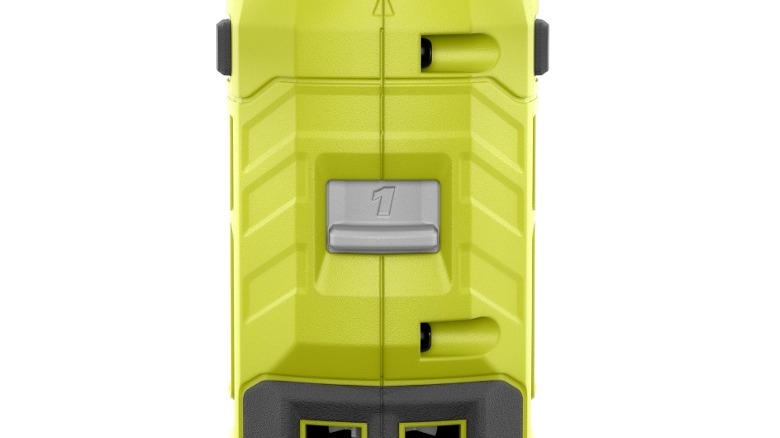
One of the first things you'll probably notice that comes on most Ryobi drills is a big switch on the top that can either be set at "1" or "2." This is how you change the maximum speed on your drill. Setting it to "2" makes it so that your drill can operate at its maximum speed, while setting it to "1" cuts that speed roughly in half.
Most modern drills (and all of the drills that Ryobi currently sells) have variable speed triggers. That means that you can control how fast the drill rotates by how hard you squeeze the trigger. This might lead you to think that you should always leave the drill set to "2" and simply control the speed of rotation using the trigger. This is technically possible, but you can get much finer control at lower RPMs when the drill speed is set to "1." So when might you use this?
You're nearly always going to want to have your speed set to "2" when you are drilling a hole. Drill bits usually work best when they are allowed to operate at the fastest speed and highest level of torque that your machine can deliver. You may also want the speed set higher when using self-piloting screws, or when driving fasteners into particularly dense materials. You will probably want to use the lower speed setting when driving fasteners into softwoods like pine or other materials where there is a high risk of stripping the screw or threading the pilot hole.
Direction
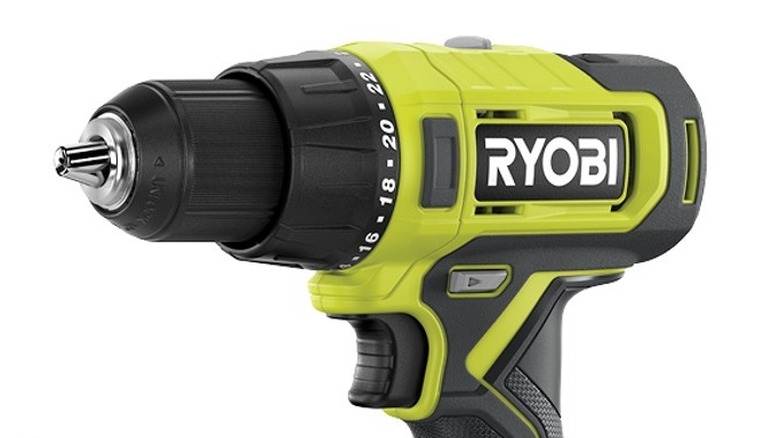
Another thing you might notice on your drill is a little button that you can typically find near the trigger, just above the grip. This button is either gray or black on most Ryobi drills and it has a little sideways triangle on it which looks similar to the "play" symbol on your TV's remote control. You will also notice that there is an identical button on the opposite side and that when you press one side in, the other side pops out. This is how you change the direction that your drill rotates.
All modern Ryobi drills can rotate in two directions. It can either rotate clockwise, which is the "forward" setting for drilling and driving fasteners in, or it can rotate counter-clockwise, which is the "reverse" setting you'll want to use when removing or backing out fasteners.
This is definitely a need-to-know feature as it will almost certainly come up in just about every project you use your drill for. The placement of the button near the grip also allows you to quickly and easily switch between forward and reverse, even if you're using a drill one handed. It might seem simple, but learning how it works is vital to mastering the use of your drill.
Clutch
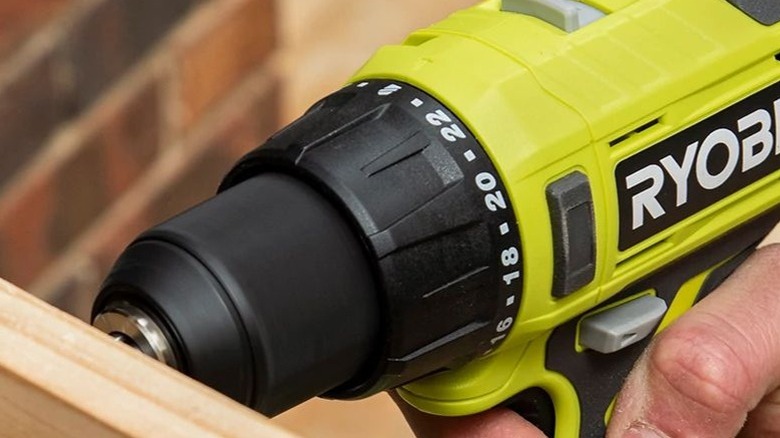
Next up, we have the clutch. This is the big dial near the front of the drill, just above the chuck, which has a bunch of numbers going all the way around. It's a common misconception that these numbers control the drill's speed. They actually control its torque. This is the driving force with which your drill rotates. The torque is lowest when your drill is set to "1" and it goes up in strength as the number gets higher.
Most Ryobi drills have 22 gears and then a little picture of a drill bit. This last symbol is your "drill setting." It offers the strongest torque on your clutch, and it is where you should always set the clutch any time you're drilling.
You are mostly going to want to use the lower gears when driving fasteners, though. There are several times where this might come up. Driving fasteners into drywall, for instance, requires a delicate balance of pressure. You need the screw to drive firmly enough that it will pass through the drywall and into the stud behind it, but not so far that it breaks the structural paper on the outside of the drywall and creates a hole. If you're working with pocket holes, you'll also want to set your clutch to a lower number so the screws don't go too deep and break off the seat inside the hole. You may have to experiment a bit to find the level of resistance that's best for a given project.
Hammer mode
Not all drills are the same. There are some that have unique features built into them for doing special jobs. Hammer drills, also known as percussion drills or impact drills, are specialized tools that have an impact mechanism built in. This makes it so that the drill bits go forward and back in a hammering motion in addition to the regular rotation of a standard drill. These specialty tools are typically used when drilling into really hard surfaces, such as brick, rock, or concrete.
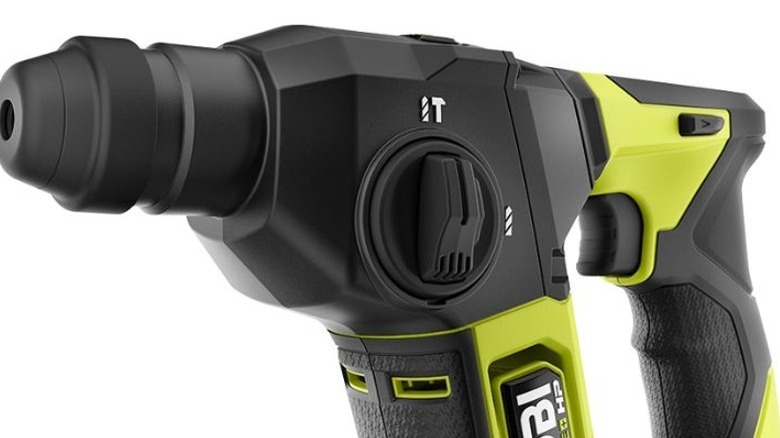
If you own a hammer drill, then there will probably be either a button or a dial somewhere on the body of the tool that will have a little hammer icon on it. For example, the 18V One+ HP Compact Brushless ⅝" SDS-Plus Rotary Hammer has a large dial on the side with two settings: one for a standard drill mode, which is indicated by a bit icon on its own, and one for combination drill-and-impact mode, which is indicated by a bit icon side by side with a hammer icon. The 18V One+ Cordless ½" Hammer Drill has a slightly different setup. It simply has a button on the side of the tool, next to the clutch, with a hammer icon on it that can be used to turn impact mode on or off. Others may even have the hammer setting on the clutch. In any case, the ability to choose between regular drilling and impact drilling significantly widens the utility of your drill.
Amperage and voltage
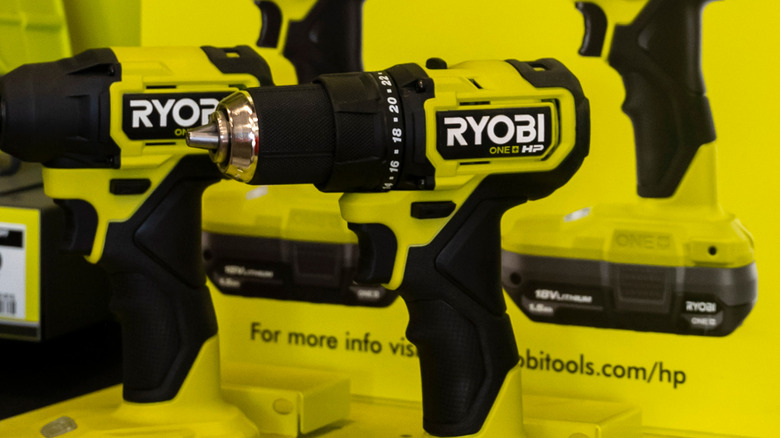
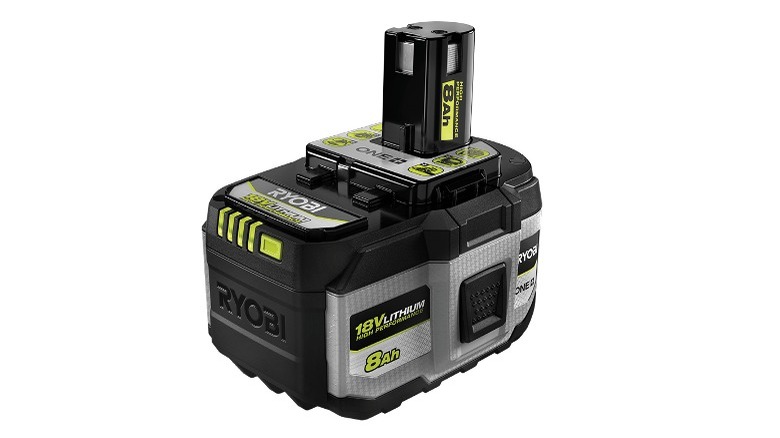
Ryobi still makes one corded drill model, but a vast majority of the company's line-up has switched to cordless models that use its proprietary One+ battery system. There is a surprising amount of technology that has been integrated into these batteries, but there are two numbers that you will want to be aware of when purchasing them: amps and volts.
Without getting too deep into battery engineering and electrical physics, amperage measures the current of electricity, while voltage measures the force driving it. Thinking of it like water passing through a hose, amperage would be the width of the hose and voltage would measure the water pressure. So what does this mean for your drill's battery?
In power tool batteries, the amperage listed refers to the number of amps that your battery can deliver per hour. So the bigger the amperage, the more juice your battery has the potential to put out and the longer it will last at the same voltage. The voltage, on the other hand, refers to the battery's rate of electrical output. Most of Ryobi's tools have specific voltages that they require, with a majority of its drills using 18V One+ batteries. This is listed on the box when you buy it and it's also typically printed on the side of the tool as well. Batteries are typically categorized by voltage, with each category offering multiple amperage options that get more expensive as the amps go up.
