5 Underrated TV Features You Should Be Using
Whether the picture quality on your TV seems lacking or you just bought a new television and are looking to adjust the settings for a more optimal viewing experience, you'll be pleased to know that a few quick taps on your remote may make all the difference. The truth is, no TV offers outstanding picture quality when it's used straight out of the box.
Manufacturers typically configure the settings to make the objects on the screen pop out under the bright, fluorescent lights that most stores have. While this might catch your attention when you're in a store, it doesn't necessarily translate to an optimal or comfortable viewing experience once you're back home.
That said, the best part about most TVs today, from a more basic Amazon Fire TV to a top-end Samsung model, is that they all have built-in features and settings that can help you tweak the picture quality to your liking. Once you've tested out the various features that can affect the video quality, you can fine-tune specific settings to get the best out of your TV.
But this might seem easier said than done, thanks to the plethora of settings available on most modern TVs. While the only way to figure out the best TV settings for your needs is through experimentation, using and tweaking the features listed below could be a great starting point and be a game-changer for your TV viewing experience.
Cinema mode
A brand-new TV will usually be set to the Standard, Vivid, Bright, or a similar mode — this is usually the default mode, and it might even look pretty good at first glance with the brightness or sharpness turned up. However, these are not the best settings if you're trying to improve the image quality.
Although it's underrated, primarily because of a lack of awareness of what it does, the Cinema, Movie, or Filmmaker mode is what's going to produce the best television-viewing experience. These modes are specifically designed to replicate the video the way the filmmaker or content creator intended it to look, making for a more authentic viewing experience.
Typically, using this mode will warm up the temperature so the colors are not too cool, reduce edge enhancement to enhance the overall picture quality, and adjust the Gamma to make the contrast more realistic.
These adjustments will ensure that you're able to view more detail and less noise without having to tweak specific settings. So, if you don't want to dive too deep into adjusting specific features on your TV, changing the mode from default to cinema will do much of the work for you. But if you would like to tweak individual settings to fine-tune the picture quality to your liking, we'll explain what settings to adjust below.
Motion smoothing
For years now, televisions have come with a feature called motion smoothing, or frame interpolation. In many cases, this is enabled by default. If you've just unboxed and set up a brand-new TV and noticed that the picture quality seems eerily clear, almost to the point of resembling a soap opera, it's likely happening due to this setting on your TV.
Modern films and TV shows are typically shot at 24 frames per second (FPS); however, your TV is likely capable of playing the video at 60 or 120 FPS. This discrepancy between the original frame rate of the video and that of your TV is what causes motion smoothing to come into effect. This feature, by artificially creating new frames between the original ones, makes the video appear more fluid and less blurry. Manufacturers have set this feature on by default, so you have a smoother viewing experience.
Many people turn off this feature right from the get-go to avoid the so-called "soap opera effect." That said, it's important to note that motion-smoothing technology has come a long way over the years. Modern-day televisions allow users to customize the degree of motion smoothing. So, rather than simply turning it on or off, you can decide how much of a smoothing effect you'd like.
For instance, if you're watching a fast-paced movie with a lot of action sequences, you could benefit from increasing the level of motion smoothing. On the other hand, if you're watching something slower, like a classic movie, you might enjoy the movie-watching experience a lot more if you turned this setting down significantly or even switched it off entirely, which is relatively straightforward to do. While motion smoothing is certainly not for everyone, the option to customize it makes this feature pretty useful.
Color temperature
If you've been using your television for a while, tweaking this setting will likely make all the colors seem slightly off. This is because, by this point, you're used to the current color temperature of your TV, even if it's different from what the filmmaker or content creator intended for their footage.
However, the fact is that adjusting the color temperature to match the D65 standard can drastically improve the accuracy and realism of the objects on screen, bringing the overall picture quality closer to what it was supposed to look like. This is true whether you own a budget-friendly television or something more expensive.
If your TV's color temperature is currently set at cool, which is common on many TVs that are used straight out of the box, you're best off changing it to warm. If you do this, expect all the colors on your screen to appear slightly more yellow or red initially.
But the warm setting is what most closely aligns with the D65 standard, so making this switch will give you the best viewing experience. If, after a few days, you still find the warm setting to be too jarring, you can tone down the color temperature down to neutral. Ultimately, playing around with this rather underrated TV setting will help you customize the temperature to your liking.
Backlight
The backlight is what controls the light output of your television. In older models, the backlighting was achieved by using fluorescent lights, while LEDs are used for this purpose in modern-day TVs.
The TVs that are available today allow you to adjust the overall light output — you should be able to do this through the backlight control, which you might also see labeled as OLED light or a variant of that based on your TV's specifications.
What's great about this setting is that you get to adjust it based on the lighting in the room you're in. For instance, if you're in a room that receives a lot of sunlight, you may want to crank up the backlight so the on-screen objects are visible. On the flip side, if you're in a dark room, lowering the intensity of the backlight could help.
It's important to note that changing the backlight's intensity affects more than just the vibrancy of the content you're watching. In fact, setting the backlight at too high an intensity when the room is dark can cause backlight bleeding (i.e., light leaking from the corners or edges) and eye fatigue, so be sure to adjust it just right.
Noise reduction
When browsing your TV's settings, you may come across something called Noise Reduction or Dynamic Noise Reduction. Noise reduction technology essentially compares different frames against each other and removes any non-consistent pixels from each frame, giving you a clearer and more stable picture.Dynamic Noise Reduction technology takes this one step further by not just analyzing the differences between frames but also trying to spot and remove what doesn't belong in a frame.
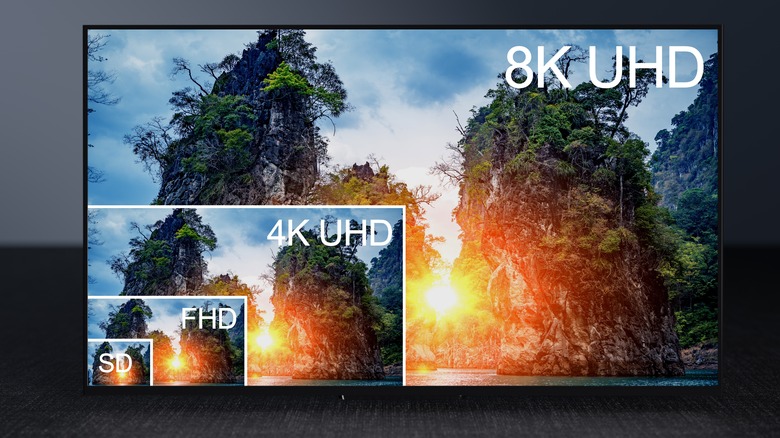
While the common recommendation is to turn off noise reduction because it's pointless when watching high-quality videos, the fact is that this setting can come in handy when you watch low-resolution videos or older movies and TV shows. This is especially true given that you're likely to watch content of varying qualities on the same high-definition television.
What's more, the feature itself has evolved considerably over the years. Modern TVs allow you to go beyond just turning the noise filter on or off. Rather, you can set the noise reduction to low, medium, or high based on the quality of the video you're watching.
This flexibility is important, given that you don't have to stick to just a certain level of noise reduction. For an older movie that has excess noise, you could turn the noise filter to the highest setting. For a high-resolution movie, on the other hand, you could set it to the lowest setting or even turn it off, which SlashGear outlines here.
