5 Tips & Tricks To Take Stunning Landscape Photos With Your iPhone
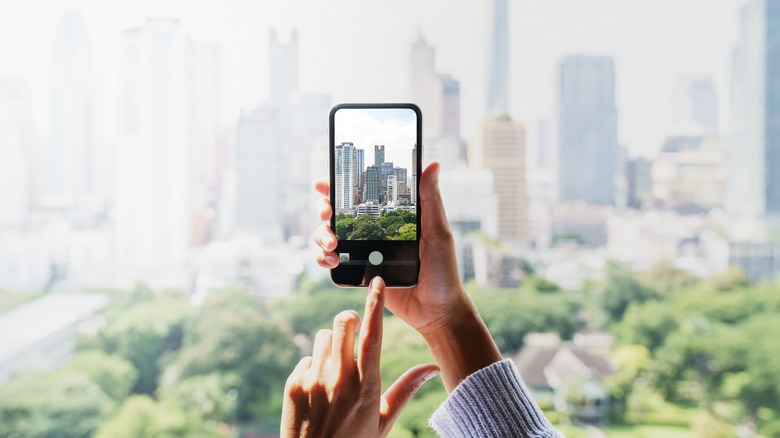
The iPhone is a great photography buddy. It has an excellent camera system and is always in your pocket. So, when you see a beautiful scene, you just pull it out and start snapping away. But how come some people can take fantastic landscape pictures with their iPhones while yours seem ordinary?
That's because they use photography concepts that help you take the best photos. These techniques were developed for the film camera, but they still apply today — even if you use your iPhone's digital sensor.
But even if you already know these guides, like the rule of thirds, leading lines, and negative space, some tips and tricks apply more to the iPhone. Some of this advice applies to the settings in the iPhone Camera app, while others focus more on how you usually use a smartphone when taking photos. So, consider these things if you want to shoot the most beautiful landscape photos on your Apple device.
Use the Grid and Level to get a straight horizon
One of the most important things when shooting a landscape image is to set the horizon straight. Getting this right is crucial so your image does not feel askew, especially if your photo has a long horizon — like the sea or a flat plain.
The iPhone camera has several composition tools to help you achieve this straight and level look in the Settings menu. These tools are among the photography tips every iPhone owner should know, more so if you're into landscape photography. These composition tools include the Grid, which helps you compose your photo with the rule of thirds, and the Level, which shows you when your phone is at zero degrees and has no subtle rotation.
You can easily activate these options by going to the Settings app and finding the Camera option. From there, tap on the sliders for Grid and Level to activate them. With those options turned on, you will see the grid when you open the iPhone camera app.
On the other hand, the level will only appear when your phone is near vertical or horizontal. It will turn yellow when you hit zero degrees and disappear soon after. Similarly, the level will start disappearing if your iPhone's rotation exceeds eight degrees.
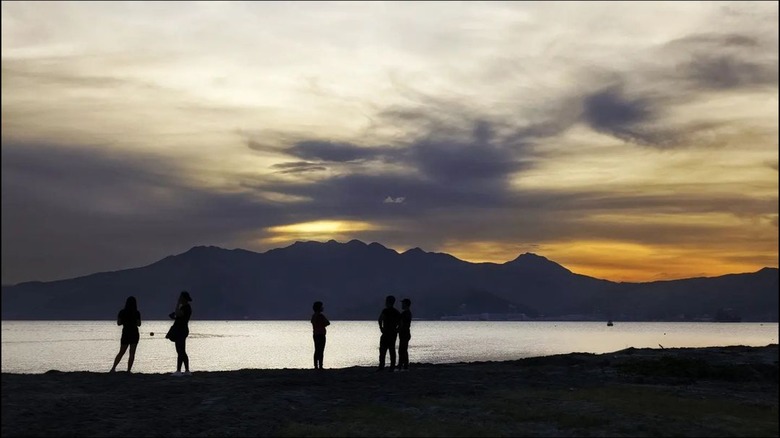
Set the right exposure
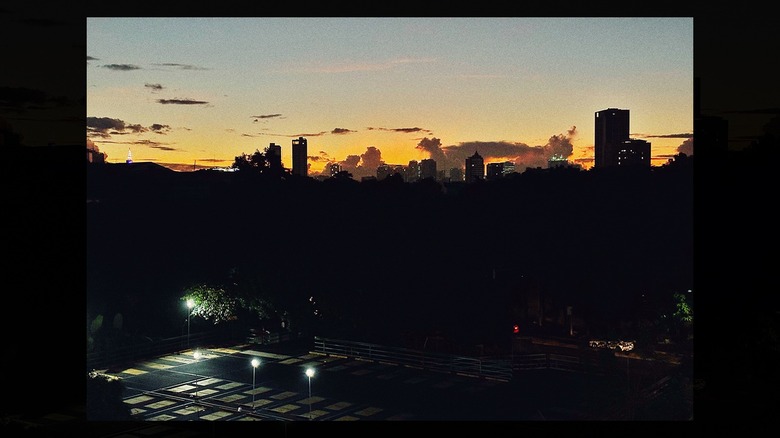
One of the things most new photographers miss out on the iPhone is adjusting the exposure on the phone. Manually adjusting this is crucial to optimize your photo's look, especially if your landscape has high contrast, like well-lit areas next to sections with dark shadows.
You need to adjust the exposure to your vision, as the iPhone generally averages the light and dark sections on the photo. It does this to ensure that all details are captured — crucial for taking snapshots that preserve everything. But if you want a dramatic landscape photo, adjusting the exposure is almost a necessity every time.
You can do this by tapping on the iPhone's screen while taking a photo. This will focus on the camera to your selected section and then drag the sun icon that appears beside the yellow box to adjust the exposure.
But if you're used to manual camera control or want to explore what you can create by manually adjusting the exposure values (i.e., shutter speed, aperture, and ISO), you must download a third-party camera app to get these features.
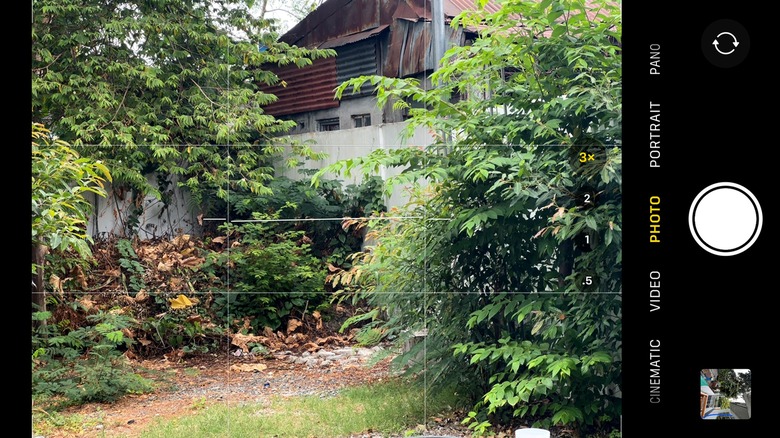
Use your iPhone's zoom
Another way you can compose a photo is by using your phone's Zoom. Since most landscape photos are about wide, expansive views, switching to your phone's ultra-wide lens — the 0.50x view on the iPhone 14 Pro Max — makes sense. However, you can go even wider by using Panorama mode.
Swipe twice from right to left on the modes above the shutter button to turn on panorama mode. When taking a panoramic image using this mode, hold your phone in portrait mode so you can capture more detail from top to bottom while simultaneously capturing the scenery from left to right.
But one other thing that many photographers miss out on when shooting landscapes is zooming in. Zooming into the photo is one of the tools you can use to get a better composition — like when you crop out an unnecessary foreground or if there are elements (like other people) you don't want to see in the final photo.
Take landscape photos in portrait mode
When you take landscape photos, it makes sense to take them in landscape mode. After all, that's how we normally see beautiful scenes from an open wide vantage point. But don't be afraid to experiment by turning the camera to its side (or holding your phone upright) when taking a landscape photo.
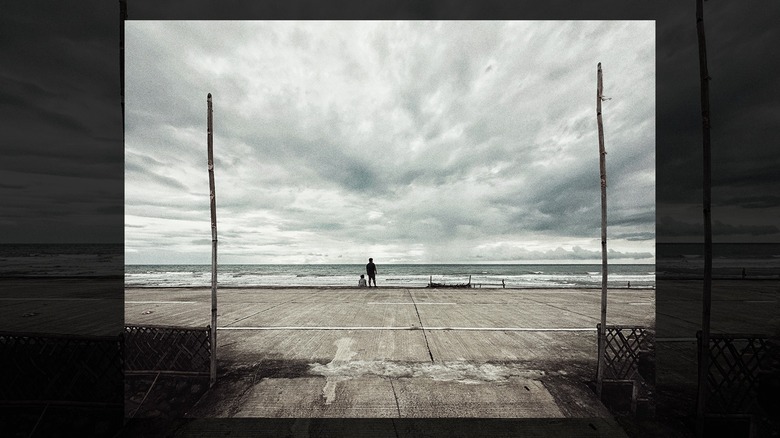
You can change the feel of the scene just by taking a landscape image in portrait mode. Furthermore, you can use portrait mode to frame your scenery, adding more interest and making it feel like your viewer is looking through a window.
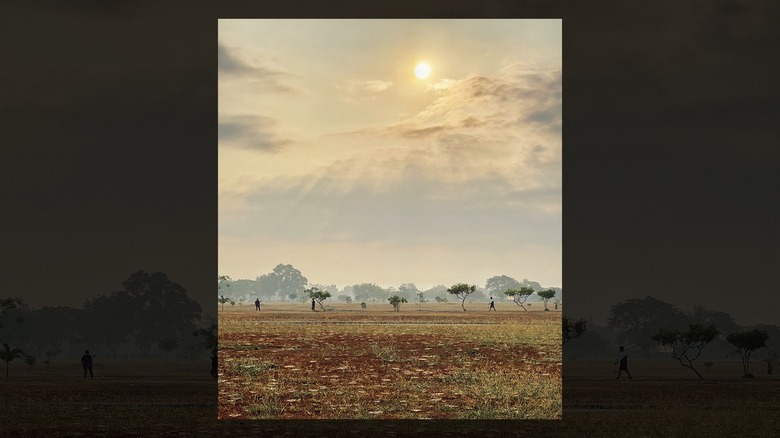
Portrait photos of landscapes and sceneries also let you take in more information vertically. This is crucial if you want to capture the expansive sky and the vast groundscape in one image. Doing so could even help you add contrast to your landscape photo and let the separation between the land and air bring more emotion to your viewer.
Don't be afraid to edit your photos
Some purists look down on edited photos, especially as many photo editing apps for the iPhone are easy to use. But they don't realize that image editing has been there as long as the camera has been around and that many of the techniques used in Photoshop and other image editors came from lessons learned in the dark room.
While the iPhone already does an excellent job of replicating the feel of a scene, it sometimes takes a photographer's vision and creative touch to get the best out of a landscape photo. When you edit an image, feel free to play around with settings like brightness, contrast, saturation, ambiance, highlights, and shadows. But remember not to overdo it, as your main goal is to get the best out of the photograph.
Also, you should start with a good picture, as no amount of editing or post-processing could save a poorly-shot scene. But if you already have a great base image, experiment with little tweaks here and there until you get the final processed photo you desire.
These tips and tricks will help you get the most out of your iPhone when shooting landscape photos. While they're great advice to get you started, don't forget to experiment. After all, the most beautiful images sometimes come out from the unexpected.