How To Switch Your PlayStation Account From Password To Passkey
How many times have you gone back and forth with resetting your password for your PlayStation account because it always slips your mind? Or how many times have you dealt with your brother sneaking behind your back and logging into your PlayStation profile because he knows exactly what your go-to password is, the one you use for nearly everything? If you're nodding along, these probably happen more times than you'd like, and you're so over the inconvenience.
What if there was a more efficient way to secure your account without the need to memorize overly complicated passwords or depend on password managers? The good news is that such a solution for your PlayStation now exists! Sony has recently introduced passkeys to PS4 and PS5 users, and it's changing how you sign into the Play Station Network. Here's a quick overview of what a passkey is and how to set it up on your account.
Password vs passkey
As a member of the digital world, you're surely well-acquainted with passwords. They're a combination of letters, numbers, and symbols used to access practically anything, may it be your computer, file manager, or in this case, PlayStation account. While not exactly weak, passwords aren't as failproof as you'd like either. A data breach or account hack can expose your passwords out in the open, and anyone close to you could always make a lucky guess, especially if you pick something personal as your password.
How passkeys work is a different story. Passkeys don't require you to create or remember a complex sequence of characters. Instead, it makes use of your device's screen lock methods, such as biometrics (like facial recognition or fingerprints), PINs, or swipe patterns, for authentication. This not only significantly simplifies the login process (yay to no more typing out long passwords!) but also provides you with improved security. If you're using PINs or patterns, they're harder for others to guess, and if you're using biometrics, they are even tougher to mimic. Plus, passkeys are tied to the specific phone or computer where you set it, meaning there's no getting into your account from another device without having your trusted phone or computer physically near you.
Activating the passkey on your PlayStation
Switching to passkeys to log into the PlayStation Network is easy. Here's how to use this feature:
- Setting up passkeys:
- On your PS5, PS4, computer, or phone, head over to your Account Settings or Account Management.
- Go to the Security tab.
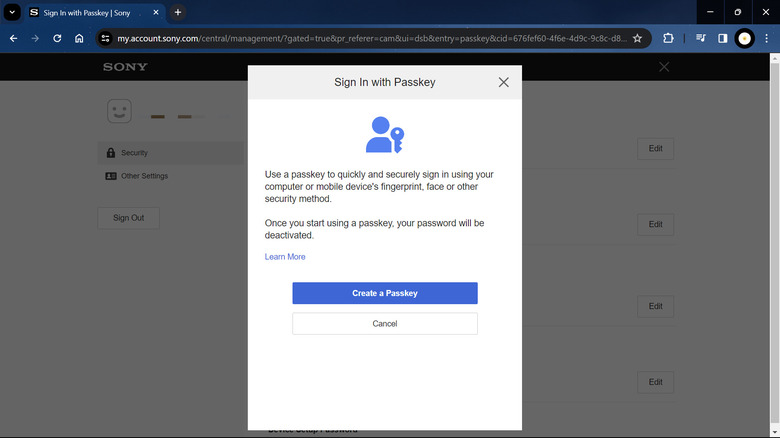
- In the "Sign in with Passkey" option, press Edit.
- Select "Create a Passkey."
- Create the passkey using your device's screen lock (fingerprint, face recognition, PIN, or pattern), preferably using the biometric mediums and not the PIN (as it can be easily guessed). If you're creating a passkey from your computer, you can opt to save the passkey anywhere else, such as your iOS or Android phone or a physical security key.
- Press the OK button to exit. This might also log you out of your account.
- Logging in with passkeys:
- Navigate to the sign-in page on your PS5/PS4, phone, or computer.
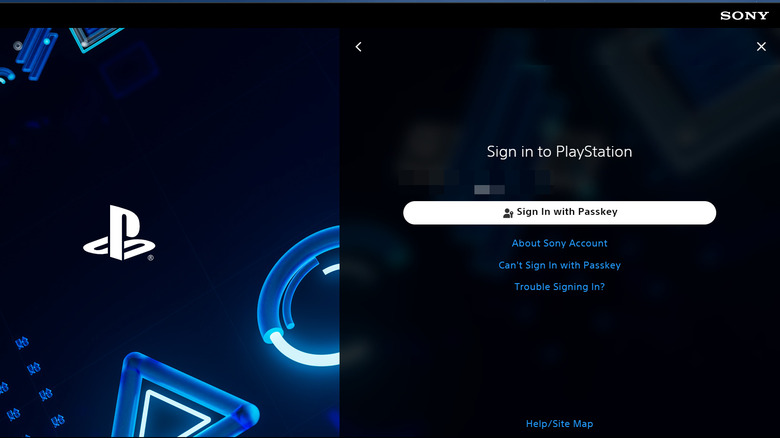
- Press the Sign In with Passkey button. If you can't find one, click on the textbox where you typically enter your email and look for the option to "Use your screen lock" or "Passkey from [device name]".
- If your passkey is on another device, check for a notification sent there. Make sure the trusted device is online and enable Bluetooth when prompted to connect both devices. Then, use your passkey on that trusted device to log in.
- Managing passkeys:
- To add a new passkey from another device, visit your Security page on that device. Under "Sign In with Passkeys", select "Manage Passkeys" and hit "Create a Passkey", then "Create on This Device".
- To delete a passkey, ensure you have at least two passkeys saved. Then, go to Manage Passkeys and select the Remove button next to the passkey you wish to delete. Confirm by tapping "Remove" again.


