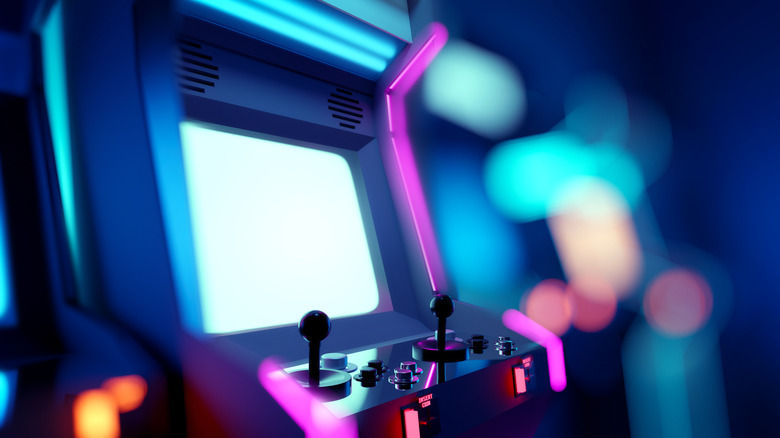
How To Turn That Classic Arcade Machine Into A Multi-Game Powerhouse
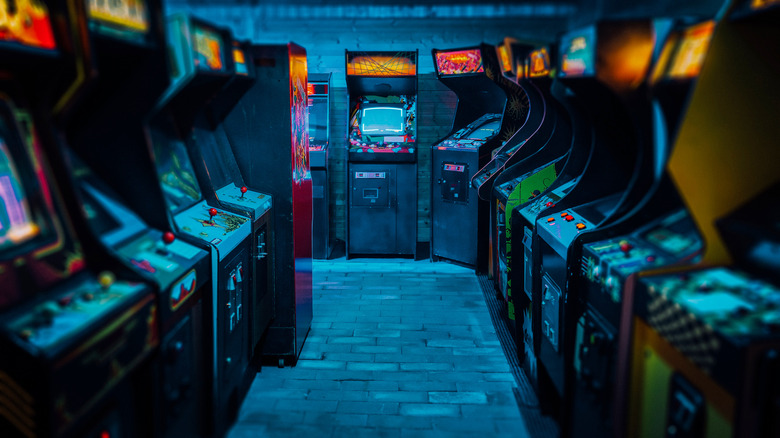
If you grew up in the 1980s, you might miss playing games like "Galaga," "Street Fighter," or "Pac-Man." But you don't need to trek to your local arcade bar to play these classics; you can purchase and revamp an old arcade machine to have them in your own home.
While this may seem like a task for a skilled electronics engineer, the overall process isn't too technical for any DIY enthusiast. The project isn't that expensive either, with some second-hand cabinets selling for as little as $50. What's best is all the software required can be installed on a standard Windows PC, giving you potential access to thousands of games on a single machine.
With accessories such as arcade buttons, joysticks, and vinyl graphics available on a range of retro game websites, it doesn't matter how worn down your old machine is. You can create a polished cabinet with a vast range of games to relive your childhood. Let's explore what tools you'll need, the basic steps involved, and how to install and play games on your nostalgic arcade cabinet.
Prepare for your project with the right hardware
The first step in building your gaming powerhouse is to find an old arcade machine to transform. Options like eBay and Facebook Marketplace are sensible for picking up machines local to you. You'll also need a new monitor. For the easiest connection and a modern twist, you can use an HDTV or old computer monitor. Alternatively, you can go for an old-school look with a CRT TV, available to buy second-hand on several websites or at local thrift stores.
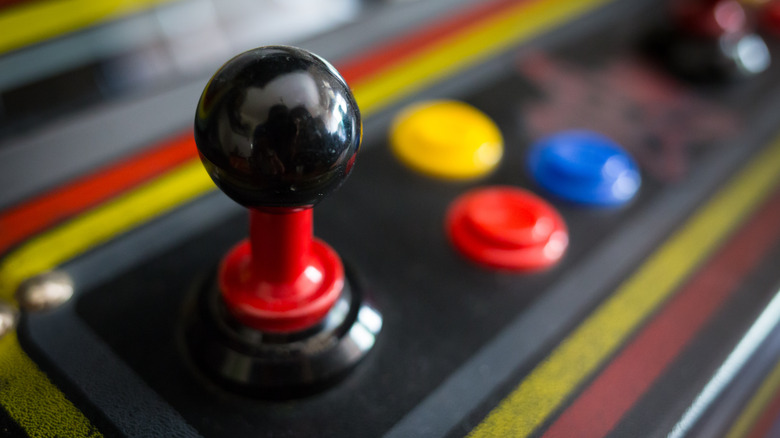
Next, you'll need to consider what controls you want to add to your machine. It's important to do your research here and make sure you have the correct controls for the games you want to play. Again, eBay is a good resource for hunting for classic game controls. Some games, like "Galaga," just require a joystick and two buttons, whereas others may require trackballs and additional buttons. It's important to get an idea of what range of games you wish to play and how sophisticated you want your machine to be before buying controls.
The final crucial piece of hardware you'll need is a USB encoder. This handy little device is responsible for mapping inputs from your arcade controls to a modern computer, such as a Raspberry Pi. You can buy this piece of hardware for cheap, or, for the DIY extremist, you can retrieve one by taking apart an old USB keyboard.
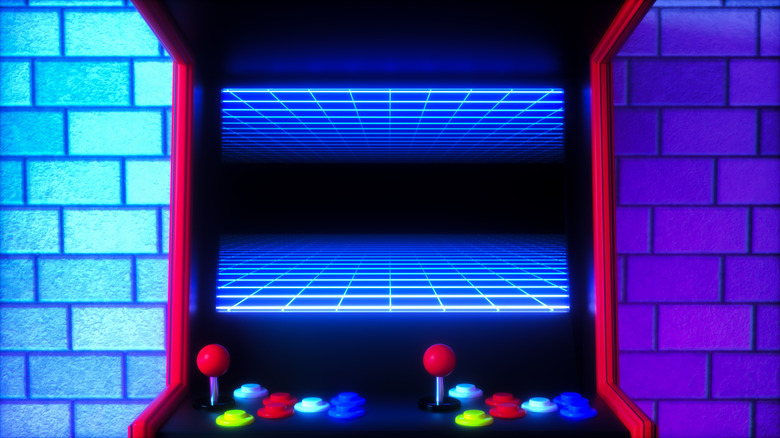
How to build an arcade control panel
With all the right hardware bought, you can begin to build a new control panel for your dream arcade machine. This is the heart of the machine, so it's important to carefully plan out the panel's structure before putting it together. You can find detailed layouts of control panels on retro game websites such as Retromash.
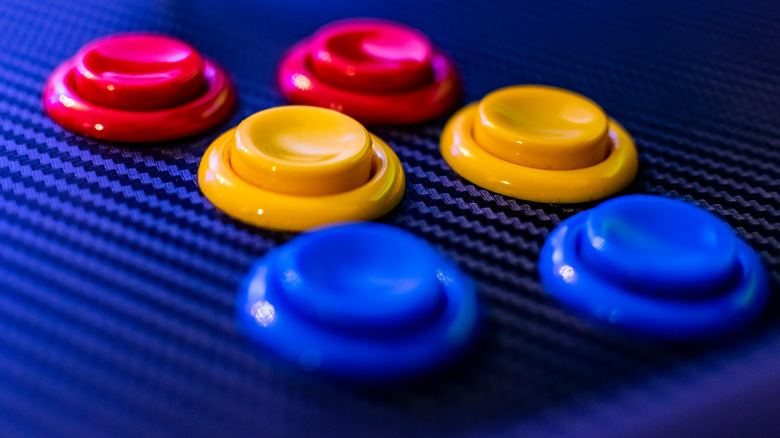
While it may seem daunting at first, the overall process isn't too demanding. The majority of the control panel can be built from simple materials, such as MDF wood, and most buttons can be hand-screwed to the base. If your buttons don't come with micro-switches, you can purchase them for under $2 online. The placement of controls is important to ensure that gameplay feels natural and to avoid awkward inputs. One common mistake is placing the joystick too close to the buttons, leading to uncomfortable joystick movement. Before attaching your buttons to the panel, it's worth sketching the intended layout, either digitally or in pencil on the MDF board before applying paint.
Once your controls are set, you can get to wiring them into your USB encoder. You'll also need to rig up whatever computer you're using, be it a Raspberry Pi, Windows laptop, or a more elegant arrangement of deconstructed components.
How to theme your custom arcade cabinet
If you've bought a used arcade machine from an online marketplace like eBay, it's unlikely to be in good shape. But with a little redecoration, you can turn the withered box into a sparkling new gaming machine. If you're looking for a slick design for the control panel, you can use glossy spray paint. Thin layers work better than a thick coating. You can also spray paint the TV trim to give your machine a consistent design.
On eBay, you can find multiple marquees (the top banner design) for a range of retro classics. Most graphics come in the original sizes, saving you plenty of legwork when applying them. The marquee and other graphics typically come on vinyl sheets. Given that you're revamping an old machine, it's important to thoroughly clean the surface of the arcade cabinet first to remove dust and debris. Next, you can transfer the trimmed artwork onto the cabinet using transfer tape. Finally, you can apply the graphics by first removing the backing paper, and then using a handy tool like a squeegee to smoothen the artwork evenly onto the surface, removing any air bubbles.
Depending on the cabinet you buy and the monitor you end up using, you may also need to do some light woodworking to get the screen to fit just right.
How to run games on your home arcade cabinet
Once your machine is looking shiny and fresh, it's time to get some games going. One of the most popular pieces of software for this is MAME, which can emulate a huge library of retro arcade titles. To get started, all you need is a device that runs on Windows 7 or above. There are also MAME variants for macOS and Linux.
It's important to remember that while emulation software is legal, downloading game ROMs you don't own is not. There are also additional options available like LaunchBox, which is designed to make a game library more accessible in conjunction with MAME. These kinds of downloads can make your home arcade experience smoother and more user-friendly.
Revamping an old arcade machine offers a shot of nostalgia by bringing your favorite childhood classics back to life. With vinyl art designs available online and easy emulators like MAME, you can theme your machine to your specific interests, all while completing a satisfying DIY project.