5 Things You Didn't Realize Your iPhone Camera App Could Do
Much of the iPhone's default Camera app features are pretty easy to figure out — especially when you're not bothered by things like exposure, frame rates, and the like. However it does have more than a few secrets tucked away. Or sometimes they're hidden in plain sight.
Well, maybe these are not so much "secrets" as features Apple, and by extension the Camera app itself, doesn't make quite as obvious as swiping between camera modes or flipping between the rear and front-facing cameras. Regardless, if you've just been using your iPhone's camera to snap photos, you might not have realized some of these other options and features were there.
That being said, please be aware that not all of the features below are available on every model of iPhone or all versions of iOS. Requirements will be noted as they come up, but unless you're using an iPhone 15 with the latest version of iOS 17 installed, there's a chance you might not be able to access at least a couple of them. However, making sure iOS is up to date is still a good idea, regardless.
QuickTake
Switching between taking photos and recording videos in the Camera app is fairly simple — just swipe the screen from left to right when you're on the Photo option, or tap Video manually — but you can change it up even faster than that with QuickTake. Here's what you need to do:
- Open the Camera app and select the Photo option — this should be selected by default whenever you open the app, but if it's not you'll need to switch to it.
- Instead of tapping the Shutter button (the large circle in the center-bottom portion of the screen), tap and hold it.
- The Camera app will start to record video for as long as you continue to hold down the Shutter button.
- Release the Shutter button to stop recording.
Please note that QuickTake is available for the iPhone XS or XR and newer, so long as you're using iOS 16 and up. Videos recorded with QuickTake will appear in your Photos app just like any other image or video you capture, and can be shared, edited, duplicated, or deleted in the same way.
Semi-hidden camera options
You also can quickly reach a number of small access and editing options that you might not realize are present within the Camera app itself.
- In iOS 12 and later, you can quickly open the Camera app from the lock screen by swiping from left to right.
- Multiple other camera options can be accessed by opening the app to the Photo option, then tapping on the up arrow (^) in the top-center of the screen.
- Once tapped, these additional options will appear along the bottom of the camera display — above the Shutter button and below the magnification settings.
- Tap the Flash button to set the camera flash to Auto, On, or Off.
- On an iPhone 11 and newer, tap the Night Mode button and use the slider to set the shutter time to Off, Auto, or Max (one second).
- Tap the Live button to set Live Photo (record what happens before and after the photo) to Auto, On, or Off.
- Tap the Aspect Ratio button to choose between the default 4:3, Square (ideal for some social media), or wider 16:9 settings.
- Tap the Exposure button (+ and -)and use the slider to increase (brighten) or decrease (darken) exposure.
- Tap the Timer (clock) button to set the shutter timer to Off, three seconds, or 10-seconds.
- Tap the Filter button (three circles) to choose from a variety of photo filters.
Be aware that any settings you change through this method will remain after you close the app.
Change video quality with a tap
There are a lot of options you can play around with to adjust video quality and compression, but you don't have to go digging through the Settings app to make some of those adjustments.
- Open the Camera app and either tap Video or swipe left to right across the screen.
- Tap the HD (or 4K) in the top-right corner to switch over to 4K (or back to HD) video.
- Tap the 30 (or 60) in the top-right corner to set video recording to 60 frames-per-second (or change back to 30).
Keep in mind that going up to 4K or 60 FPS (or both) won't just increase the quality or fluidity (or both) of the video you're recording. Higher resolutions and higher frame rates also increase the overall size of the video file itself, which may make it more difficult to share or transfer. Additionally, more nuanced video settings like HDR are still only accessible through Settings.
Cinematic Mode
Cinematic Mode requires an iPhone 13 or newer with iOS 15 or above installed, and the effect can be used to add a slight (or more intense) blurring effect to the background while keeping video subjects in focus.
- Open the Camera app and select Cinematic Mode from the options above the Shutter button.
- With Cinematic Mode on, tap the Depth-of-field button (it looks like a lowercase f) and use the slider to adjust the background focus effect.
- Much like regular video recording, tap the Record button (the large circle) in the bottom-center of the screen to start recording. Tap it again to stop.
- Subjects in the frame will be highlighted with a square box. A yellow box indicates the subject is currently in focus, while a gray box means the subject is being detected by the camera but is not in focus.
- Tap a subject to focus on that subject, or tap anywhere on the screen to set the focus point to that spot.
- You can also tap and hold the screen to set and lock the focus to a specific distance (i.e. the camera will not automatically adjust focus while recording).
You can turn the Cinematic Mode effect on or off in iOS 15 via the Photos app by selecting the video and tapping Edit, then tapping Cinematic in the top-center to toggle the effect off or back on. In iOS 16 and later you can adjust the effect with a slider instead of toggling it.
Action Mode
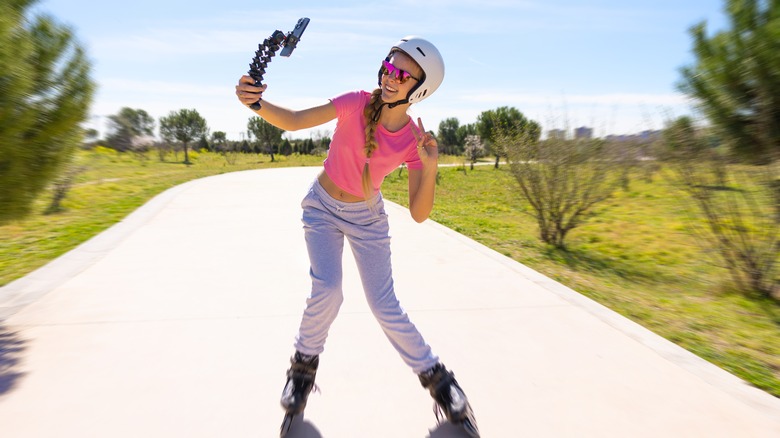
Action Mode is available for the iPhone 14 and newer, running iOS 17 and up, providing you with a way to capture less shaky-looking videos when walking, running, etc.
- Open the Camera app and select Video from the options listed above the Shutter button.
- From the Video screen, tap the Action Mode button (it looks like a person moving, but crossed out) in the top-left corner.
- With Action Mode turned on (the icon will appear yellow), you're free to move around while recording while the app automatically compensates for your motion.
- Tap the Action Mode button again to turn the feature off.
Be aware that videos recorded with Action Mode will be cropped a little differently than what you might be used to, due to the nature of the feature. It also works best in an environment with plenty of light, so you might have issues if you try to use it at night or in a dimly lit indoor space.
