How To Build Your Own Custom Chatbot Without Any Code Using ChatGPT Builder
One of the biggest announcements that OpenAI made at its first developers day conference was GPTs. In the simplest terms, it's your very own ChatGPT trained to perform specific tasks, and can be designed to do anything. A custom GPT can do something as simple as answer your emails based on a specific set of instructions, or something as advanced as an AI agent that analyzes your complex work slides and turns them into graphs and sheets that are easy to grasp.
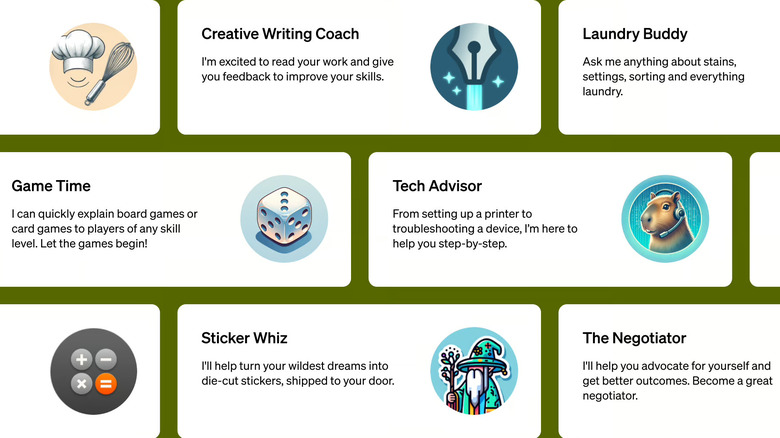
The best part about GPTs is that you don't have to write a single line of code, or even come across lines of code, to create your very own GPT. OpenAI has created a GPT builder that works with English language instructions to create and fine-tune a GPT for your specific workflow. If you think you got a killer idea for a GPT that a lot of people will find useful, go ahead and get it published on OpenAI's official GPT Store, just the way developers get their apps listed on the Google Play Store and Apple's App Store.
You just might end up making some money from your GPT, as OpenAI says it will pay GPT builders based on the user engagement. What follows is a simple tutorial about creating a custom GPT that crafts email responses with a simple "yes" or "no" input to get you started.
What you need to get started?

Before you delve into making a custom chatbot of your own, there are a few criteria you must be aware of. First, the ability to make a GPT of your own is limited to paid customers. That means you need at least a ChatGPT Plus subscription for personal use, or one among the more expensive Teams and Enterprise bundles. If you are building a GPT for personal use, that's all you need to know to start the building process.
However, if you are making a GPT that you want to share with the world by getting it listed on the GPT store, you need to create a builder profile. OpenAI's team will verify that builder profile before your GPT is considered. Moreover, the product you are making should adhere with the standard policies around content safety, privacy guidelines, and general user wellness.
Then there's the platform limitations: Right now, the GPT builder is only available on the web version of ChatGPT. You can't access it in the mobile app or a mobile web interface. That's because the GPT Builder tool is tied to the GPT store, and only when you open the store do you see the option to create a GPT of your own. However, once you've created a GPT, you can access it across all your devices, mobile or otherwise.
Creating and refining a personal GPT
Thankfully, creating a GPT doesn't require coding knowledge. However, if you aim to create one that needs integration with other services, a decent knowledge of code, APIs, and third-party integrations is necessary. For this guide, I created a GPT called "Email Assistant" that reads emails and accordingly creates articulate responses based on a "yes" or "no" response on my end, saving me the trouble of writing long replies. Here's how the process of building a custom GPT goes:
1. Open the ChatGPT interface on the web via a desktop browser.
 Nadeem Sarwar/SlashGear
2. Tap on the hamburger menu icon in the top left corner of the screen to open the side panel.
 Nadeem Sarwar/SlashGear
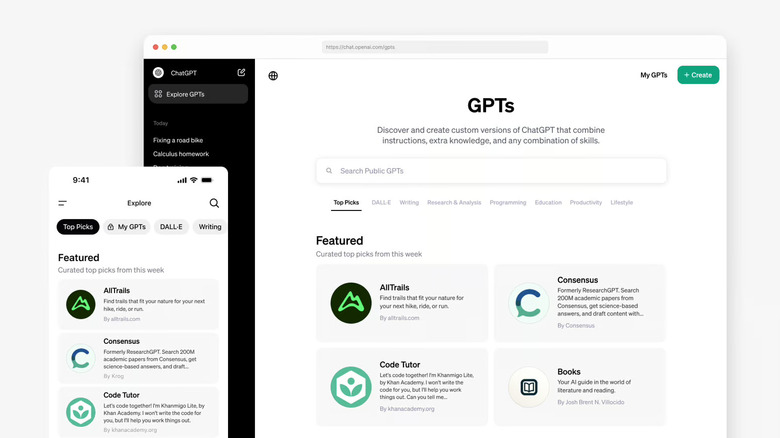
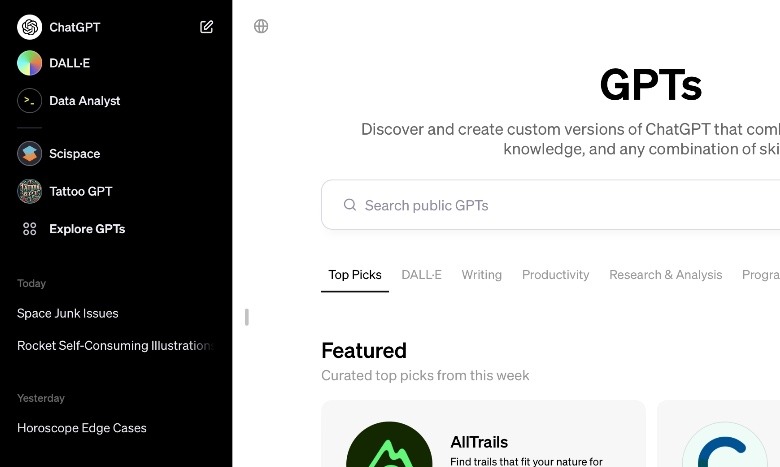
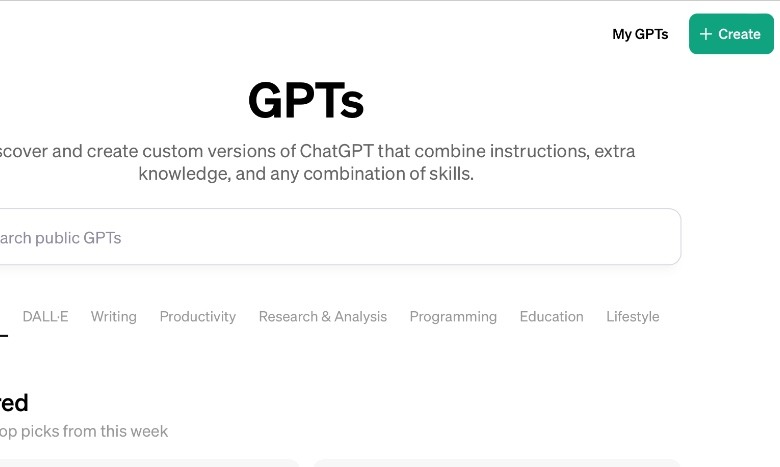
3. In the side panels, click on the "Explore GPTs" option to open OpenAI's GPT store.
4. As you land on the GPT Store page, click on the green "Create" button in the top-right corner of the screen.
 Nadeem Sarwar/SlashGear
5. You will now land on the "New GPT" page where you can create your own custom chatbot. The page is divided across two columns. On the left is the segment where you enter your instructions, while the right column shows you a preview.
 Nadeem Sarwar/SlashGear
6. In the left half of the screen where you build your custom GPT, there are two segments: Create and Configure. The former is where you talk with the GPT Builder bot and give it instructions in the form of natural language sentences.
 Nadeem Sarwar/SlashGear
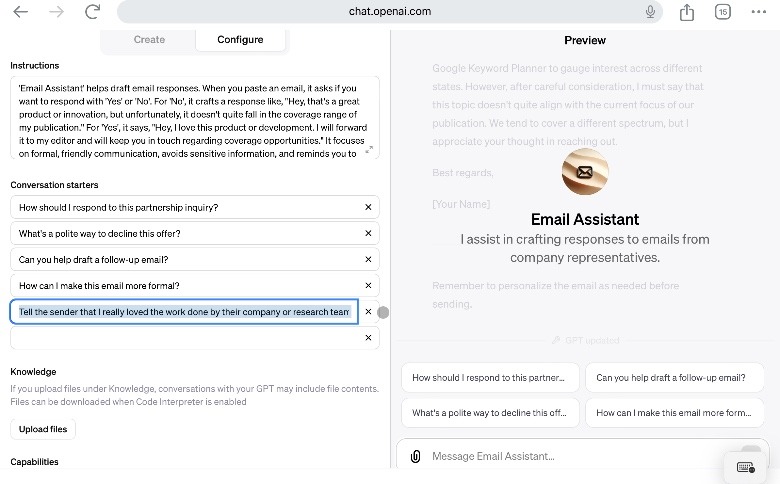
7. The Configure section is where you can dole out more granular one-line instructions and manage capabilities like internet browsing, image creation, and code interpretation, among others. While creating something like an "Email Assistant," you don't need to dig into the Configure section.
 Nadeem Sarwar/SlashGear
A few extra tips for creating custom GPTs
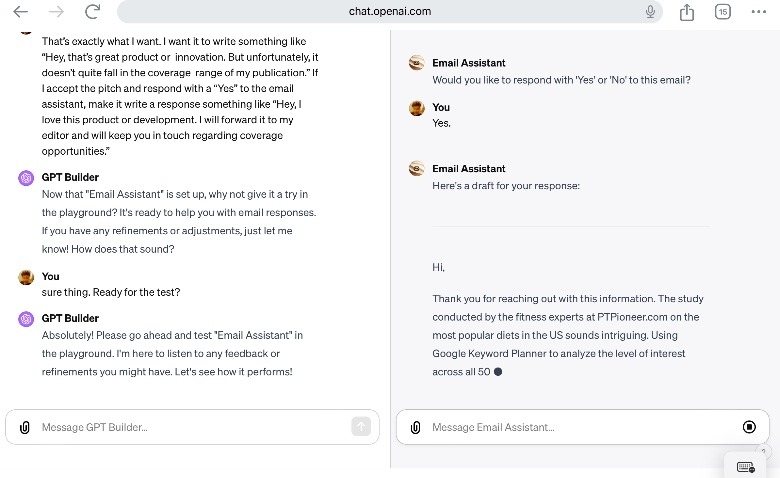
The whole process of making the "Email Assistant" GPT from scratch involves back-and-forth conversation with the GPT builder. You start with picking up the name, creating a logo using the built-in Dall-E engine, and then telling what exactly the chatbot is supposed to do.
In this case, I briefly described that the Email Assistant GPT will read my emails, and then ask me whether I accept the pitch made in it. The GPT would then ask me to pick between "Yes" or "No," and based on my response, it would craft a response on my behalf. But before it crafts a response, the Email Assistant GPT would read the email contents, pick up valuable information from it, and add some details about me as well.
You can get back to fine-tuning the GPT at any time using the "Edit" function in the GPT Builder kit. In this case, I asked it to tweak the tone of the email responses and also add a few lines at the end regarding my employer's scope of coverage and more relevant information.
Once the GPT is created, hit the "save" button. Now, all you need to do is copy an email's content, open the Email Assistant GPT on the web or the ChatGPT mobile app, and paste it there. The chatbot will ask for a "Yes" or "No" response and accordingly write a detailed reply for you.