Wi-Fi Calling Not Working On Android? Here's 5 Troubleshooting Tips
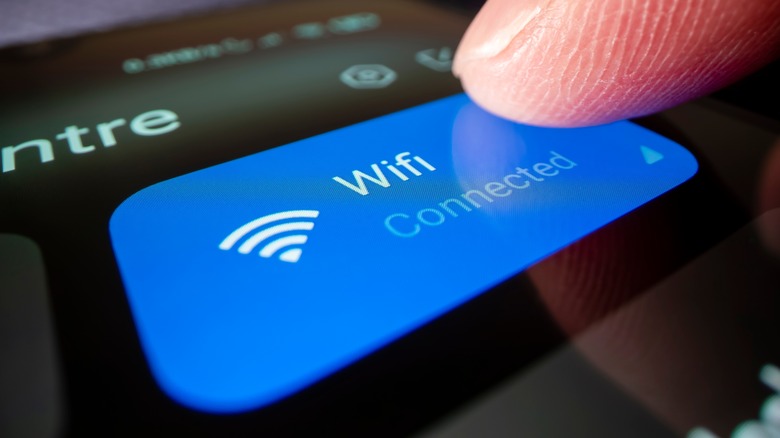
One of the most helpful features of modern smartphones is the ability to connect to a local Wi-Fi signal to make phone calls. While all phones with a carrier have their own 4G or 5G connections that can be used anywhere within service range, regularly making calls or sending messages can eat up your data, which can result in larger bills from your phone plan. Wi-Fi calling, on the other hand, allows you to piggyback off a secured signal to send the bulk of your data, notably reducing the burden on your wireless plan. It's convenient and cost-effective, especially if you're making most of your calls at home.
However, much like connecting to Wi-Fi in general, using Wi-Fi calling on an Android smartphone can be a bit of a finicky process. There may be a problem with your service or signal, your phone's network features may not be functioning properly, or the feature just isn't available.
There are a few tricks you can try to get Wi-Fi calling working, but bear in mind that these aren't guaranteed fixes. If you can't get Wi-Fi calling working on your own, you may need to contact your wireless carrier for more assistance or repairs.
Verify Wi-Fi status

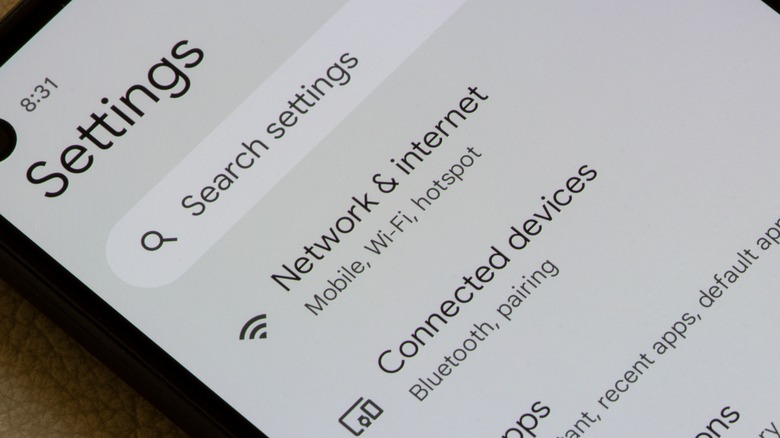
The first thing you should do is ensure that your Wi-Fi is in good standing and that you're actually connected to it. You can see which nearby signal your phone is connected to in the Network section of the Settings menu, or just by swiping down from the top and checking the Wi-Fi icon. If the icon is grayed out or empty, you're not connected to the signal. You should also make sure you didn't accidentally turn Airplane Mode on, as that disables all wireless communications.
If you're trying to use a public signal for Wi-Fi calling, there's not much you can do to verify the health of the Wi-Fi, since the signal's upkeep isn't up to you. If you're at home, though, you can find your router and check the signal lights to see if the Wi-Fi is currently flowing. If the signal lights are off, you may need to reset it, or there may be an external problem with your service like a local outage.
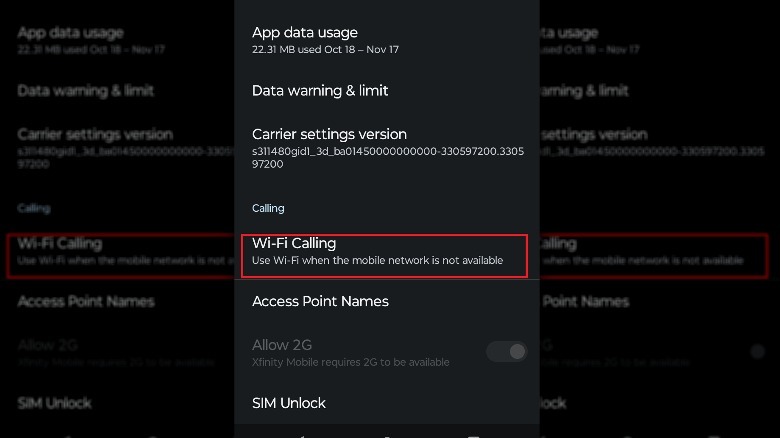
Verify the Wi-Fi Calling feature

While most Android phones have Wi-Fi Calling built-in and enabled by default, that doesn't mean all of them do. If you're not connecting to Wi-Fi when making a call, it's possible the feature has been disabled on your phone. You can check and reenable it in your Android Settings.
 Daniel Trock/SlashGear
-
Open the Settings app.
-
Tap the Search bar and enter "Wi-Fi Calling."
-
Tap the first result to skip to the Wi-Fi Calling option in your mobile settings.
-
On the Wi-Fi Calling menu, tap the toggle to turn it on or off.
It's also possible that Wi-Fi Calling isn't available on your particular model of Android smartphone or on your mobile plan. If the feature isn't available, there likely won't be a Wi-Fi Calling option in your settings, but if you're unsure, you can look up the specs of your phone or call your mobile provider for clarification.
Update your phone
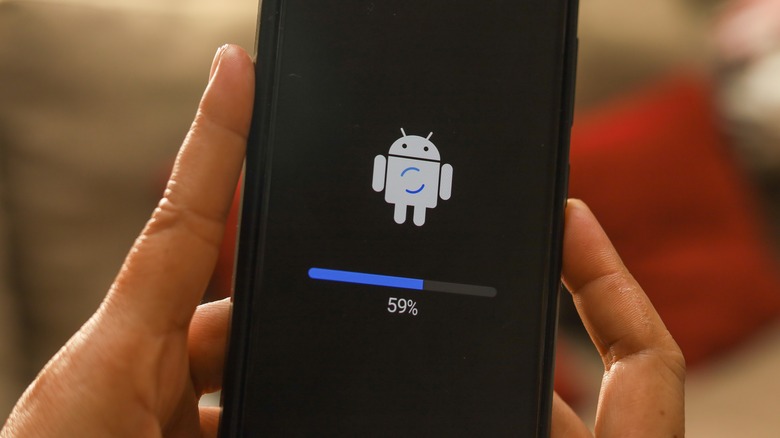
When there are disabled or missing functions on your smartphone, you should always check to see if there are software updates available. If your phone is out of date, certain features may be temporarily disabled until the software is properly updated. Updating your phone's software can fix old problems and upgrade features, and is an important part of your phone's regular upkeep anyway.
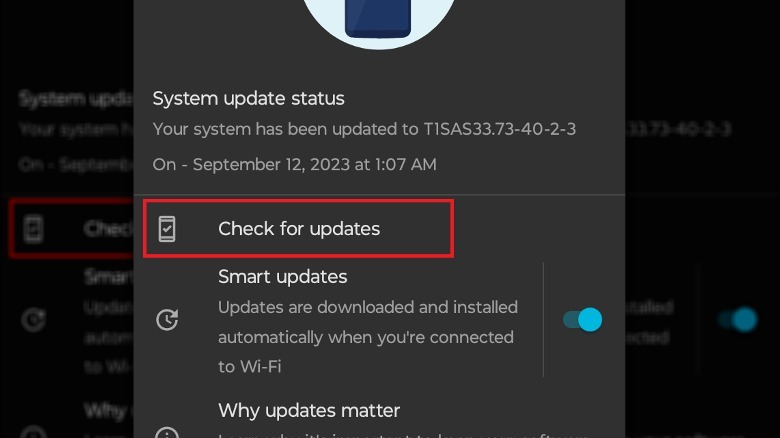
You can check to see if there are any new updates in the Settings app.
 Daniel Trock/SlashGear
-
Open the Settings app.
-
Scroll down to and tap the About Phone or System option. There may also be a dedicated System Update option.
-
Tap Updates or System Update.
-
Tap Check for Updates.
-
If an update is available, tap the install button to download and install it.
Let your phone run through the update process, and when it's finished, check your mobile settings to see if Wi-Fi Calling has appeared or been reenabled.
Restart devices
If you can't seem to get Wi-Fi Calling to work, and there doesn't seem to be a concrete cause, the best thing to try is the old malfunctioning device standby: turning it off and back on. Restarting your Android phone deletes temporary junk files and freshens up your apps, which is why a restart is usually required when installing updates. Just hold the power button on your phone for a moment and tap the Restart option when it appears to power-cycle your device.
In addition to restarting your phone, you should also restart your Wi-Fi router to refresh the signal. This is as simple as unplugging your router from the wall outlet, waiting around 30 seconds, and then plugging it back in. If you have a separate modem, make sure to unplug and plug that back in as well. It might take a couple of minutes for it to boot back up, but once all of the signal lights are back on, the signal should be back and healthy.
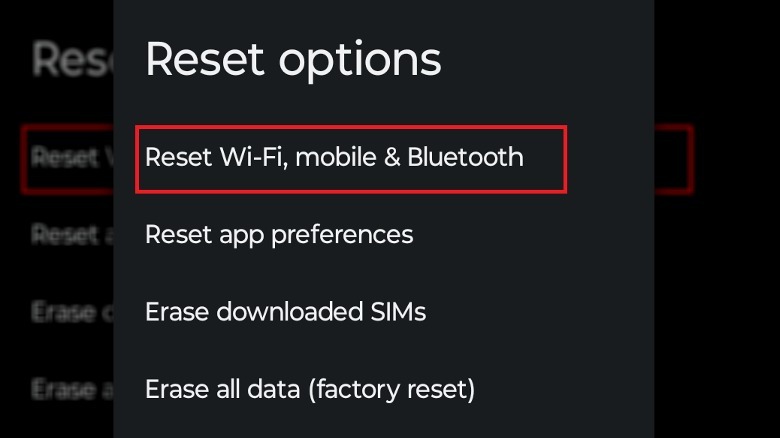
Reset network settings
If all else fails, then you can attempt to overhaul your phone's Wi-Fi functionality entirely by resetting your network settings. This is an option best saved as a last resort, as resetting network settings will completely wipe any existing wireless preferences like VPN setups, saved Bluetooth pairings, saved network passwords, and more. It's a pain to set it all up again, so make sure you're ready for it first.
A network reset can be quickly performed from your phone's system Settings.
 Daniel Trock/SlashGear
-
Open your Settings app.
-
Scroll down and tap System.
-
Tap Reset Options.
-
Tap Reset Wi-Fi, mobile & Bluetooth.
-
Tap the confirmation button to run the reset.
After a few moments, your wireless settings will be wiped. Afterward, reconnect to your Wi-Fi signal and check your Wi-Fi Calling settings to, hopefully, see everything properly enabled.
If this does not work, the problem may be out of your hands. At this point, you should either contact your wireless provider for more information, or visit your local mobile retailer or licensed repair shop for assistance.