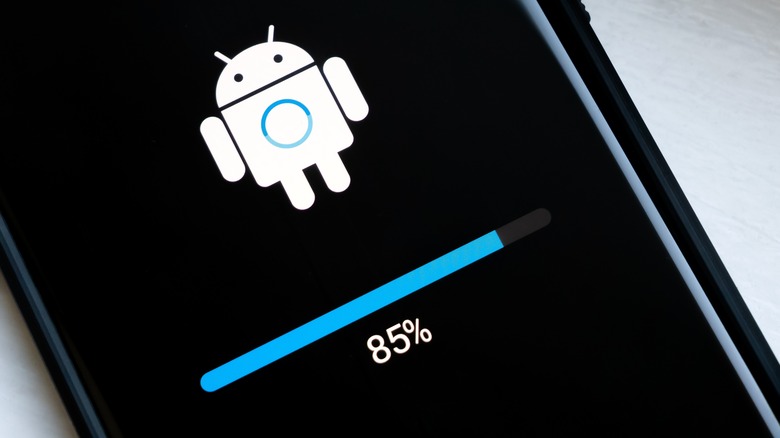
Downgrading To An Older Version Of Android: How To Do It (And Why You Might Want To)
There aren't many reasons to consider downgrading the operating system on your Android phone that would warrant going through the complicated, risky process of doing so. Downgrading Android risks bricking your phone, and most phones can't do it in the first place because they don't have unlocked bootloaders. However, there are a few situations that might call for it.
Perhaps you have a mission-critical app, presumably for work, that won't work with a newer version of Android (though you're probably better off getting a cheap older phone to use for those purposes). Maybe an update made your phone perform particularly poorly, and you need to roll back to an older update. No matter the reason, it's beneficial that it's possible, as it's one of the things that Android phones can do that iPhones cannot.
There is one scenario where downgrading is a relatively simple affair: Going from an official Google beta to the latest stable release, which simply requires opting out of the beta program on the program's website. This will push a downgrade to your phone as an update.
Caveats and preparation
Before we get started, please note: Not only is this a big risk that you're unlikely ever to need to take, but it's only possible on phones with unlocked bootloaders. Assuming you have a very good reason to downgrade and that your phone has an unlocked bootloader (meaning it's most likely made by Google or OnePlus), let's get started.
The usual caveats for this kind of thing apply, like making sure to back up your data. Now, let's get started. First, the preparation:
- Download and install the Android SDK Platform Tools on your computer. (Though available for Windows, macOS, and Linux, these specific directions are for Windows.)
- Download the factory ROM image of your choice for your phone. Google maintains a page for its Pixel and old Nexus images, while FirmwareFile.com is an unofficial resource for other brands.
- Follow our guide to enabling developer options on your Android phone, and then, from the resulting Developer Options menu, enable "USB debugging" and "OEM unlocking."
That's the prep. Read on for the actual ROM flashing process.
How to flash the downgraded ROM to your phone
Now, finally, for the actual process of flashing the downgraded ROM to your phone:
- Connect your phone to your PC via USB.
- Navigate to the folder with the SDK Platform Tools and unzip the factory image of choice to that folder so that the IMG files end up there.
- While in the SDK Platform Tools folder, right-click the window's background while holding down the shift key, then click Open PowerShell window here.
- In the PowerShell window, type "adb devices" and press enter. If your phone is properly connected and being detected, its serial number will show up. Otherwise, you may need to try a different USB cable.
- Type "adb reboot bootloader" and press enter in PowerShell to reboot the phone in fastboot mode.
- Depending on the device, type "fastboot oem unlock" or "fastboot flashing unlock" in PowerShell and then press enter. Your phone should confirm that one of these worked and then wipe itself.
- If there was a "flash-all.bat" file included in the zip file with the IMG files, run that. If not, you need to run these commands in PowerShell in this order: "fastboot flash bootloader [bootloader file name].img," "fastboot reboot-bootloader," "fastboot flash radio [radio file name].img," "fastboot reboot-bootloader," and "fastboot flash -w update [image file name].zip."
Assuming all went well, your phone will reboot and act as if it's being powered up for the first time using the downgraded ROM.


