The Right Way To Clean Your PC's Motherboard (And Why You Should)
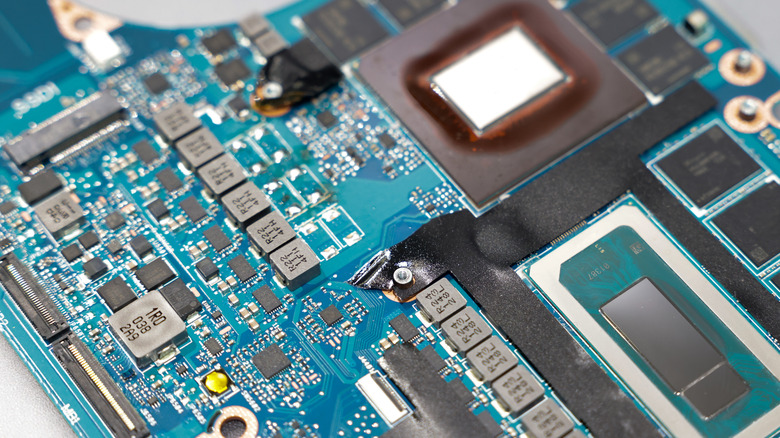
If you're a tinkerer who has built your own PCs and/or repaired/upgraded PCs yourself, then you know that the computer's insides have various ways of getting pretty grimy. Most commonly, dust gets sucked in through the cooling vents and gets all over everything. Just how much dust there is depends on the conditions in the room the PC is running in. If there's no carpeting, it probably won't be that bad, and if there's an air purifier running, then it will probably be even better, but your PC is still probably going to be among the biggest dust magnets in the room, and some of it will get sucked into your PC and onto your motherboard.
That's not all though, depending on what else is going on in that room. Excessive moisture can seep in the same way that it can get in your phone through the USB port and throw off the water detection, causing corrosion, and things like cigarette smoke and vague clouds can also cause similar issues.
So if you take a look inside and realize your motherboard needs some degree of cleaning, how exactly do you do that safely? Read on to find out.
How to safely clean your motherboard
First things first: Unplug your computer before you open it up so you can safely clean the inside of your PC, of course.
Exactly what supplies you need depends on exactly what you want or need to clean off of your motherboard. Dust is simple enough: Use compressed air, a blower bulb, or even a powered air compressor to blow it away. These come with some caveats, though. You can't use a compressed air can upside-down, because it will spray propellant, and if you use a powered air compressor, those can be powerful enough to blow through delicate components like capacitors if you're not careful. If you have one and want to use it, make sure to keep it a safe distance away from the motherboard so it only stands a chance of moving dust. Also, don't use a vacuum cleaner, because they can create a static charge.
If nothing else, keeping dust away will help protect the thermal integrity of the motherboard while also reducing the risk of static electricity buildup that could fry the board, hopefully helping it last longer. For whatever's left after using a blower of some kind, a cleaning brush will dust the board sufficiently.
For most everything else, removing the motherboard and using 99% (or better) isopropyl alcohol with cotton swabs is your best bet. If you need to do this, it's best to fully remove the motherboard from the case and components before cleaning. Though alcohol evaporates quickly, make sure to give more than enough time for everything to dry off completely before plugging it back in.