How To Manage And Separate Layers In Photoshop
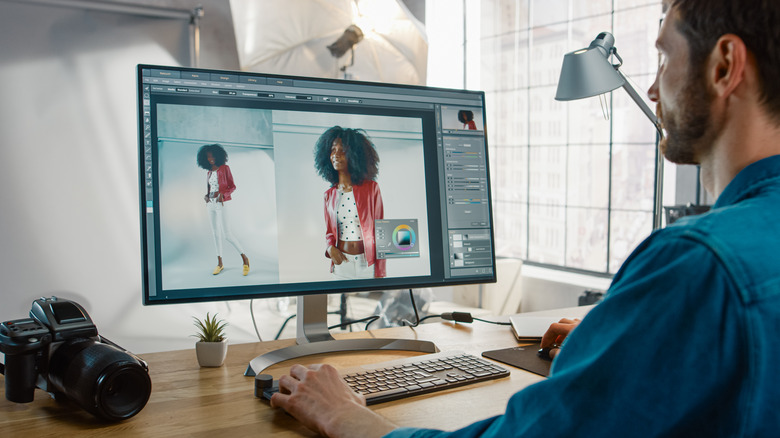
Adobe Photoshop is one of the most well-known graphical editing apps out there, with a plethora of versatile tools to make most kinds of visual edits. Though one of its most basic features, layers, is arguably the most essential.
Typically located in a designated menu, layers act just as the name implies and let you work on different aspects of an image without affecting others. Provided they're separated, of course. They're what make moving text independent of background imagery possible. They make backtracking through one's design processes easier. They also provide a pretty easy way to create multiple color or style options to quickly click through when trying to decide on a look.
One of the most basic ways to utilize layers is to keep every visual element (photos, shapes, textures, words, etc.) on a separate layer for easy editing in the future. However, there's a lot more to them than that. You can even create separate layers from a flat (i.e., single layer) source, provided you know how to go about it.
Separating layers
Splitting a flat image into separate layers isn't exactly complicated, but it does require a bit of effort — and there's more than one way to go about it.
- Click on the layer you want to edit from the Layers panel. Note the document may only have a single layer, in which case select that.
- Then, use the Layer Mask tool to select the precise area of the image you want to separate.
- Once the area is selected, open the Channels menu window and double-click the layer mask to make small edits, adjust opacity, add feathering, etc.
- Alternatively, you can separate whatever you want into its own layer using the Pen tool to draw around exactly what you want, then delete everything you don't.
- The Eraser tool can be used to manually remove all the elements you don't want as well, though it requires more patience and effort than using Layer Mask, the Pen tool, or other selection tools.
- Basic selection tools can also be used to select what you want to extract. After that point, you can copy it, create a new layer, and paste the copied selection in while keeping the original image intact.
Separating an image into multiple layers is a simple matter of following the same steps used to create a layer for your initial selection (such as a photo's subject) but applying them to the bits that weren't previously selected (such as the same photo's background).
Basic layer management
Not every Photoshop project requires complex layer usage, but most will benefit from the fundamentals. Many of which have their own keyboard shortcuts for faster implementation.
- You can create new layers by clicking the plus sign (+) in the Layers menu window.
- Rename layers to make it easier to tell them apart. Double-click a layer's name in the menu window, type in what you want, then press the Enter key in Windows or Return on a Mac.
- Color-code layers by right-clicking each one in the menu window and selecting a color from the available choices.
- Click on a specific layer in the menu window to select it before editing.
- Click and drag layers in the menu window to reorganize them. Think of the list as a kind of side view of the project, with the top-most layer appearing on top (front) and the lowest layer in the list on the bottom (back).
- Delete an unwanted or unneeded layer by selecting it from the menu window, pressing Delete on your keyboard, or clicking the trashcan icon in the bottom corner of the Layers window.
- To hide a layer (make it invisible) rather than delete it, click the eye icon next to it in the Layers menu window. Click the same spot again to make a hidden layer visible.
As with most imagery in Photoshop, individual layers can often be edited using other tools and styles. Be aware that some things, such as text, aren't always compatible with every graphical tool.
Advanced layer management

Outside of the basics, there's plenty more you can do with Photoshop layers if the situation calls for it. You can export all the visible or hidden layers of a project as separate files. Click on the Files option at the top of the screen and select Scripts, then choose Export Layers to Files and follow the prompts.
Some layers — mostly text, shapes, and other vector elements — will have to be rasterized (converted into a flat image) to use filters or painting tools on them. Click on Layer at the top of the screen and select Rasterize, then choose either Layer or All Layers.
At times, you may want to merge layers to make adjustments to all of them at once. You can do so by first holding shift and clicking on all the layers you want to merge. Once they're all selected, click on the Layer option at the top of the screen and select Merge Layers. Note that this can't be undone if you save and close the document.
Alternatively, you can flatten your entire project (i.e., merge all layers) by selecting Layer from the top of the screen and then choosing Flatten Image. However, this is not recommended if you believe you might need to go in and edit individual layers later.
Actions such as merging and rasterizing layers will permanently alter the structure of your project if you save and close. So, if you aren't sure about your decision, create a copy and keep the unaltered document separately.