How To Repurpose Your Old DVD Player Into A Macro Lens For Your Phone

Maybe you're replacing an outdated model, or maybe you're upgrading to Blu-Ray, but if you find yourself with an unwanted DVD player that's just gathering dust or sitting half-forgotten in the deep recesses of your home it might be worth salvaging it for parts. Or rather, one specific part. Assuming you have an interest in taking extremely up-close photos with your smartphone and don't want to buy any attachments for it.
It turns out the optical lens in your (or any, really) DVD player can be removed and repurposed as a macro lens for most smartphone cameras, and all you need is a screwdriver and some mounting putty (3M, Scotch, etc.). The catch is that the DVD player being used as a donor will be out of commission for good — since it will no longer possess a critical component for actually reading discs. So before you attempt this DIY salvaging project make sure that the DVD player in question is definitely not going to be missed.
You don't have to worry too much about the phone, though. As permanent as the process may be for the DVD player, it's a lot simpler to undo or switch back and forth with your smartphone. However, a little bit of care is still recommended as you're dealing with somewhat delicate lenses and electronics and all that.
Dismantling the DVD player
The first thing you need to do is open up the DVD player so you can extract the optical lens. The particular placement of screws and layout of internal components will differ based on the make and model of the player you're working with, but there are a few basic steps to follow.
- Make sure the DVD player is not plugged into any power source, and unplug any unnecessary cables so they won't get in the way.
- Remove screws along the outer housing until you can remove it from the DVD player.
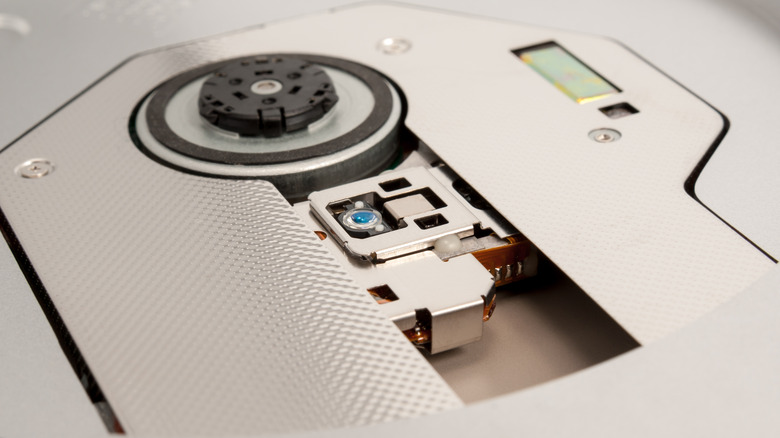
- Locate the disc reader (it should be contained within the disc tray) and unscrew and remove any additional parts as needed if they're in the way.
- You may also need to disconnect (or possibly cut) wires in order to remove the parts you need to access, though it's best to avoid doing so if you can.
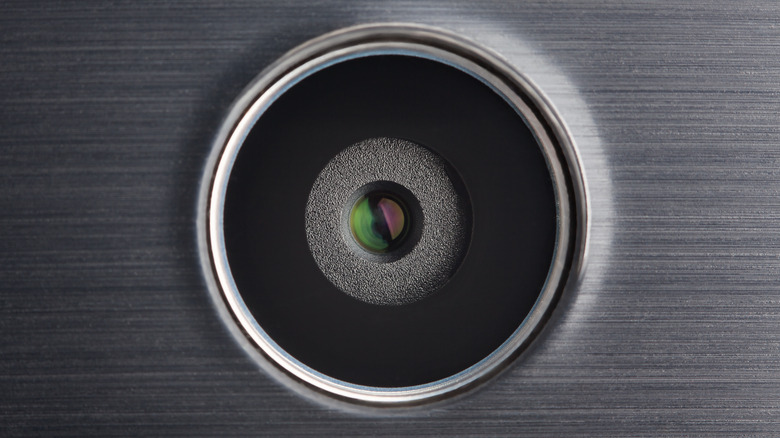
- Locate the optical lens within the disc reader and carefully remove it. Depending on the DVD player it may pop or slide out once the assembly is opened, or you may need to scrape away some glue (take care not to damage the lens) holding it in place.
Once you're finished you can get rid of the DVD player, but please be mindful of your state's laws concerning the disposal of electronic devices.
Using the lens
With the DVD optical lens free of its constraints, using it with your smartphone camera is simple. It essentially stacks on top of one of your phone's other lenses, so the camera is being filtered through the optical lens. This is where the mounting putty (or adhesive putty) comes in.
- Tear off a small piece of the mounting putty.
- Roll the putty into a narrow string or strip.
- Wrap the putty around the edge of the optical lens, making sure not to get any in front of or behind it.
- Gently stick the optical lens over your smartphone's camera lens, using the putty to stick around the edges of the phone camera. Take care not to get any of the putty on your phone's lens as it may cause photos to appear cloudy until you can wipe the lens off again.
- Pull the optical lens off of your phone's camera and remove the putty when you're finished. Consider wrapping the optical lens with a small microfiber cloth to protect it from scratches for future use.
While this will allow for some very up-close photos due to the extremely short focus distance, the downside is that the camera is basically seeing whatever the optical lens is seeing — meaning you won't have as much control over the image focus and zooming in and out won't accomplish much.