ISO In Photography Explained: An Easy Guide (With Tips)
Shooting pictures on your phone is pretty easy, and you end up with a decent enough photo to post on social media or send to friends and family (most of the time). Shooting with a DSLR or mirrorless camera is another beast entirely.
The myriad of different settings and features can give you a headache. While settings like shutter speed are relatively straightforward to explain in theory, there are others that aren't as clear-cut, but no less important. One such feature is ISO, and choosing the right ISO for your shot can make or break a photo.
According to Adobe, ISO is one of the three main settings for ensuring a photo comes out how you want it to. The other two are the aforementioned shutter speed and the lens' aperture. The name itself comes from the days where film was king. Different types of film possessed its own sensitivity to light, and the International Organization for Standardization measured the sensitivity of each type of film and gave it a corresponding number.
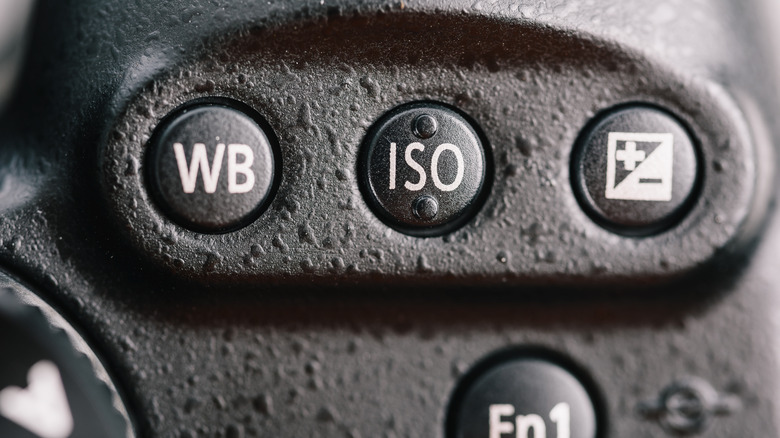
Today, in digital cameras, the ISO setting refers to the camera sensor's sensitivity to light. Lower ISO numbers mean less sensitivity to light, higher numbers mean it's more sensitive. A basic consumer DSLR camera like the Nikon D5600 has an ISO range of 100 to 25,600. Adjusting your camera's ISO setting varies between devices, but most DSLR cameras will either have a dedicated ISO button, or a quick menu where it can be adjusted manually.
All about light
After you've learned how to adjust the ISO on your camera, there's one general rule to keep in mind: Lower ISO is better. Keep the ISO as low as you can to keep the image quality clear. Boosting the ISO before a shot can make the image brighter, but can also introduce graininess as the sensor tries its best to brighten up the shot.
ISO that's too high can also make the photo look washed out. However, unless you have total control over the lighting and are using a tripod, you don't want to set your ISO too low either, as the photo may come out too dark. If you have the time and inclination to mess around with settings, experimenting with different shutter speeds, aperture, and ISO settings can get you the photo you want.
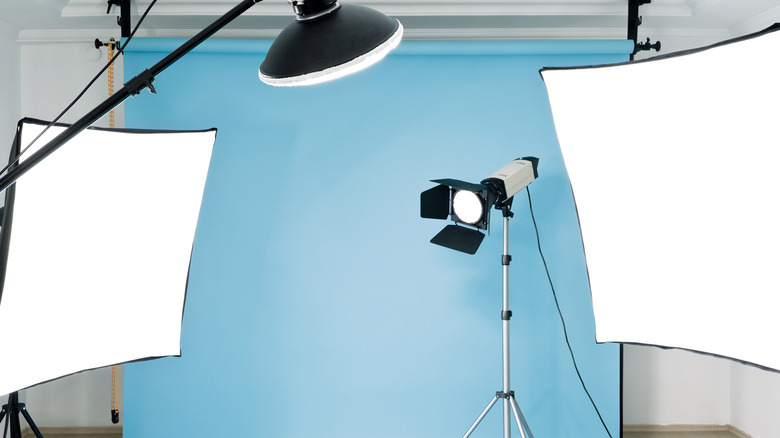
There are some rules of thumb to keep in mind for those moments when you don't have time to fumble through settings. ISO 100 is the base level on many cameras and suited for the perfect lighting of a studio, or the harsh light of outside. ISO 400 is good for indoors, and when you don't have the best lighting available indoors, ISO 800 works well too.
When lighting is dim or practically non-existent, you will need to set the ISO higher. With any light present, you will likely top out around 1600, according to Adobe. Any higher setting than that is best suited for night time photography.
Practice and patience
As B&H explains, ISO is really all about your lighting, and adjusting the ISO can be the key you've been missing if you just can't quite get images to look the way you want in low light. Of course, ISO isn't the be-all and end-all of camera settings, and only when working together with your shutter speed and aperture are you really able to start seeing better photos.
Fortunately, for camera users in the 21st century, you have the technological advantage of being able to adjust all these settings on the fly, and the freedom to take as many reshoots as you want. As with any worthy artistic endeavor, it takes practice and even more patience to get your camera to best capture what you have envisioned.
There are some good rules of thumb to keep in mind, but the best way to learn is to go out and start taking pictures in different light levels to get more comfortable with ISO settings. Just be sure you have enough storage space on your camera's memory card while you're out and about.

