How To Turn Your Old PSP Into An Emulator Machine
Sony finally retired the PSP in 2014 after a nine-year life-cycle, but many gamers might not realize the old handheld which has been collecting dust on their shelf actually makes for a pretty capable emulation machine. You just need to install special firmware and then you'll be able to play all kinds of games on it in no time. It emulates some gaming systems better than others, but it can run ROMs from GameBoy, GameBoy Color, Gameboy Advance, SNES, N64, GameCube, Sega Genesis, PS1, PS2, and of course, the PSP itself.
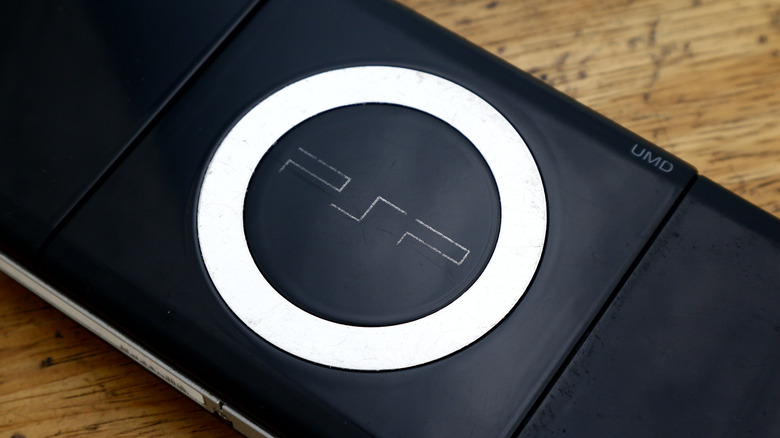
This might not be all that surprising to some. The PlayStation Portable was once considered the most powerful handheld gaming device on the market. In addition to its not-insignificant processing power, the original model boasts a backlit, 4.3 inch, 480 x 272 resolution LCD screen with 24-bit color. It also has a rechargeable Lithium-Ion battery, a Monaural speaker, a headphone jack, and was one of the few handheld consoles with a built-in joystick. On top of all that, the ability to add a Memory Stick Duo card for storage makes it an ideal candidate for emulation. Dozens of ROMs can be added to each card which you can then change out if you run out of space.
So long as you're willing to violate Sony's license agreement, turning one of these handhelds into an emulation device is surprisingly simple. All you'll need is a PSP, a computer, a Memory Stick, and a USB cable.
Step 1: Update the firmware in the PSP
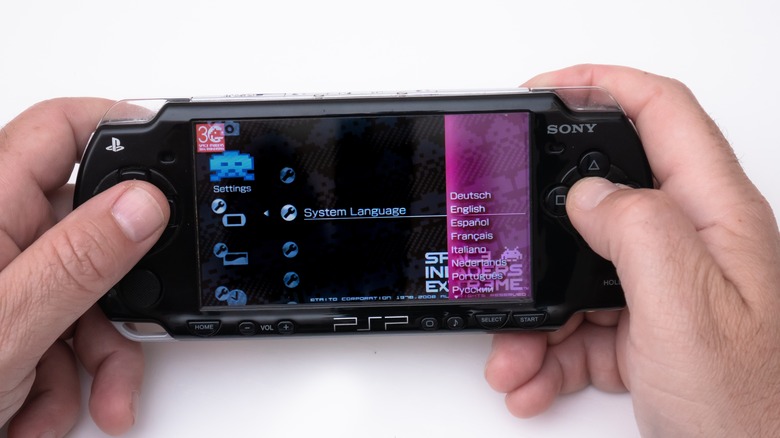
You'll want to make sure that your PSP's firmware is updated to the latest version before you start turning it into an emulation machine. There are a couple of different ways you can do this. If your PSP is connected to WiFi, you can simply navigate to the settings tab on the console's home screen and then select the button that says 'System Update.' Keep in mind that you will need to have a Memory Stick installed to do this on the original PSP models.
Some older PSPs may have trouble connecting to modern WiFi networks, however. If this is the case, you can use a computer to download the software you need and then install it on the PSP via USB.
The retro gaming preservation site ReviveToday has this firmware available to download both for the original PSP models and the PSP Go. The latest version currently available for the console is System Software 6.61 which Sony randomly updated a year after taking the console offline, so that's the one you're going to want to download. Once you have the firmware on your PC, unzip the folder, connect your PSP with a USB cable, and then create the following directory on the PSP's memory stick: PSP > GAME > UPDATE. The names of these folders need to be capitalized.
Next, put the EBOOT.PBT file from the firmware you just downloaded into the PSP's UPDATE folder. Then disconnect the PSP, navigate to Game on the Home screen, and then scroll down to Memory Stick. You should see the update file here and be able to initiate it by tapping X.
Step 2: Download custom firmware for the PSP

The next step is to download custom third-party firmware. This will integrate with the PSP's official firmware that you just updated and allow your PSP to run emulators. There are a few different kinds of firmware out there, but some of them only work with certain versions of the PSP. You can check what kind of PSP you have by examining the model number which will be located inside the battery compartment on the back of the console if you wish to use one of these. Simply open up the compartment, remove the battery, and there should be a number designation in the top-right corner.
That said, there is a firmware set that seems to work with every version of the PSP. It's also one of the easier ones to use, so it's recommended that most users follow this method.
Start by downloading the Infinity 2.0 software from the company's website. This installation software will make it possible to run the Pro-C2 custom firmware which enables emulation. Once you have that, you can download the 6.61 version of Pro-C2 from Digitex. Both files will be compressed, so you will need to open the Downloads folder on your computer and extract them using an application like 7-Zip. Now it's time to install them.
Step 3: Install custom firmware in the PSP

Now that you have the firmware downloaded and ready to go, connect your PSP to your computer. You should see it pop up in the sidebar of File Explorer. Open this PSP folder in a separate window and then navigate into the enclosed folder which is also titled 'PSP.' The file directory should contain a folder titled 'GAME' which should in turn contain a folder titled 'UPDATE.' You will need to create and name these folders if they don't already exist so that it will look like this: PSP > GAME > UPDATE.
Next, go into the Infinity folder in Downloads. There will be two folders inside. Those trying to modify a PSP Go should navigate into the 'pspgo' folder, while those trying to modify a regular PSP should navigate into 'standard.' Both of these will contain an EBOOT.PBP file. Drag this into the UPDATE folder in your PSP's directory.
Now go back to Downloads on your PC and open the Pro-C2 folder. It will contain a 'PSP' folder which will hold another folder called 'Game.' Take the folder titled 'PROUPDATE' from that GAME folder and drag it to the other GAME folder you've created on the PSP.
Step 4: Activate the new software on the PSP

Disconnect your PSP from your computer and turn it on. Navigate to the Game section on the PSP's Home screen and then scroll down to Memory Stick. Infinity 2 should now appear as one of the files contained on the PSP. Launch this file, press X to install, and then follow the instructions on the screen to reboot your PSP when prompted.
Next, go back you the Memory Stick section and scroll down to the PROMOD-C2 file. The text on the screen will be small and difficult to read, but all you need to know is to press X to install Pro C-2, and then press X again to reboot the PSP a second time.
Now go back into the Memory Stick folder and select Infinity 2 a second time. Press the left button on the D-Pad this time and then select the 'PRO CFW' option. Press the right button on the D-Pad, then press the Home Button, and then the X button.
That's it! You can verify that the installation was successful by navigating to Settings – System Settings – System Information. You should now see an Infinity logo next to the firmware version number. If so, your PSP should now be able to run whatever emulation software you want.