How To Use The New ChatGPT-Powered Clippy On Windows 11

In 1997, Microsoft added a new feature to their revamped version of the Microsoft Office suite — the Office Assistant. This little cartoon character would hang out at the bottom of the window and offer you the occasional nugget of quasi-helpful advice. There were several characters to choose from, including a cat, a dog, a cube, and Albert Einstein, but the most well-known character was the default one, Clippit the Paperclip, better known as Clippy.
The internet populace had a bit of a love/hate relationship with Clippy, finding his constant offers for advice annoying and intrusive, yet missing his presence when Microsoft discontinued the Office Assistant feature in new versions of Office. Clippy hasn't been a Microsoft standard for years, aside from a cameo as an emoji, but thanks to some ambitious third-party creators and the power of ChatGPT, he's finally made a comeback. Not only is this new iteration of Clippy cuter in design, but he can now carry a conversation.
How does the new Clippy work?
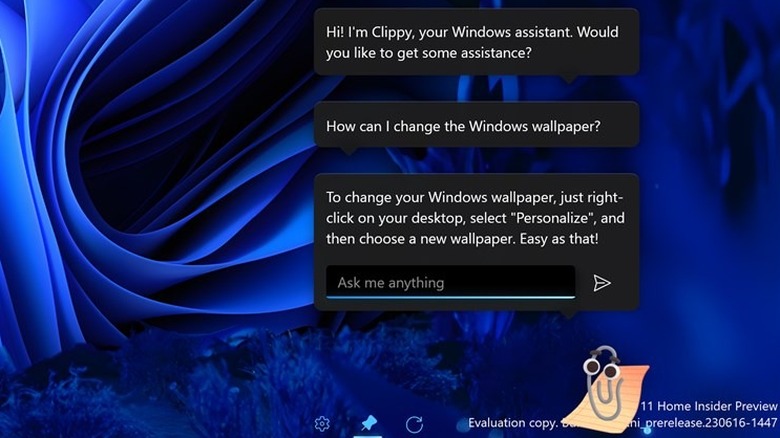
Through the machinations of independent development crew FireCube Studios, who have previously released over 20 apps on the Microsoft Store, Clippy has been reborn as an AI-powered desktop assistant. With the help of OpenAI's GPT 3.5, Clippy can now hold an actual conversation with you through his text input window. You can ask Clippy questions about himself, request advice on simple PC problems, and ask him to do silly things like sing you a song or tell you a joke.
While he's called an "assistant," this version of Clippy can't actually control any aspect of your computer. He's just there to chat with, answer any questions within his ability, and be a generally cute presence on your desktop. You can pin him to the top of your screen for easy access or just leave him on the desktop if you only want to look at him. He's cool with it either way.
How to set up and use the new Clippy
Since ChatGPT powers this version of Clippy, you'll need to obtain an OpenAI API key to use his smart reply features. You can get a key for free by registering on OpenAI's website.
-
Visit the OpenAI website.
-
Either sign in to an existing OpenAI account or make a new one.
-
Click your profile icon in the top-right to open a drop-down menu.
-
Click View API keys.
-
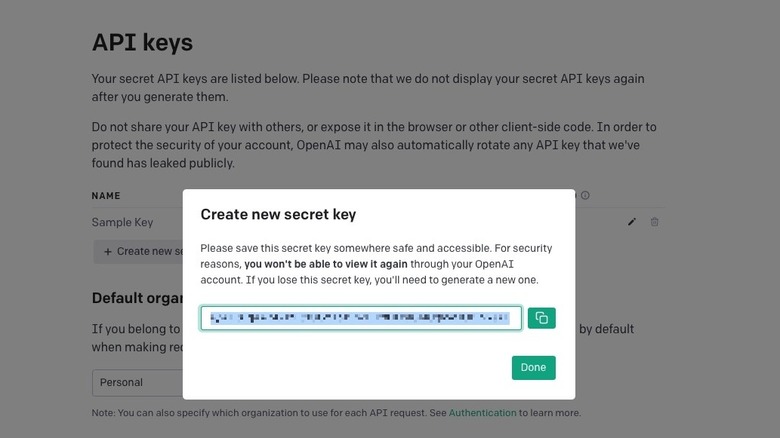
On the API keys menu, click the Create new secret key button.
-
A new window will pop up with a key for you to copy.
Remember, you can only generate and view an API key once, so when it appears, copy and paste it into a Notepad file so you can retrieve it.
Once you've got an API key, it's time to set up Clippy.
-
Open the Microsoft Store app.
-
Search for Clippy by FireCube to find the store page.
-
Click the install button on the page to install Clippy.
-
After installation finishes, open the Clippy app to make Clippy appear.
-
Right-click on the Clippy icon in your system tray and click Settings.
-
Under the API key section of the Settings menu, paste your API key into the box.
-
Click the Save button.
-
Close and relaunch the Clippy app.
With the API key in place, Clippy will have full ChatGPT functionality, allowing him to respond to your inquiries in real-time.