How To Run Classic Console Emulators On Your Steam Deck
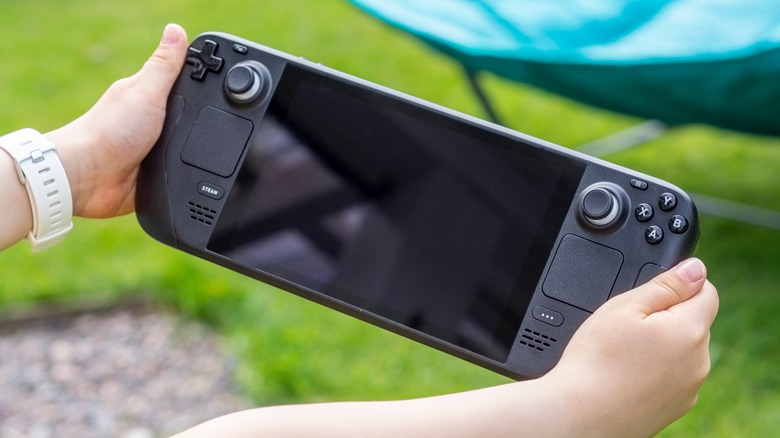
Long ago, when people would play video games, they were often tethered to a computer or console. These days, technology has advanced at such a pace that powerful handheld gaming devices are now commonplace –- look at the meteoric rise of Valve's well-reviewed Steam Deck. Utilizing a Linux operating system, the Steam Deck is a great place to store your repertoire of games purchased on the ubiquitous service. It allows you to play nearly anywhere for as long as the Steam Deck's battery holds.
However, the Steam Deck can also run programs and applications outside the standard issue Steam environment. With a little effort, you can even play your favorite retro video games that aren't available on Steam. This guide will walk through all of the necessary steps to rig up your Steam Deck to play classic console games through emulation, which mimics these games' original environment on systems other than what they were produced for. After downloading an emulator and a few steps, you can revel in games you haven't played in forever. This is vital for preserving video games that may no longer be produced, at least according to Xbox's Phil Spencer.
Installing EmuDeck on your Steam Deck
One of the first steps to prepare your Steam Deck to run emulation is to ensure that you have a source of saving any game files (called ROMs) you might acquire, so you may want to wrangle up a microSD card. From there, you'll need an emulator to run your ROMs, which is most accessible with EmuDeck, so that's what we'll discuss in this guide. In addition, you'll be using your Steam Deck almost like a computer while installing and setting up your EmuDeck emulator, so having a mouse and keyboard handy will make the process easier, though it isn't necessary. To download and install EmuDeck:
- Turn on your Steam Deck.
- Press the Steam button.
- Select the power option.
- Select Switch to Desktop.
- Open your web browser and go to the EmuDeck website.
- Download the application to your Steam Deck desktop.
- Click on your download folder and install EmuDeck.
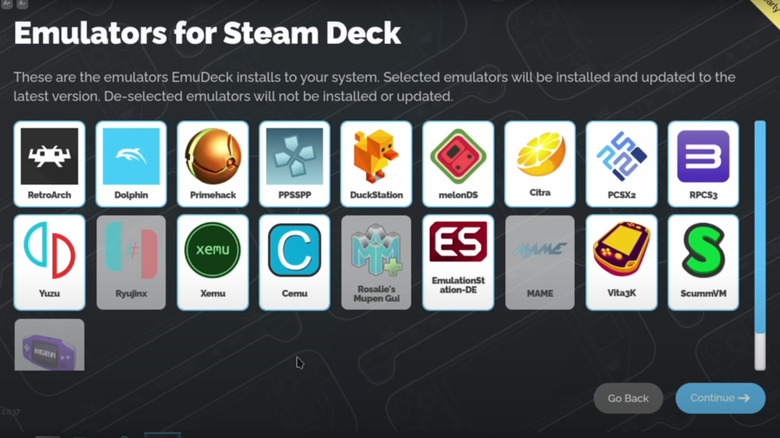
EmuDeck has two different options during installation –- easy and custom. The easy option installs multiple different emulators, while the custom option allows you to specify which emulators to install and how to display said emulation on your Steam Deck. In addition, you may see warnings from individual emulators while using the easy installation option, which you can skip over if you aren't interested in that particular program. If you want to use all of the emulators provided with Steam Deck, the custom option might be the better of the two.
Putting ROMs and BIOS on your Steam Deck
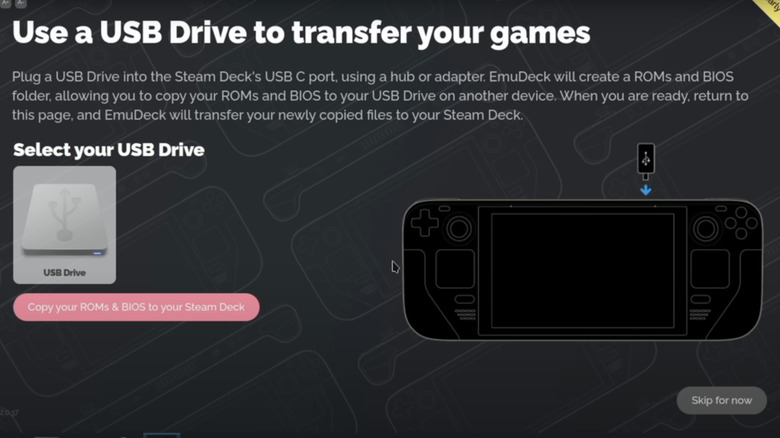
It is important to note that if you have ROMs saved to a microSD card directly to the Steam Deck, it will apply a Linux format that is unreadable by Windows and Apple operating systems. However, the Steam Deck can read Windows and Apple file formats. This means that to use ROMS on your Steam Deck, you'll need to load up the files on another system before importing them to the Steam Deck to avoid any potential issues and hang-ups. That being said, to set up your Steam Deck with EmuDeck:
- After installing EmuDeck, exit the program.
- Return to the Steam Deck's desktop.
- Transfer your ROMs to the microSD card from another computer, then copy them from the card to the Steam Deck.
- Open up the file manager in Steam Deck's desktop mode.
- Go to Home/Emulation/roms using the file explorer.
- Place your ROM files in the corresponding console folders.
At this point, your ROMS are now installed on the Steam Deck, though there are still more steps to make sure that your device can locate and utilize these files and populate them on the list of available games.
Getting your Steam Deck to recognize your ROMs
Having installed EmuDeck and loaded up your ROMs, the next step involves getting your Steam Deck to recognize the newly installed files. Luckily, EmuDeck makes this exceptionally easy to understand, and adding files is a super simple process. To get your Steam Deck to populate and make your ROMs playable, follow these steps:
- Press the Steam button
- Select the power option.
- Select Switch to Desktop.
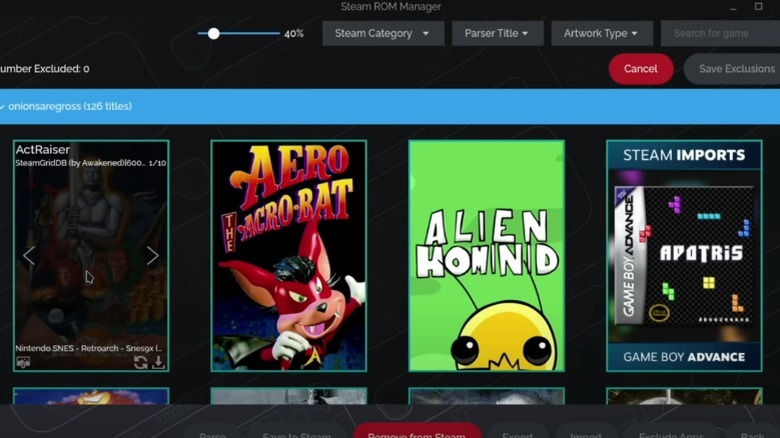
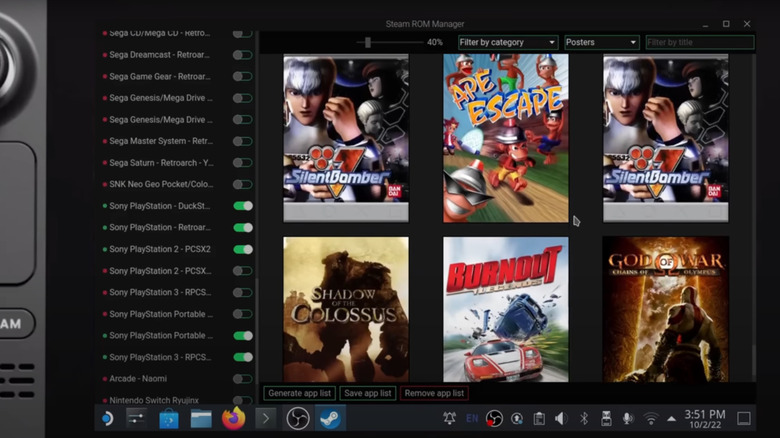
- Open the Steam ROM Manager, which should have appeared on your desktop after installing EmuDeck.
- Select Preview.
- Select Generate app list.
- Click Save app list.
- Close the Steam ROM Manager.
- Go back to Steam Deck's gaming mode.
At this stage, your retro games should appear playable in the Steam section labeled "Non-Steam games." With all of these processes complete, you are good to go for using your Steam Deck as a portable emulator and revisiting games of years past.
Is the Steam Deck good at emulation and is it legal?
While using emulators on the Steam Deck certainly provides an easy and portable way to enjoy some of your favorite games, some may wonder how effectively the device runs these old-school games. Some users on social media have experienced issues with attempting to upload way too many ROMs at once, while others have had a perfect experience while using emulation on the Steam Deck.
In addition, many Steam Deck and EmuDeck users claim the device is excellent for emulation gaming. Besides the often high praise for the Steam Deck's emulation and customization, some may wonder if it is legal to use an emulator on the Steam Deck; rest assured that installing and using emulators is considered perfectly legal, though the legality of ROMs themselves, and how one obtains them, is murkier. Ultimately, the Steam Deck has the power and portability to be an absolute monster of emulation gaming.
