How To Connect An Xbox Controller To Your Nintendo Switch
We may receive a commission on purchases made from links.
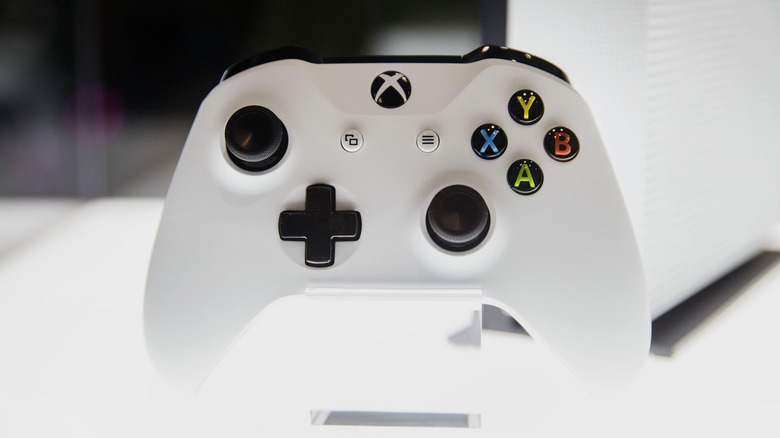
Whether they're your favorite kind of controller or not, Xbox controllers are one of the most ubiquitous controller types thanks to the Microsoft backing. A handful of generic controllers these days use the Xbox controller as a framework, and there are tons of third-party Xbox controllers on the market. All of this means that it is generally easier to get your hands on an Xbox controller, genuine or knock-off, than, say, a first-party Nintendo Switch Pro Controller.
If you're looking for a budget option for a controller for your Nintendo Switch, an Xbox controller could be the answer that you've been looking for. Of course, due to the hardware disconnect, using an Xbox controller with your Switch unfortunately isn't as simple as just plugging it in. Luckily, that's not a problem that a little bit of ingenuity can't overcome. All it takes is the right equipment and a few button taps to cross the console border.
Necessary equipment to connect an Xbox controller to a Switch
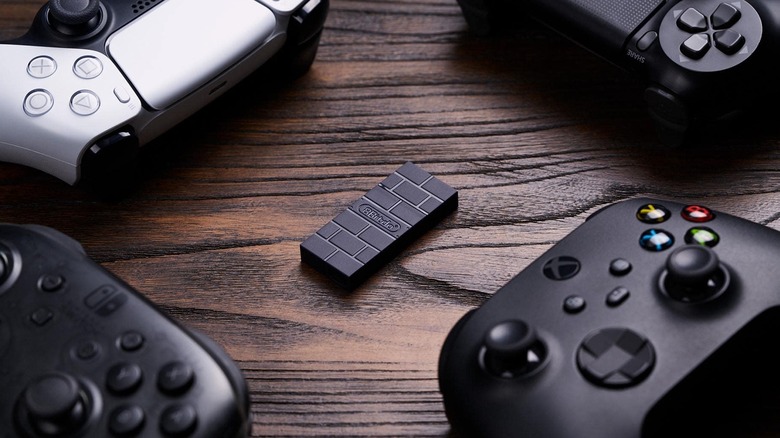
In order to facilitate a connection, you're going to need two vital pieces of equipment. First and foremost, you're going to need a wireless USB adapter. The Nintendo Switch has lockouts in place that prevent the console from recognizing hardware outside of its framework, but with a wireless adapter, you can circumvent this limitation. There are a few good options on the market, but for the money, we'd recommend the 8Bitdo Wireless USB Adapter 2. It's readily available on Amazon, fairly affordable, and easy to use.
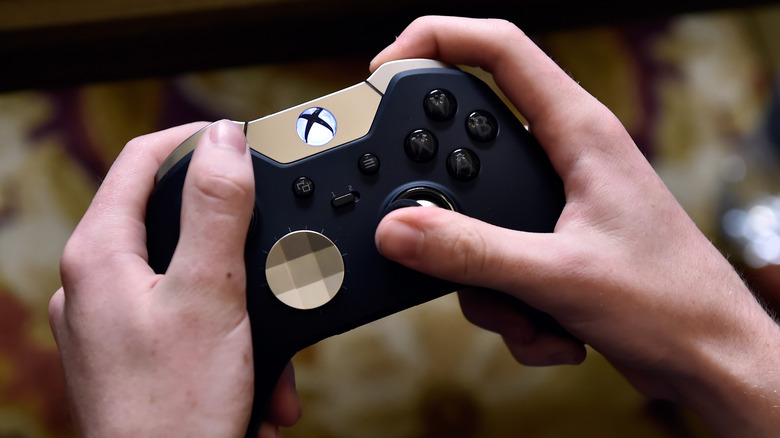
The second thing you'll need is an Xbox controller. That may sound obvious, but there is an important factor worth emphasizing. Whether you're using a first-party, Microsoft-made Xbox controller or a third-party Xbox controller from some other manufacturer, it needs to be a wireless controller. Wired controllers won't work here, so make sure the Xbox controller you want to use has full and proper Bluetooth connection support.
How to connect the Xbox controller to the Switch
With equipment in hand, it's time to put everything together. Incidentally, this process can work whether your Switch is docked or undocked, though it's easier in the former case. Also, before you get started, make sure your Switch is updated to version 3.0.0 or later.
-
Turn on your Nintendo Switch console and open the Home menu.
-
Plug your wireless adapter into one of the Switch dock's open USB slots.
-
If you're using your Switch undocked, you'll need a dongle to connect the wireless adapter to its bottom USB-C slot.
-
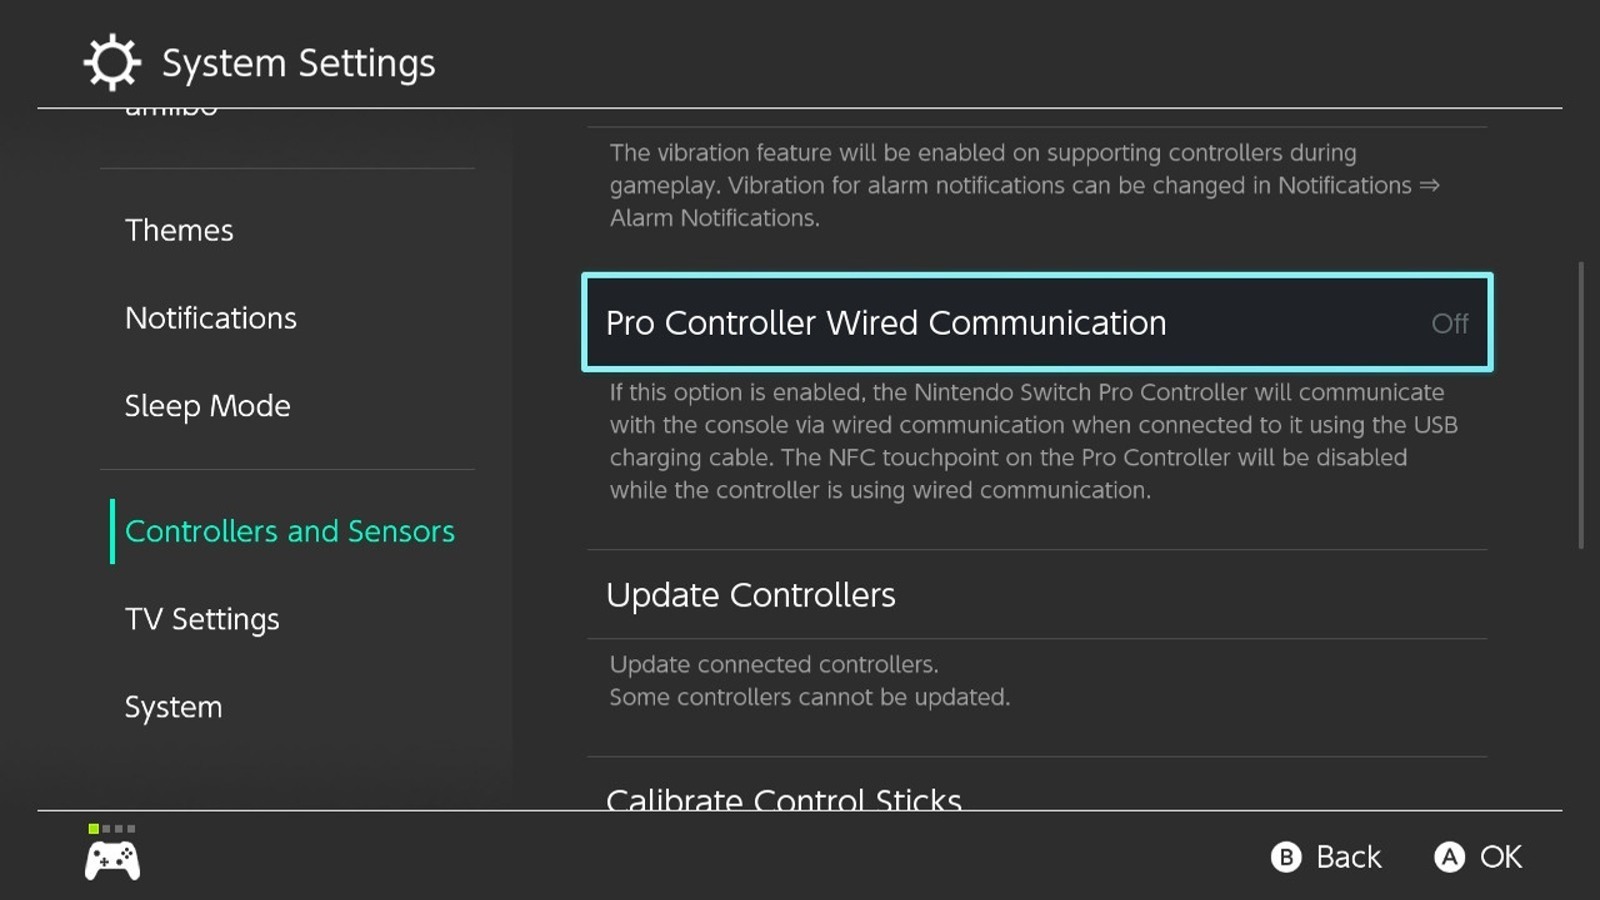
On your Switch's Home menu, click the gear icon to open the System Settings.
-
Scroll down to Controllers and Sensors.
-
In the Controllers and Sensors tab, enable Pro Controller Wired Communications.
-
Press the pairing button on the side of your wireless adapter to put it in pairing mode, indicated by a flashing light.
-
Press and hold the connect button on top of your Xbox controller to put it in pairing mode.
-
When the lights on the adapter and the controller stop flashing, they will be paired.
Once the controller and adapter are paired, the Switch will treat it like a regular Pro Controller. Just remember that an Xbox controller can't use a Switch controller's advanced features like Amiibo reading or motion controls. Additionally, you can't use the controller to wake the Switch from sleep mode, and the controller will stay on itself until you manually power it down.


