How To Take Incredible Astrophotography Pictures On The Google Pixel
Google's Pixel phones have earned a reputation for their photography abilities, especially for portraits and images taken in low-light scenarios. In 2018, Night Sight arrived on the Pixel cameras, and Google has since expanded it with an astrophotography mode. The technical explanation behind this feature is it reduces the visual noise that makes sky shots look grainy. This noise can be mitigated by maximizing the light the camera can collect in the dark.
You can use a more prolonged exposure to increase the amount of light captured, but hand movements and the celestial motion of stars in the sky will create noticeable blurs. Swaying trees, moving clouds, and the moon's trajectory can all prove to be a nuisance for long-exposure shots. To combat this shortcoming, Google created a system of capturing multiple frames at different exposure levels, stacking them up, removing motion disturbances algorithmically, and delivering a cleaner night sky photo.
These features might make it seem easy to capture astrophotography shots. After all, you're not dealing with complex manual camera controls. However, to capture the best night sky pictures, there are a few steps you need to take in advance. Here's a brief explainer of how things happen behind the scenes, how you can prepare, and what hurdles you need to cross to take stunning night sky photos on your Pixel. (Don't worry, you can also take astrophotos on an iPhone.)
The tech behind Pixel astrophotography
In a post on the Google Research blog, the team behind the astrophotography feature explains how it works. First, the camera takes 15 long exposure shots with a limit of 16 seconds per frame and merges them. These long-exposure frames collect 250 times more optical data than a regular photo. Then, using an onboard AI called a "convolutional neural network," the camera automatically adjusts the photo's contrast and reduces noise in the shot, making celestial objects more prominent.
Extremely low-light settings like the night sky also require special processing to show a clear image on the phone's viewfinder (in other words, its screen) and to adjust the camera's autofocus, so Google came up with similar algorithms they call "post-shutter viewfinder" and "post-shutter autofocus" to combat these issues. Both make astrophotography significantly easier on the user. Otherwise, you'd point your phone at the sky and see a blurry gray mess or end up with a badly focused photo.
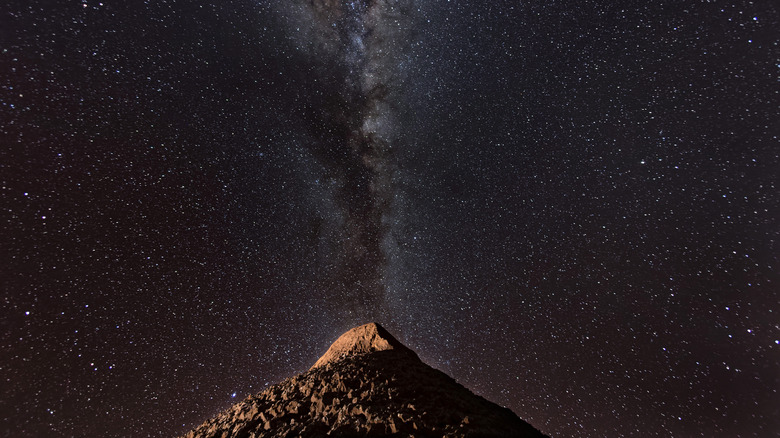
As long as there is at least a modest degree of moonlight, Google Pixel phones deliver sharp images of starry skies, especially when mounted on a tripod. It also produces clear, vibrant images of landscapes at dawn or dusk, in case you want a change of view and perspective.
How to prepare for a Pixel astrophotography mission
Planning is the first step to getting the perfect night sky photo. Start by checking the weather forecast and ensure that the day you pick is not cloudy. Next, pick out a spot with minimal light pollution from oncoming vehicles, buildings, or any other source. For that, you can use an app like Light Pollution Map. We asked some DSLR enthusiasts who also suggested using a photo-planning app like PhotoPills to ensure you're prepared beforehand. Sky Safari can inform you about the visibility of stars and constellations on any given day.
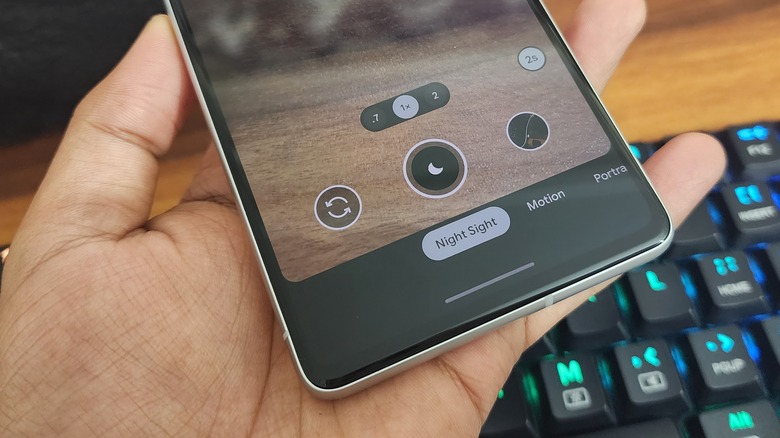
Once ready, mount the phone on a tripod or prop it against a solid surface, launch the camera app, and focus it toward the sky. Google advises users to reduce the screen brightness and enable the dark theme to reduce light pollution. To take the photo, follow these steps:
- In the Pixel camera app, swipe right on the row of menu items above the shutter button and select Night Sight. You can select either the main or ultrawide camera.
- The camera will automatically recognize the night sky and start astrophotography mode. You will see the starry "A" icon appear in a bubble in the top-left corner of the screen.
- Tap the down arrow button in the bubble and set the focus to "Far."
- Tap the shutter button and wait for the countdown timer to end. Don't touch or disturb your phone during the process.
- Enjoy your beautiful space photo.


