How To Transfer Screenshots From Your Nintendo Switch
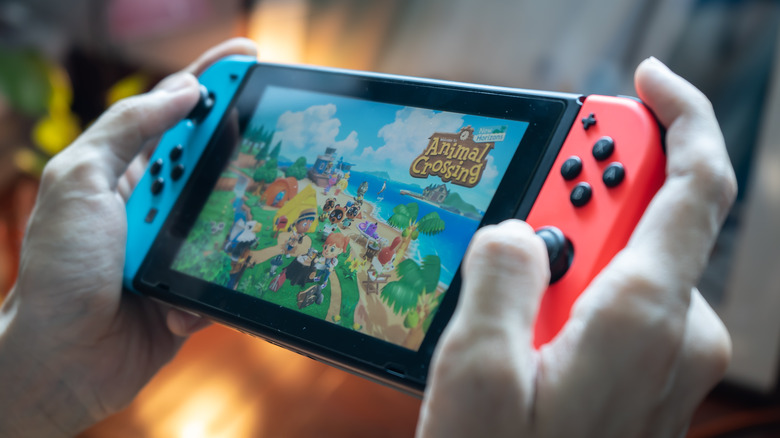
Nintendo built a subtle, simple, and yet incredibly useful feature into its handheld Switch console: a physical button that, when pressed, captures a screenshot of whatever happens to be on the display. This makes it possible to rapidly capture images whenever you'd like, having the console safely store them away for another time. On the flip side, it also makes it easy to build up quite a few screenshots that use up the already limited storage space on a Switch, which could ruin your experience.
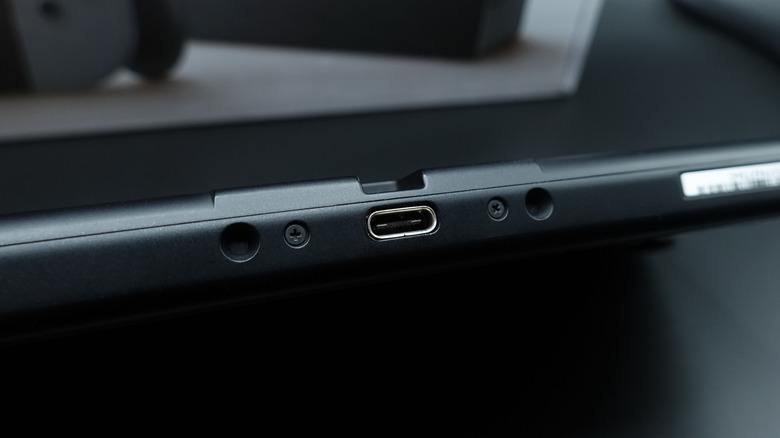
If you need to offload some screenshots to free up space but don't want to delete them, you can copy them from the Switch to a computer using a USB-C cable — and the same goes for video captures, too. From there, the screenshots can be stored, edited, and transferred as any other image; you can, for example, upload them to a cloud storage account.
The Switch also features a QR code-based transfer option that makes it easy to wirelessly transfer the screenshots to any device with a web browser and Wi-Fi connection, such as an iPhone. If you prefer the old-school methods, you can use the microSD card you probably already have in the console or upload the images to social media.
How to transfer screenshots from a Nintendo Switch using USB
The fastest way to transfer screenshots from a Nintendo Switch is by using a USB-C cable connected directly to your computer. Nintendo explains in a support document that transferring the screenshots directly from the console to a computer requires the destination system to support Media Transfer Protocol (MTP). This means, for example, that while you'll be able to transfer the images to a Windows PC directly, you won't be able to transfer them to a device running iOS. To directly transfer images to a computer, you'll need to:
- Turn on the Nintendo Switch.
- Connect the console to your computer with a USB-C cable.
- Press the Home button on the Switch.
- Select Settings, then Data Management on the Switch.
- Select the menu titled Manage Screenshots and Videos.
- Select Copy to a Computer via USB Connection. A prompt will appear when the connection is successful.
Now that the device has been connected to the computer, you'll need to access the Switch on your PC or Mac to select and import the screenshots. The importing process will vary depending on the software you use. On Windows, for example, you can open the default Photos app, click Import, and select the Nintendo Switch from the list of connected devices. All the images and videos stored on the Switch will appear; choose the ones you want, then click Import to transfer them to the PC.
How to transfer screenshots from a Nintendo Switch wirelessly
In 2020, Nintendo added the option to wirelessly transfer images from the Switch to a different internet-connected device. This is the option to use if you want the screenshots saved to your smartphone or you don't have a USB cable handy, as explained in a support document.
- Turn on the Switch and press the home screen button.
- Tap or click the Album option, then Sharing and Editing.
- Select the Send to Smartphone option.
- If you only want to transfer one screenshot, select Only This One. If you wish to share multiple screenshots, choose Send a Batch. In the latter case, you'll also need to select the other images you want to send.
- Scan the QR code that appears on the Switch using the destination device. Wait for the connection to be established.
- Scan the second QR code that appears on the Switch. The default browser on your destination device will open with the images.
- Tap the image to open it, then save it.
The exact steps may vary slightly depending on which device you're sending the images to. For example, on an Android phone, you can usually find a feature for scanning a QR code in the shortcut menu that appears when you swipe down from the top of the screen. In other cases, you may need to download a third-party app that adds QR code scanning functionality to your device, such as a Chromebook with a built-in camera.
Other ways to transfer screenshots from a Nintendo Switch
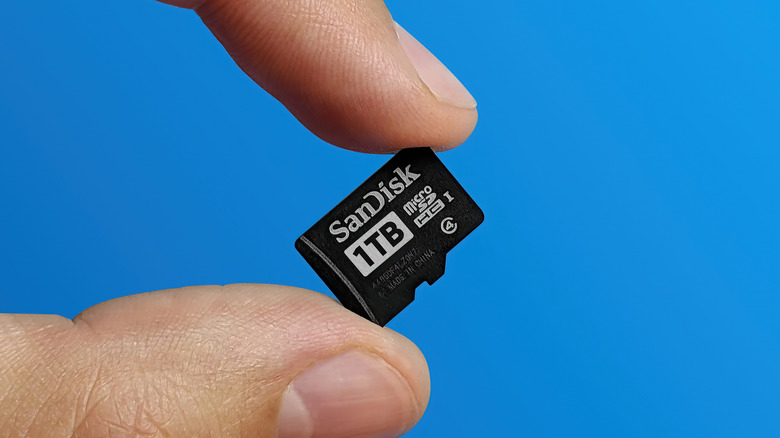
In the Switch's early days, users were limited to two primary options: saving the images to a microSD card or uploading them to Facebook or Twitter. In the latter case, you'd have to navigate to that social media account using the destination device like a smartphone and manually save the images. With the microSD card option, you'd have to either insert the card into another device that supports it or use an adapter to transfer the screenshots off the card via a USB port.
Both of these methods remain an option. As explained by Nintendo, you can transfer images to Facebook or Twitter by heading into the Album > Editing and Posting menu. From there, select the screenshot(s) and then click Post. Choose the account and social media platform to upload the images and login if necessary. As for the microSD card method, you'll first need to set the card as the default save location for screenshots.
- Insert a microSD card into the Switch.
- Press the Home button on the Switch.
- Select System Settings, then Data Management.
- Click the Manage Save Data/Screenshots and Videos option.
- Click Manage Screenshots and Videos.
- Select "microSD Card" and then wait for the transfer to finish.
When you select the microSD card as the default location, the Switch will automatically copy all your screenshots. When finished, remove the card from the Switch and insert it into your mobile device or computer to transfer the images.


