How To Fix The Most Common Printer Issues And Errors On Windows
As a Windows user, one of the most frustrating things that can happen when you need a document printed is to run into a technical issue that stalls the process significantly. There are many possible reasons why your printer might not work as intended, and most of them are easy to fix. Those who have newer versions of Windows installed may also have access to Microsoft's "Get Help" app, which is an automated troubleshooter that has the ability to diagnose common printer problems and provide easy-to-follow solutions. On your Windows computer, visit the Microsoft Support page for printing problems, click the "Open Get Help" button, and grant the web browser permission to launch the troubleshooter.
Through the Windows "Get Help" portal, you can also click "Contact Support" if you'd like to explain your printer problem to a help agent and directly receive assistance. However, if you'd like to try and fix the printer problem without intervention first, you can run through the following troubleshooting tips.
More often than not, the most effective way to troubleshoot a wonky Windows device is the simplest one: unplugging and restarting the machine. Temporarily detaching your printer from the power source allows it to go through a power cycle, which is known to resolve basic printer errors (via Microsoft). However, if that doesn't work, there are other things you can try.
Check your printer's connection
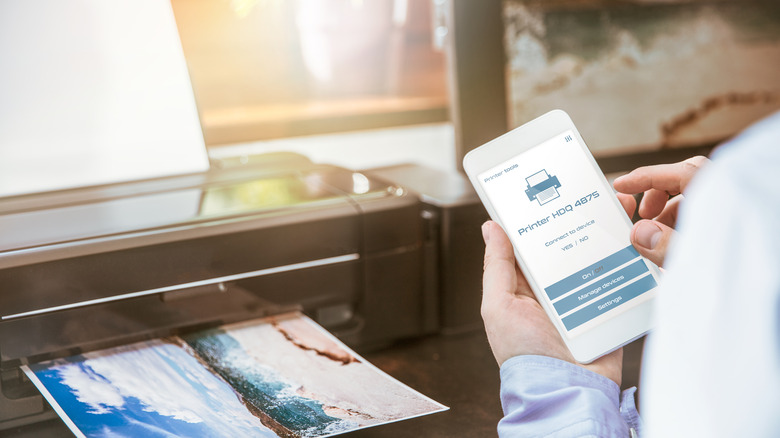
Some of the latest printers offer wireless connectivity, either through Wi-Fi or Bluetooth. Those that do will usually have a dedicated button on the machine that will indicate whether the feature is turned on or enabled. If you still have your printer's manual handy, look for instructions on how to turn on the device's wireless option. While you're at it, look through the manual or the manufacturer's website to see how to conduct a wireless connectivity test. Some wireless printer models have this functionality already built in as a menu option.
If you have a malfunctioning Bluetooth printer, make sure that the Bluetooth switch is enabled on your Windows device and that you are within close proximity to the machine while you are troubleshooting. Printers that use Wi-Fi should be on the same wireless network as your computer. If you have an older printer model that requires direct connection to a computer, make sure all the necessary cables are properly connected into the correct ports.
Remove and reinstall your printer
The next thing you can try to fix printer-related problems is uninstalling and reinstalling the machine. Here's how to remove it from your list of devices on Windows:
- Hit the Start button, open "Settings" (gear icon), then go to "Devices."
- From the left sidebar, select "Printers & scanners."
- Pick the printer to uninstall and click "Remove device."
- Hit "Yes" to confirm.
As long as your printer is switched on and is connected to the same wireless network as your Windows PC or laptop, it should be easy to reinstall it. Here's how:
- While on the "Printers & scanners" page, hit "Add a printer or scanner."
- Select the machine you want from the list of detected devices.
- Hit "Add device" and wait for the process to complete.
If your printer isn't showing up in the list of nearby devices, click "The printer that I want isn't listed," select the option that is applicable to your situation, hit "Next," and follow onscreen instructions. In any case, consider printing a test page to ensure that the printer is back in working order.
Update your printer's driver
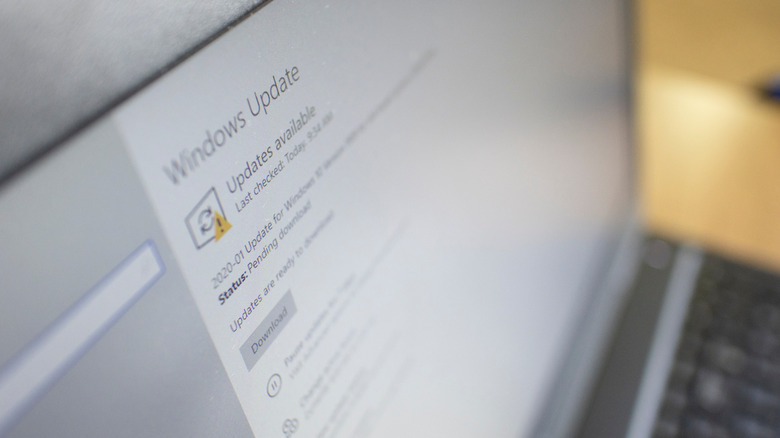
Much like any other computer application, printers require the latest available driver to work properly on Windows. If your printer came with a CD, it should have relevant software you can use to install drivers for your machine or check online for updates. You can also check your printer manufacturer's website if they have posted any driver updates that you can download. In some cases, you may be able to find an updated driver through Windows Update:
- Click the Start button and go to "Settings."
- Head to "Update & Security" and choose "Windows Update" from the left sidebar.
- Choose "Check for updates."
If there is an updated printer driver available, Windows should be able to download and install it automatically. If it doesn't, here's what you can do:
- Hit the Start button, open "Settings", then go to "Devices."
- From the left sidebar, select "Printers & scanners."
- Under "Related Settings," click "Print server properties."
- Navigate to the "Drivers" tab and check if your printer is listed. If it is, then you already have the latest one installed.
- If you don't see it on the list, click "Add" to launch the "Printer Driver Wizard."
- Hit "Next," then select your device's architecture.
- Hit "Next" again, then choose your printer manufacturer and the printer driver you want to install.
- Click "Next" one last time, then "Finish" to begin installing the driver.
Follow the onscreen instructions to add the driver, then go through the steps for uninstalling and reinstalling your printer mentioned earlier.
Run the troubleshooter and refresh the printer spooler
Some printer errors can be automatically fixed using Windows' built-in troubleshooter. Here's where you can find it:
- Click the Start button and go to "Settings."
- Head to "Update & Security" and select "Troubleshoot" from the left sidebar.
- Click "Additional troubleshooters," then pick "Printer" from the list.
- Hit "Run the troubleshooter."
Windows should automatically detect any problems associated with the printers connected to your computer. If there is more than one, select the one you'd like to fix, follow onscreen prompts, and click "Apply this fix" to any applicable solution that is generated.
In case the troubleshooter detects a problem with the print spooler and does not fix it, you can do it manually. Printers have a printer spooler file that manages the entire process — this file can get clogged up and may need to be cleared and reset to get it to work again. Here's how:
- Use the search box on the Windows taskbar to look up "services" and launch the "Services" app.
- Click the "Standards" tab, scroll down, then double-click on "Print Spooler."
- Hit "Stop," then press "OK" to finalize.
- Using the search box on the Windows taskbar, look up "%WINDIR%system32spoolprinters," then select the "%WINDIR%system32spoolPRINTERS" folder from the search results.
- Delete any files in the folder.
- Follow the previous steps to get to "Print Spooler" again and double-click it to view the properties.
- Hit "Start," select "Automatic" from the "Startup type" dropdown menu, then select "OK".
Test to see if your printer works. If not, then the only remaining option before hitting up Microsoft's helpline is to fix the printer issue that is causing it to be offline.
How to fix an offline printer
Many solutions that could fix an offline printer were mentioned above, such as unplugging and re-plugging the machine, removing and reinstalling your printer, or ensuring that the printer is connected to the same wireless network as your PC or laptop. If previously run troubleshooters haven't guided you to set your current printer as your default printer, here's how you can do it:
- Hit the Start button, open "Settings", then go to "Devices."
- From the left sidebar, select "Printers & scanners."
- Pick your printer and click "Open queue."
- Open the "Printer" menu, then select "Set as Default Printer" until there's a checkmark next to it.
- If there is a checkmark next to "Pause Printing" or "Use Printer Offline," click them both to clear them.
If a message that states, "Windows will stop managing your default printer for you" appears, hit "OK." Doing so will stop Windows from auto-setting the last printer you used as the default printer. You can turn this feature back on anytime by navigating to the "Printers & scanners" page and checking the box next to "Let Windows manage my default printer."
While you have the printer's queue page open, check to see if there are any print jobs pending. Clearing the queue may help resolve printer errors. Simply click on a document listed under "Document Name," select "Document," then hit "Cancel" to remove it from the queue.
If that doesn't work, the last thing you can try is rebooting the print spooler and your Windows PC or laptop. Follow the instructions mentioned earlier to get to the "Print Spooler" service, right-click on it, and select "Restart." Then reboot your computer. If the printer still doesn't work, you may need to reach out to Microsoft Support via the "Get Help" app.
