The Best Way To Fix A Nintendo Switch Controller That Won't Turn On
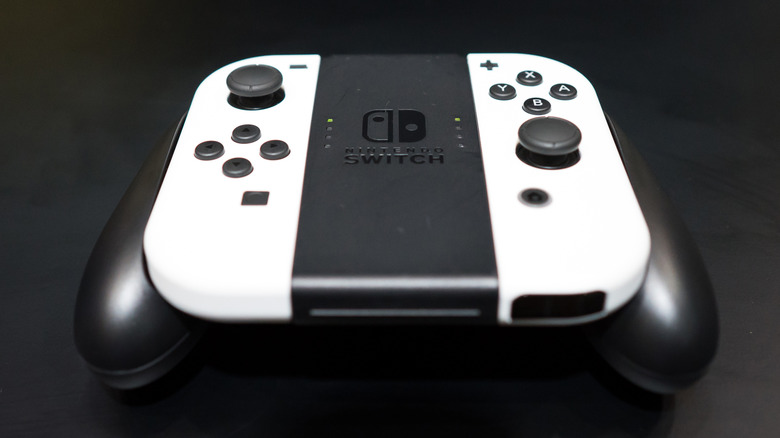
The Nintendo Switch continues to be one of the strongest-performing consoles financially, and it's no surprise that it's still getting plenty of support all these years after its 2017 release. "No Man's Sky," "Splatoon 3," and "Bayonetta 3" are a few of the most notable recent additions to the Switch catalog, and you're going to need a pair of Joy-Con controllers to play any of those games.
Unfortunately for Switch owners, Joy-Cons have a tendency to malfunction over time with continued use. A number of things can go wrong, including the widely feared Joy-Con drift issue; which makes your controller's analog sticks become misaligned, constantly inputting in a direction because it cannot return to center. Another issue you could run into is a pair of Joy-Con controllers that refuse to power up or respond to your inputs no matter how many times you attempt to recharge or reboot them. Fortunately, Nintendo of America has provided a fix — if you're willing to follow the directions.
Reset your Nintendo Switch controllers
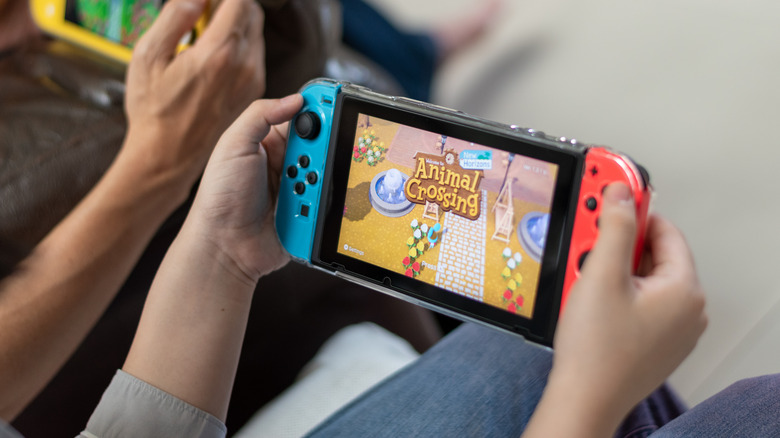
There's primarily good news here: When your Nintendo Switch's Joy-Con controllers refuse to boot up, you can simply factory reset them, according to Nintendo. This process is pretty simple, and it should do the trick to get you right back into your game without much (or any) extra hassle.
- Find your Nintendo Switch's AC adapter, preferably the same one that came in the same box your Nintendo Switch came in. If your AC adapter is lost or damaged, you can simply buy a new one from Nintendo's hardware store page.
- Disconnect your AC adapter from the wall outlet and from your Switch or Switch Dock (at the same time) for at least 30 seconds.
- Detach your Joy-Con controllers from both sides of your Switch, then tap the tiny black "Sync" button on the sides of both controllers to initiate reset.
- Reattach your Joy-Con controllers to your Switch console.
- Plug your Nintendo Switch into the wall with the same AC adapter you reset earlier.
- Tap the onscreen prompts to get to the main Switch dashboard screen.
- Navigate to the "Controllers" menu on the dashboard, which is displayed as a little mini controller icon.
- Congratulations! You should now be able to see both controllers paired and charging.
Make sure the charging adapter is working properly
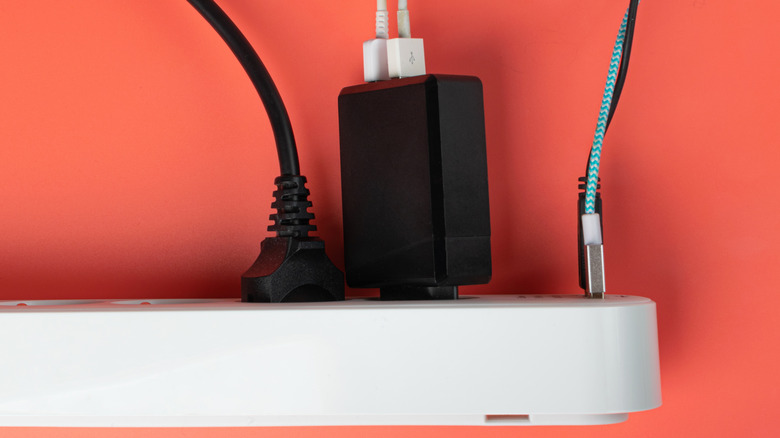
Your Switch's controllers run on electricity which is stored in the battery. If that battery isn't being charged properly, then the controllers won't have any power and won't be able to turn on. So there's a chance your console's charging adapter is the source of your problem. The first thing you should do is check that everything is plugged in properly. If the charging adapter has been unplugged or knocked loose, then that is probably the source of your issue.
If everything seems fine, but the controller still doesn't seem to be charging, then you can try resetting the AC adapter. To do this, unplug it from the wall, and the console, before leaving it for 30 seconds. While the AC adapter is resting, it may also be worth holding down the sync button on your controller or controllers to re-sync them. When the time is up, plug it back in and see if the issue has been solved.
If the reset was successful, your console will power on and display a battery charging indicator in the top corner of its screen when you plug everything back in. If this doesn't happen, you may need to replace the adapter. As the charging indicator is on the console, and the controllers charge through that, the console not displaying a charging indicator would indicate the problem is your charging adapter and not the controllers themselves. You can also rule the console out by charging it with a different USB-C cable, such as your phone charger.
Check for interference and restart the console
According to Nintendo, it is possible that some other device in your immediate surroundings is disrupting the wireless signal between the Switch console and its controllers. This could result in the controllers failing to connect, giving the impression that they won't turn on — and, thankfully, it's easy to check for this potential issue. Try using your Switch in a different location, such as while outside of your home; if the controllers work like usual, but stop working when you return to your original location, then there's likely local interference.
There are two common household devices that may be the source of this problem: microwaves and cordless landline telephones. Nintendo recommends that you unplug the devices and then try to reconnect the Switch controllers. If that works, you may need to relocate those items to continue using the console without interruption. Nintendo suggests repositioning the Switch if you have it on a metal stand or shelves, as that may amplify the interference.
As well, it's possible the wireless interference could be the result of using third-party accessories, such as unofficial Joy-Con shells or Switch cases. If you're using either type of accessory, try removing it to see whether that fixes the problem. As well, Nintendo says you should restart the console to see whether that fixes any temporary syncing issues.
If all else fails, contact Nintendo for repairs
Most tech isn't designed to be easily repairable. There are some cases where a major failure will occur, and you'll have to get in touch with Nintendo and see if it will fix the problem for you. If your controller is still under warranty, this service may be free. A standard warranty runs for a full year from the purchase date of the controller or the console the controller was included with.
Extended warranties and warranties that cover more than just manufacturing defects can also be purchased. If your controller stopped working on its own, that usually means whatever went wrong will be covered by the standard warranty. If the controller was purchased more than 12 months ago — or if whatever broke was somehow your fault — Nintendo will probably still fix or replace it, but may also bill you.
Setting up the repair is pretty simple. You have to fill out a form on Nintendo's website, which requires your details, your product's serial number, the defect you're experiencing, and other useful information. Once that is done, you will have to ship the affected controller to Nintendo. Make sure you only send the controller, and not the whole console. If you register for an online account, you can track the repair progress through that — otherwise, opt to receive communications about your repair. Then you just need to sit back and wait for Nintendo to fix your controller and ship it back. Turnaround times vary, but at the time of writing, it stands at around two to three weeks.
