Why PS5 Controller Joysticks Drift And How To Fix It
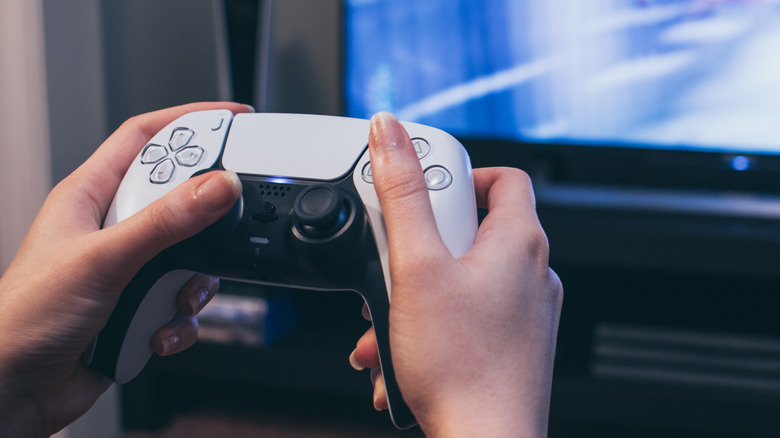
Unfortunately, joystick drift is a common occurrence among all of the major gaming console makers — for example, Nintendo is notorious for joystick drift with its line of Switch controllers. While it's an inevitable problem that impacts both Sony and Nintendo, there are do-it-yourself (DIY) fixes you could try that will hopefully solve the issue if you experience it. Unfortunately, there's no concrete way to tell ahead of time whether your controller will eventually develop drift problems, but there are steps you can take to try and prevent it.
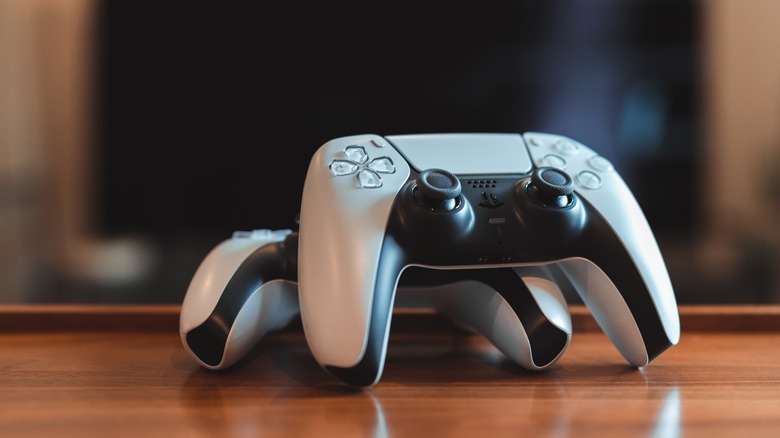
The issue with joystick drift is that it's not guaranteed to affect any given controller and there's seemingly no rhyme or reason to it. Some controllers will develop drift issues within the first year of ownership, and other controllers will never run into the issue. Drift is most commonly a hardware problem, but sometimes it's the result of a firmware bug that may be solved by updating your controller. It's possible that the issue may be entirely eliminated by future controller design refinements, but until that fabled day arrives, Sony's solution may be very similar to that of Nintendo: continue replacing faulty controllers until the next generation DualSense comes out.
Why does controller joystick drift happen?
A big reason joystick drift is a thing is that current controller designs allow dirt, grime, and dust to get into the tiny space that connects the joystick and the controller. The joysticks on the DualSense have a small gap to allow for smooth motion and that gap is large enough that smaller dust particles can get into the joystick assembly. If dust, crumbs, or something similar gets in the sensor component called the potentiometer, it could cause the controller to register stick movement when none is taking place.
Unfortunately, this means there really isn't a guaranteed way to prevent the issue short of never using the joysticks on your controller. Though most people think debris is the most common cause of drift, that's not necessarily the case. iFixit investigated the phenomenon and found that the vast majority of drift issues originate from mechanical problems like wear and tear, which naturally happens over time when the controller is used. The team also detailed a potential permanent fix for the issue, giving gamers hope for a less frustrating future.
This is similar to an issue that plagued Apple's butterfly keyboard design. The gap, though small, was large enough that dust particles could get wedged between the keys, causing some either to become stuck or to register a double press even if the user only pressed the keys once. The two issues are more or less one and the same — though, in the case of the DualSense controller, instead of involving keys getting stuck or double pressing, you have to deal with phantom joystick movements.
How to tell if you stick drift is the problem
There's a chance that you're not actually experiencing stick drift. You may spot the signs of stick drift if you notice your character moving in a direction you didn't intend it to during gameplay. However, you should certainly double-check that stick drift is the problem before trying any of the fixes. There's no point in attempting to fix a problem that may not actually be there.
To test for stick drift, launch a game where the main character moves based on input from both sticks. There should be a wide variety of options here. If the game's controls are standard, the left stick should control the direction the character moves, while the right should control the direction the character is facing. Then place the controller on a surface like a desk or coffee table and leave it alone while you observe the character on screen.
If the character is walking in a seemingly random direction or starts walking one way then another, your left stick is probably drifting. If the character starts spinning on the spot, the right stick is probably drifting. If both are happening, then both sticks have a problem.
Clean your PS5 controller
Fixing the issue can be as simple as cleaning the controller. As disgusting as it sounds, dirt, grease, crumbs, sweat, and bits of dead skin will all make their way into your controller over the course of its life. If the resulting grime makes it into certain areas, it can create problems like stick drift.
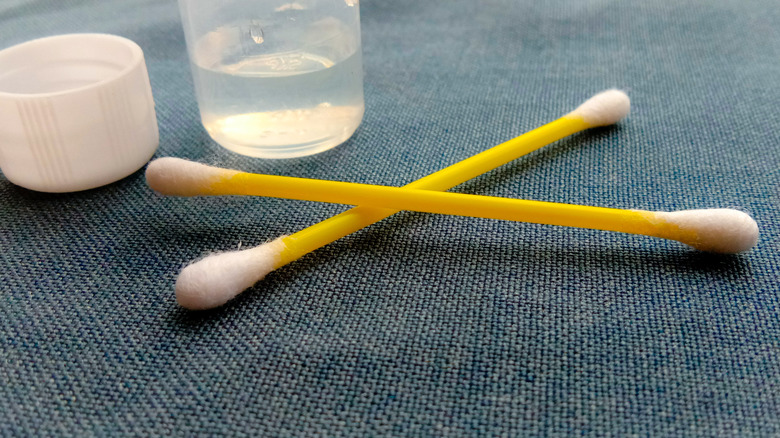
Cleaning your controller is simple, but you do have to be careful or you may cause severe damage to it. The ideal tools for the job are a cotton swab or Q-tip and the highest-strength isopropyl alcohol you can get your hands on. The alcohol will act as a solvent, breaking down the grease and gunk. It will also evaporate quickly without leaving a residue.
To get started, turn your controller off. While the alcohol doesn't stick around for long, it can still short out a controller with power running through it. Then you should use as little liquid as possible. Dip the Q-tips into the alcohol instead of dousing the controller with it. Get the soaked Q-tip into all of the nooks and crannies you can, wiggling and rotating each stick as you go. If your controller is out of warranty, you may want to open it up, partially disassemble it, and give it a thorough clean that hits every spot. If you have a can of compressed air available, blasting the stick's sockets as you rotate said sticks may also clear debris.
Lift and wiggle the joysticks
If your controller is still under warranty, opening it up can void said warranty and ruin any chance of a free repair should something be seriously wrong with it. However, there are still a few things you can do without cracking out the screwdriver set and annoying Sony. You can clear debris from and potentially realign the joysticks by lifting and wiggling them. You aren't opening the controller, taking them out, or doing anything Sony will frown upon.
To do this, you should grasp the thumbstick with your fingers and pull firmly upwards until you hear and feel it pop. From there, you can wiggle the thumbstick around to clear any debris out. Finally, press it back down firmly until it clicks into place. Do this once for each thumbstick and see if the issue resolves itself.
This works in two ways. Firstly, it can clear debris, much like thoroughly cleaning the controller can. Secondly, if the thumbstick has dislodged slightly or is otherwise improperly seated, it can get it back into the right spot and make sure it is properly aligned.
It may not be a hardware problem after all
If you're still having issues after trying to clean the joystick housing, the issue may be related to the controller's firmware, especially if you often skip the update when prompted. Usually, your PS5 will ask if you want to install a controller firmware update when one is available and it gives you an option to ask again in 24 hours. You can select to update the controller directly from this screen, but if you ignored that prompt as well, here's what you'll need to do:
- Head to Settings > Accessories > Controllers and select Wireless Controller Device Software.
- Connect your DualSense controller via a USB-C cable to your PlayStation 5.
- Your PS5 should now prompt you to update the firmware on your controller. Wait for your update to complete.
Note that you'll need to have a USB-C cable handy as firmware updates require you to plug your controller into the console. Installing updates takes only a few minutes, and once you're done, you can unplug the controller and use it wirelessly as you normally would. Alternatively, as outlined by Sony in a support document, you can plug your controller into your Windows PC and update it manually.
Reset the PS5 controller
This step is such a common solution to tech problems that "The IT Crowd" had a running joke about it, and you'll also find this suggestion in most tech help articles, no matter what the problem is. So — have you tried turning it off and on again?
There's a chance your hardware is perfectly fine and the stick drift is due to a software problem somewhere along the line. It's immensely difficult, or even totally impossible, to find out what the exact issue is if you're just a regular home user without unlimited access to all of the software powering your controller. That doesn't really matter, though, as you don't need that to apply this likely fix.
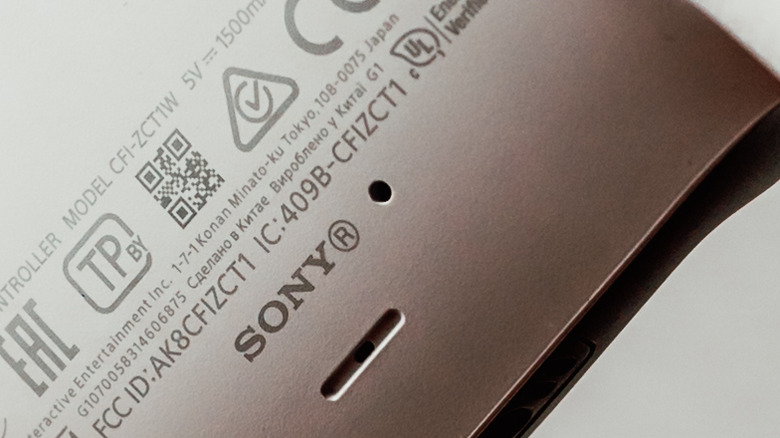
Resetting the PS5 controller is a little bit more involved than just turning it off and on, but no less simple. To perform the reset, you're going to need a long-thin tool like a paper clip or a sim-eject tool from a smartphone. Once you have the necessary tool, then flip your controller over and look for the small hole next to the Sony logo that contains the "reset" button. Insert your tool into the reset slot until you feel the small button it contains depress. Hold the button down for five seconds, and your controller should restart.
Following the reset, you may have to use a USB cable to re-sync your controller with the PS5. After that, check if the problem has disappeared.
Turn the controller's Bluetooth off and on
The issue may not involve the controller's software specifically. Instead, it may be down to the connection between the controller and the console itself. As a result, resetting the DualSense controller's Bluetooth connection may solve your stick drift problem. When it comes to disconnecting the controller and the console, things aren't difficult. You can go to settings, then Bluetooth, then unpair the controller. Then you can re-pair the controller with a USB cable to see if that takes care of the issue.
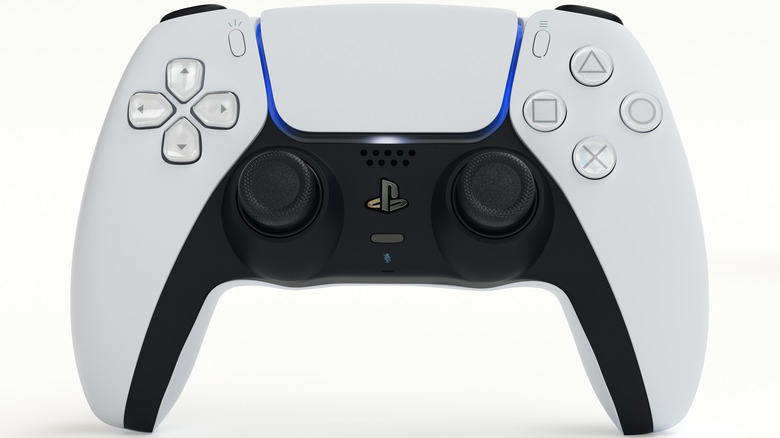
You can also put the controller into pairing mode by holding down both the PlayStation button and the Create button. When the controller enters pairing mode, you should see the blue light under the trackpad rapidly blinking, stopping, and then slowly blinking blue. Going into the console's setting menu and selecting Accessories, General, and then Bluetooth Accessories should lead you to the pairing screen. Select the controller and the console should pair with it. Once the controller is paired, launch a game and see if the reset has solved your issue.
Change the deadzone threshold
This is not a fix, but it can cover up the problem somewhat. It is worth noting that if you're a somewhat competitive gamer and need precision from your controller, this isn't the solution for you. However, most people can probably get by just fine by adjusting the joystick's deadzone threshold. The deadzone refers to the distance a thumbstick needs to move before its input is registered by the console. If there is only a slight amount of drift, this method should cover up the problem pretty well as the tiny bit of input causing the drift won't be detected.
To adjust your deadzone threshold, go to Settings > Accessories > DualSense Edge Wireless Controller > Custom Profiles and either edit or create a custom profile. From there, select Stick Sensitivity/Deadzone and use the deadzone adjustment slider to set your deadzone threshold. You should opt for the smallest setting possible that still eliminates the joystick drift completely. As a result, there may be some trial and error involved in finding the right setting.
Contact Sony
If you've tried everything and the drift won't go away, you only have a couple of options. You can either cut your losses and get a new controller or contact Sony and have them fix it.
If your controller is still under warranty, which it should be if you bought it or the console it came with within the last year, then getting in touch with Sony is a no-brainer. They'll repair or replace the device for free, provided you haven't cracked the controller open or otherwise done something to cause the damage. If it isn't under warranty, you may have to pay for the repair, though this could still be a cheaper option than buying a new controller.
To lodge a repair request with Sony, you'll have to pull out the phone and call 800 345-SONY (7669) to discuss the matter with a PlayStation advisor. The advisor should be able to talk you through your options and set up a repair request. Sony says it aims to have repaired products or replacements shipped back to their owners within 15 days of receiving the broken product.
