What To Do When One Of Your AirPods Isn't Working
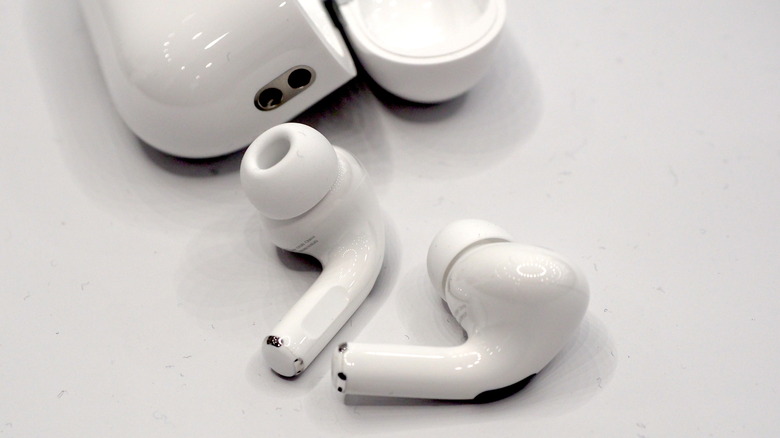
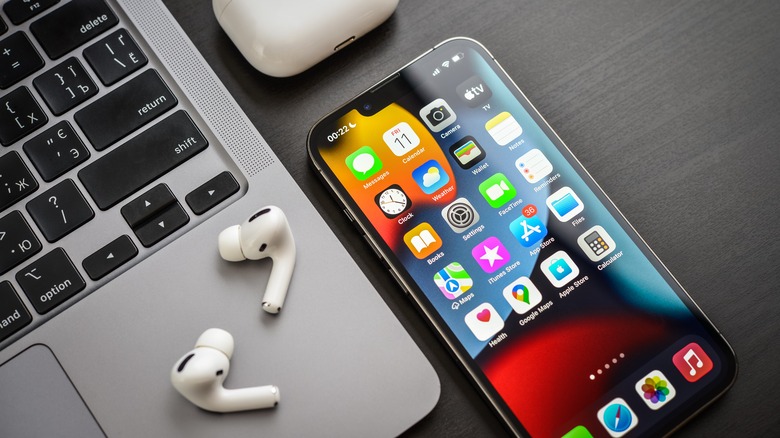
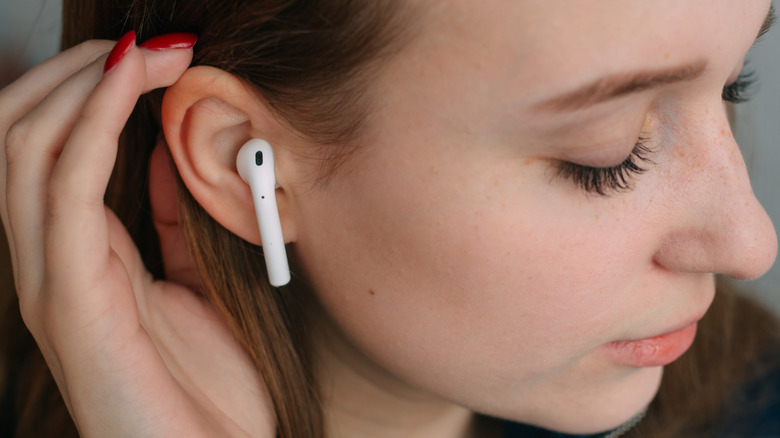
For the most part, AirPods provide a seamless experience from the moment you put them on to the moment you take them off. The earbuds pair automatically to your Apple devices, sound great, and are comfortable to wear for long periods of time. However, things aren't always rainbows and daisies. As is the case with most tech, sometimes your AirPods may not work as you expected. The issue could be for a number of reasons including hardware or firmware-related problems. Whether you have the original AirPods or the third-generation AirPods, the troubleshooting steps are practically the same.
One thing you should try before anything else is putting your AirPods in their case and either plug it in to charge with a Lightning cable or place it on a Qi wireless charger. Apple doesn't have a notification system in place that alerts you when your AirPods case is dying, so sometimes you'll have dead earbuds because the last time you put them in their case, it had less than 5% battery left.
Clean your AirPods
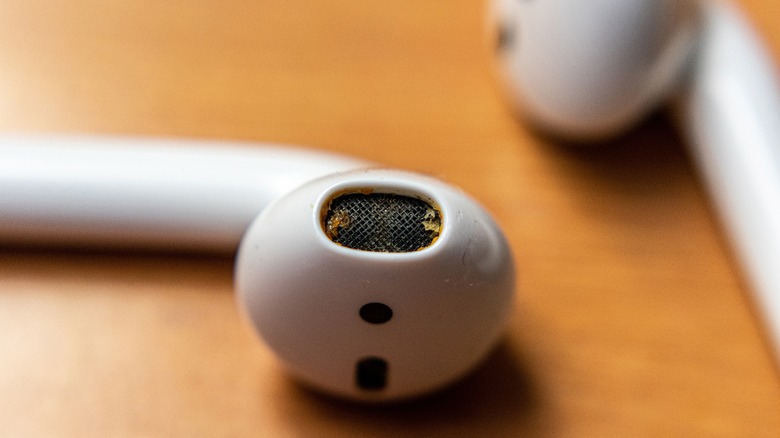
You've probably heard it a million times by now, but yes, you do need to clean your AirPods often, as these are small devices that oftentimes get filled with gunk. AirPods are designed to go in your ears and let's face it, not everyone cleans out their earwax. This is especially true if you have the AirPods Pro, which has rubber ear tips, as those have a tendency to collect ear wax and debris. The earpiece may be working properly but is dirty enough that the audio is very low or blocked entirely.
According to Apple, you're welcome to use alcohol wipes on your AirPods. The company recommends you gently wipe the exterior of the buds, but as we explain in our guide, not to use them on the AirPod Max's ear cups or on the speaker mesh on your AirPods or AirPods Pro.
Likewise, your AirPods not working could be because of dirty contact pins either on the buds themselves or in the case that prevents them from charging. The bottom of the area where you put the earbuds in the case can get dirty as it's such a tight space. If your case isn't too terribly dirty, just use a cotton swab and gently clean around the gold contact pins. Cleaning your AirPods and AirPods case is something you should do often regardless.
Reset the AirPods to factory settings
Sometimes, AirPods experience bugs and no matter what you do, the earbuds just won't pair to your iPhone anymore. In this case, you'll want to reset your AirPods to factory settings. The process is the same for all AirPods models unless you have the AirPods Max, in which case the steps are slightly different. To reset your AirPods to factory settings, do the following (via Apple):
- Put both of the AirPods earpieces in the case.
- Open the lid.
- Within your device's Bluetooth menu, tap the information icon next to the AirPods in the device list — it's the blue circle with the letter "i" inside. Apple says you can skip this step if you don't see the device listed.
- Tap the "Forget this device" option to make your iPhone or iPad forget the AirPods.
- Press and hold the button on the back of the AirPods case for 15 seconds. The case will start flashing amber and then white.
Your AirPods are now factory reset and are ready to pair again. To reconnect the earbuds, keep them near your iPhone or iPad with the case lid open and follow the steps on your screen. For the AirPods Max, it's a bit easier. First, make sure the headphones aren't in the Smart Case or on your head, then press and hold the Noise Control button for 15 seconds. The status LED will start flashing amber and then white, indicating that it's ready to pair.
Update your AirPods
Just like practically any electronic device you own nowadays, the AirPods have firmware that sometimes needs to be updated. Unfortunately, Apple doesn't really make this clear, nor does it offer an obvious way to manually update your AirPods — although one Redditor discovered a new feature in the beta that indicates this may change with iOS 16.
If you want to update your AirPods' firmware, you'll need to connect the earbuds to your Apple device with Bluetooth, put them in the case, plug the case into a charger, then wait for an indefinite amount of time and they'll eventually update on their own — assuming an update is available, of course. Some users have reported firmware updates being applied within an hour, and others have mentioned that it can take a couple of weeks.
Some users have suggested that putting your AirPods in, listening to music for about 30 seconds, putting them back into the case, plugging the case into a charger, and then leaving them near your iPhone can trigger the firmware update within the next 10 to 30 minutes. Of course, this isn't guaranteed, but it's worth a shot if you'd rather have firmware updates come sooner rather than later.
Bring your AirPods to Apple
If you have the first-generation AirPods Pro and are experiencing certain sound-related issues, it may be time to bring them to Apple. The company launched a service program for the AirPods Pro where if you experience cracking or other sound-related issues, it may replace the affected component (one or both earbuds, that is) for free as long as the unit's original purchase date wasn't more than three years ago.
All you need to do is go to an Apple Store or Apple-certified repair shop and have it run a test on your AirPods. If it fails that test, Apple will replace the faulty component, assuming it meets the eligibility requirements. Likewise, this also means that if Apple finds no issue with your AirPods Pro or if they were first purchased too long ago, you'll be returned your current pair.
But even if you don't have the original AirPods Pro — assuming nothing else is working — you should consider taking them to Apple anyway. This is especially true if you're still within the first year of warranty or have purchased AppleCare+. Your AirPods could be experiencing a hardware failure that's causing them to not work properly, and in that case, no troubleshooting effort at home will solve the problem.
