You Can Add HomeKit Support To Your Garage Door: Here's How
HomeKit is Apple's smart home platform, similar to Google Home or Amazon Echo. It lets you control all of your smart home devices, from lightbulbs to thermostats, in one place. Of all the most useful things that work with Apple HomeKit, your garage doors are one and possibly the most useful. Sometimes homeowners forget or don't have the time to close their garage when they're running late for work. And in those rare instances that you misplace the garage remote, you'll be happy you incorporated your garage door to your smart home ecosystem because you're less likely to misplace your phone.
HomeKit users have had to be patient because not every new smart device has been compatible with the platform. It's only available to iOS users, and Apple didn't launch its first smart speaker until 2018, four years after Amazon launched its Alexa speaker. As a result, fewer brands have made HomeKit compatible smart devices. That number is gradually increasing, but it's still not quite at the same level as Google or Amazon's platforms.
Luckily, when it comes to smart garage door openers, a few options exist for HomeKit enthusiasts. Connecting garage doors to smart home hubs is the easy part. A few clicks of the buttons on your phone here and there and that's it. Unlike other smart devices that merely need to be plugged into an outlet, the bridge between your garage door and HomeKit needs to be hardwired into the physical opener and/or the wall switch. For the best advice on that part of the installation, check the product's instructions, the garage door's documentation, or contact a professional for help.
How to connect Meross MSG100 garage door opener to a garage
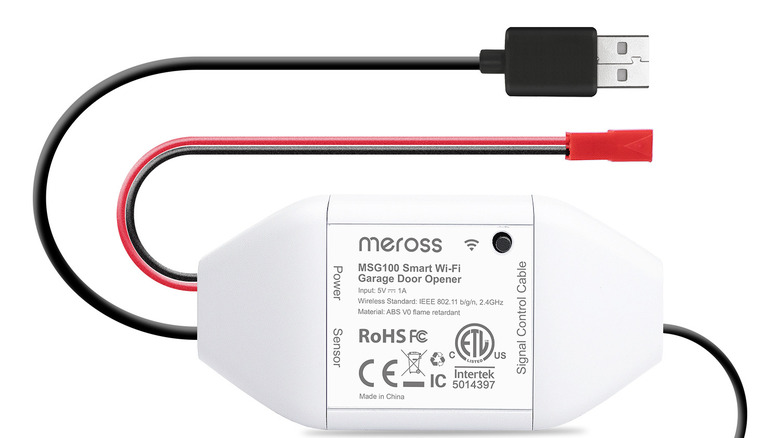
The Meross Smart Garage Opener is a handy device that claims to work with all modern garage doors, even old ones manufactured in the '90s. Meross also offers adapters for unusual models. Once you have the contents of the device in front of you, all you need to do is:
- Download the Meross app on your mobile device and select Smart Garage Opener.
- Power on the device. You'll need to wait five seconds until the status lights blink amber and green. The smart garage opener supports iOS 13 and iPadOS 13 or later, so your mobile device needs to be running the same before pairing it with the Meross device.
- Launch the Meross app and login or set up an account.
- Select the "+" to choose which device you're setting up, and then a setup wizard will run.
- Connect the sensor cable to the opener header.
- Find a good place for the two sensor pieces on the garage door. For the best results, the sensors should be less than an inch from each other when the garage is closed. Double-sided adhesive is included with the device to use.
- Turn off the existing garage door opener and connect the signal control cable to the two terminals on the wall button. It doesn't matter which wire goes into which terminal.
- Place the main module on top of the original garage opener. The double-sided adhesive can be used for this too.
- Turn on both the conventional garage opener and the Meross smart device, and it will connect automatically to the Meross cloud server and HomeKit.
If there are any issues, such as the app saying that the garage is open or closed when it's not, the Meross app may need an update.
Connecting Meross MSG200 Smart Garage Door Opener to garage doors
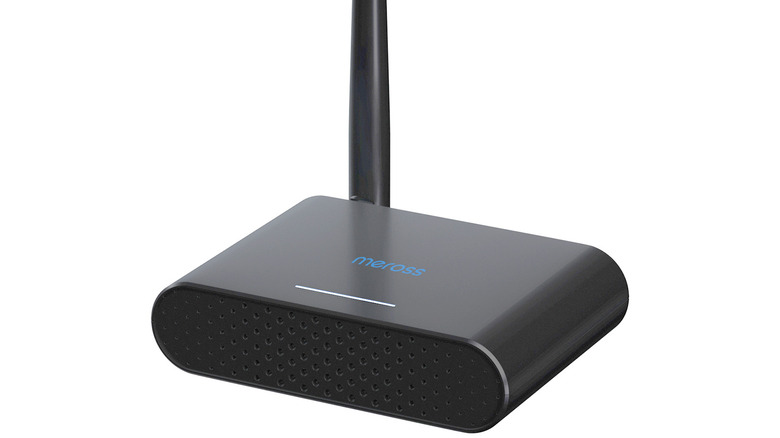
Meross makes two smart garage products, with the MSG200 being the second option. If you're unsure if your garage opener is compatible with a Meross device, you can check the compatibility list on the Meross website before making a purchase. The setup isn't too different from the MSG100 installation, and this one supports up to three separate garage doors. The entire setup comes with the Smart garage opener device, a USB adapter and cable, a sensor cable, a test wire, a stick of double-sided adhesive tape, four screws, and a zip-tie. To connect it to your existing garage door opener, complete the following steps:
- Make sure you have the Meross app downloaded and choose smart garage door opener to get started.
- Turn on the MSG200, waiting five seconds until the LED blinks amber and green.
- Use the Meross app and connect the MSG200 to your home Wi-Fi.
- The app will let you select how many garage doors you're connecting. You'll be able to configure the different ports for additional garage doors after the setup.
- Connect the sensor cable to the MSG200.
- Test the sensor by moving it close then away from the receiver, ensuring it's functional. If it doesn't work as intended, you need to call Meross support.
- Once you know the sensor works, position it on the garage door where both parts of the sensor are less than one inch from each other when the garage is shut.
- Turn off both the garage door opener and the MSG200. Connect the signal control cable to the two terminals that connect to the wall button.
- Place the MSG200 on top of the original garage opener. If the device is connected to multiple garage doors, place the MSG200 above the middle garage opener.
Connecting iSmartGate Garage Opener to HomeKit
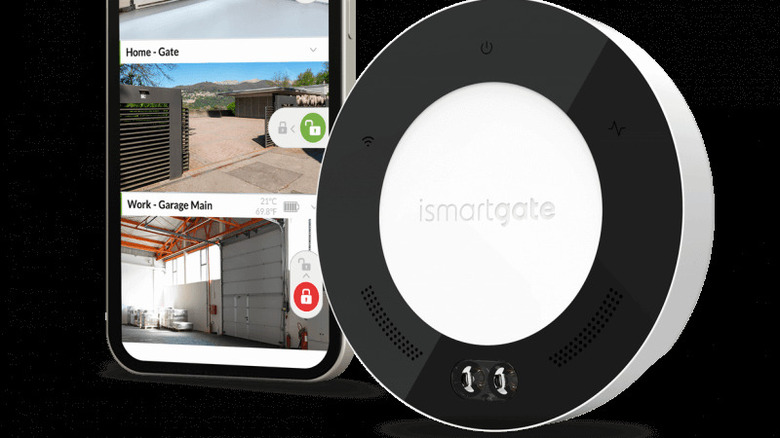
ismartgate sells a few smart home solutions for garage openers that pair with HomeKit. Just like Meross, it also has a compatibility list on its website to ensure the device works with your garage opener. If the website doesn't list the manufacturer for your garage door opener, ismartgate asks that you email its support team. If you own a Craftsman, Chamberlain, or LiftMaster opener, you need to see if there's a yellow "learn" button. If there is, you need to also purchase ismartgate's switch adaptor and connect it directly to the wall button. To simplify matters, the following directions guide you through the setup using an iPhone, but there are directions on the ismartgate website if you're doing it from a computer or Android.
- Download the ismartgate app from the App Store.
- In the app, tap "Start Configuration."
- Plug in the ismartgate device to a wall outlet. It takes two minutes for the device to boot up. Press "Next."
- The Wi-Fi symbol on the device should be blue. If not, hold the reset button on the back panel for five seconds and restart.
- The app will ask if you've used the ismartgate app before to configure a device to HomeKit. Select "No."
- Go to the Apple Home app.
- Select "Add Accessory."
- Scan the QR code on the back of the ismartgate device. Follow the steps to add the garage door to the HomeKit.
- Return to the ismartgate app to finish the configuration.
- The app will look for devices to connect to. Select the icon for the ismartgate device.
- Follow the steps for naming the garage door, which you have to repeat if you have a second or third door.
Using the Remootio 3 with Homekit
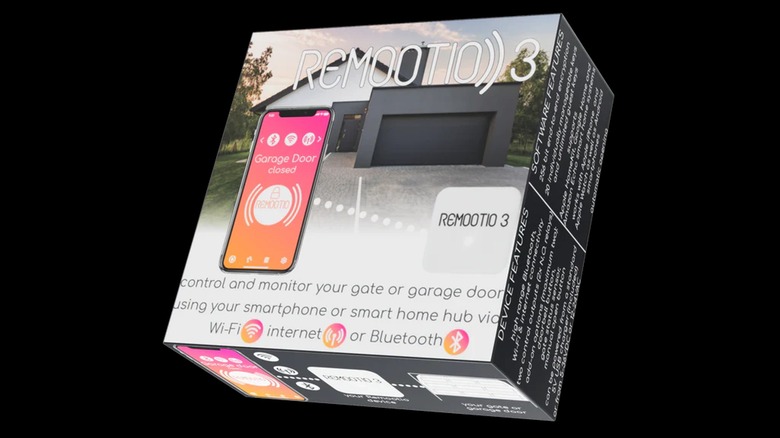
Remootio manufactures the Remootio 3 and 2, which can control gates and garage doors via HomeKit, Alexa, Google Assistant, and Samsung SmartThings. It will connect to your smart home via Bluetooth or Wi-Fi, whichever you prefer. The biggest problem with the Remootio devices, which may scare away some in the market for a smart garage opener, is the complexity of installing the device to a garage door opener because it requires a screwdriver and removing the face of the Remootio device. Once you get past that and install it, connecting it to your HomeKit is easy.
- Download the Remootio app and make sure your Bluetooth is enabled and click on "Set up new device."
- Select "Garage door opener."
- Go to the settings menu by clicking on the wheel icon in the bottom-right corner of the screen.
- Tap on "HomeKit."
- Tap on "Integrate with HomeKit."
- It will ask you to select a home. If you have more than one, choose the home where this device is connected.
- Grant Remootio access.
- This will likely be the first time you've used the Remootio app, so you'll need to set up a "Home."
- Choose the name of the home.
- Click "Add to Apple Home" when prompted to add the garage door.
- Select the location for the garage door, then name it
- From there, you should be able to open up the Home app and see the garage door listed.
Tailwind iQ3
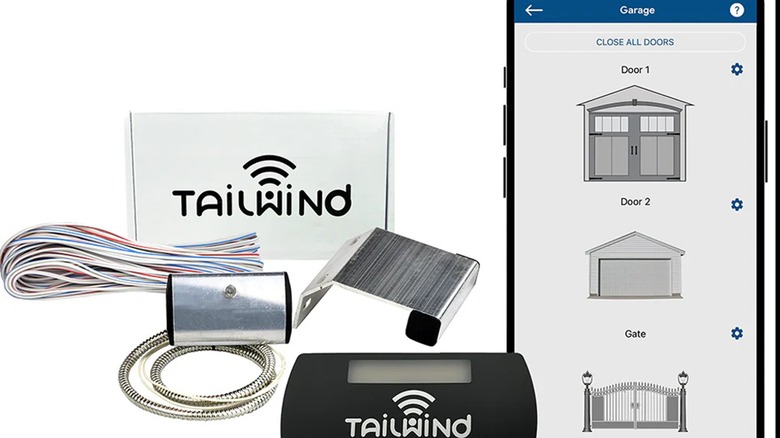
The Tailwind iQ3 is similar in many ways to the other smart devices mentioned above. Tailwind only recently began including HomeKit support, but its integration is pretty straightforward. There's no special setup required beforehand or during installation, just set up the device according to the product's instructions.
Adding the Tailwind iQ3 device to HomeKit is the last step in the setup process. Once you install the device to your garage opener, and it's been configured in the Tailwind app, head to Device Settings, where you'll find a button to generate a HomeKit code. Make sure the firmware in your Tailwind iQ3 is up-to-date. Otherwise, the code won't work, and you won't be able to connect it to HomeKit. You can update the device via the Tailwind app.
Once the iQ3 is updated, it will show up in your HomeKit app. Sometimes the Tailwind app will say the device's firmware is already up-to-date, but it still won't appear in HomeKit. Manually tapping the "Update" button anyway should force an update that will fix this issue.