Can Raspberry Pi Run Linux? What You Need To Know
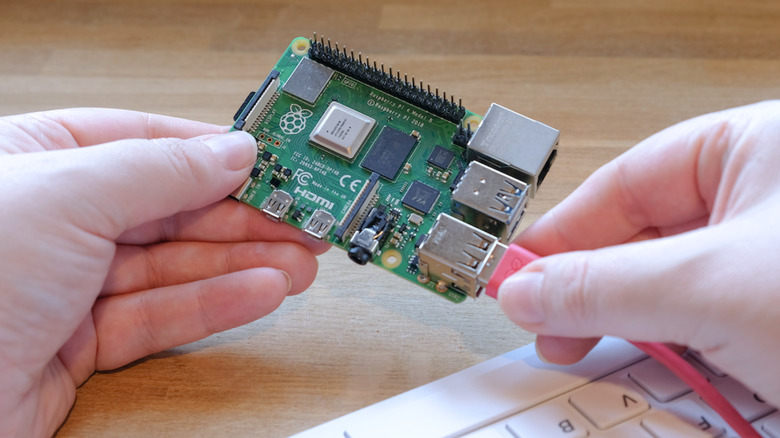
So you're on the hunt for a single-board computer (SBC) for your embedded systems or networking projects. In your search, you've probably run across dozens of recommendations pointing to the Raspberry Pi, and it's for good reason. This board may be small at 85 by 56 mm, but it's pretty mighty and versatile. In fact, the range of Raspberry Pi projects you can find on the internet is considerably large and includes applications as simple as a garage door opener and as sophisticated as an automated YouTube video generator.
If you've decided to use Raspberry Pis but are completely new to this SBC, you might feel a little overwhelmed about how it works and what you need to do to get started with your project. Sure, this board is designed to be beginner-friendly, but there might be some technicalities you want to know. For instance, can the Raspberry Pi run a Linux OS out of the box? If so, what flavors does it support, and how do you even install a Linux OS on the Pi?
Is Raspberry Pi compatible with Linux OS?

The short answer is yes — the Raspberry Pi can run Linux operating systems. In fact, the Pi developers used Debian, one of the more commonly installed Linux distros, as the basis for Raspberry Pi OS. This means the operating system is essentially a flavor of Linux. In terms of application, this OS is highly recommended for those looking for beginner-friendly operating systems for the Raspberry Pi. It's well-documented, can accommodate various projects, and can be installed on every Pi model, even the older boards.
Another main draw of the Raspberry Pi OS is that it comes in several versions to fit your project requirements. There's a desktop version with a user interface, desktop with recommended software (interface plus frequently used software like RealVNC Viewer and Server, Wolfram Language, and LibreOffice apps), and Lite with just a command-line interface (CLI).
If you're only after a general-purpose Linux OS for your Pi, then you can stop your search with the Raspberry Pi OS. However, it actually isn't the only option you have. Thanks to the Pi's widespread popularity, many major Linux distros have also released versions developed for installation on the Pi. For instance, you can find an Ubuntu OS for Raspberry Pi, available for boards starting with the Pi 3. Other general-purpose Linux systems you can deploy on the Pi are Fedora, Manjaro, MX Linux, Ultramarine Linux, RISC OS Pi, and Apertis. These OSes all have a downloadable image, so you can install them easily on the Pi. There are also specific-purpose Linux systems you can use with the Pi, such as LibreELEC as a media center and Recalbox as a gaming console.
How to install a Linux OS on Raspberry Pi

The easiest way to install a Linux OS on the Raspberry Pi is to use the Raspberry Pi Imager. It's a desktop app available on Windows, Ubuntu, macOS, and Raspberry Pi OS. What it essentially does is write a Raspberry Pi-compatible OS to the microSD card that you'll use to boot the Pi. Installing an operating system with the Imager is pretty quick, especially since its interface is designed to be straightforward. Here's how to use the app:
- Insert the microSD card to your computer.
- Download the Raspberry Pi Imager installer to your device.
- Install and open the app.
- Press the Choose Device button.
- Select the Raspberry Pi model you're using. This is important as the Imager uses this information to display only the OSes that are compatible with your board.
- Under Operating System, select Choose OS.
- Browse through the options natively available on the Imager. They're all conveniently organized into categories, such as Raspberry Pi OS (containing the different versions and previous releases), Other general-purpose OS, and Media player OS, to make it easier for you to find what you need.
- If you see your preferred operating system, simply click on it to select.
- If, however, the OS you want to use isn't on Imager:
- Download the image file to your computer first.
- In the Choose OS option on the Imager, select Use custom at the very bottom of the list.
- Select your downloaded .img, .zip, .iso, .gz, .xz, or .zst file.
- On the home screen of the Imager, click on Choose Storage.
- Pick your microSD card.
- Hit Next.
- Press No to skip the OS customization settings.
- Click Yes to proceed with the installation.
Afterward, the Imager will display a notification that your microSD card is ready to be removed.