5 Tips & Tricks For Detailing Your Motorcycle
When you take your motorcycle out onto the open road, go into the wild on muddy single tracks, or even commute regularly on two wheels, things can get messy. And with so many exposed cracks and crevices all over a motorcycle, it's easy to get dirt in hard-to-reach places. So, how do you get your bike clean? What are the best ways to detail your motorcycle? How do you go beyond the usual wipe down so your motorcycle looks ready for a new week of riding — or even good enough to snap some photos and list it for sale?
If you've never detailed your motorcycle before, it'll be helpful to know that some techniques apply to both cars and motorcycles. For instance, you should never clean your car with a car wash brush — the same is true for your motorcycle. There are, however, some differences between washing motorcycles and washing cars. But, barring some specifics, the approach to detailing a motorcycle will be similar — and you'll have a spotless bike if you pay close attention to the details.
Use the right cleaning tools
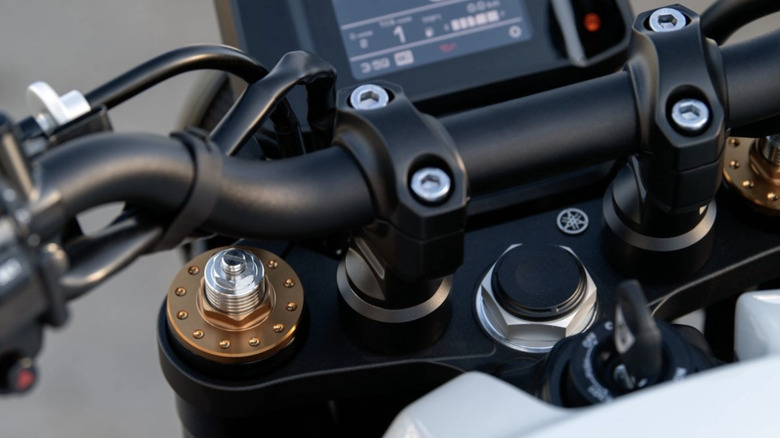
The tools for cleaning your motorcycle will be similar to the car cleaning tools you should have in your garage and will include basics like soap, buckets, rags, and brushes. Using two buckets (one for cleaning, one for rinsing) will help you avoid micro scratches on your paint. Small brushes will help with tiny details like cleaning your triple tree, handlebar controls, and gauge cluster.
Instead of blasting those small switches with high-pressure water or using a big mitt like you would on a car, you should use a detailing spray and small brushes to agitate and remove handlebar debris. Your bike may not have an interior like a car's, but if you treat certain areas of the bike with the same care, they'll be much cleaner.
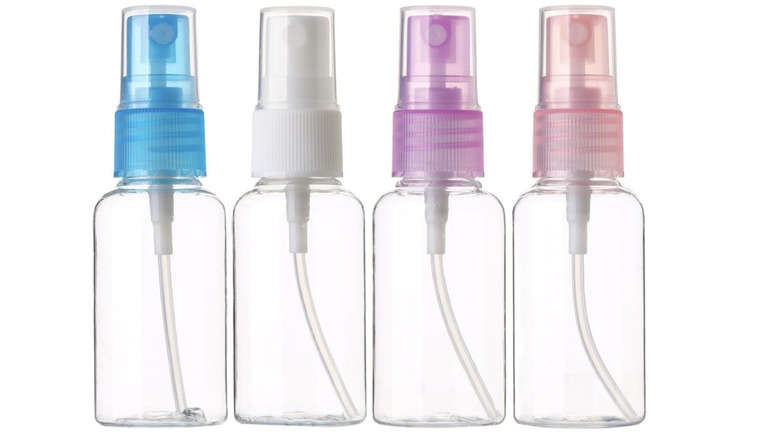
For motorcycle owners who don't have a hose (think apartment life), rinsing all the soap off the bike can be tricky. You shouldn't dump a dirty wash bucket over your clean bike to rinse it off, but you want to run clean water over it, so how do you rinse it off? Try buying some re-fillable spray bottles and filling them up with water. If that's not enough to rinse off small areas, look into some off-grid shower gadgets as well.
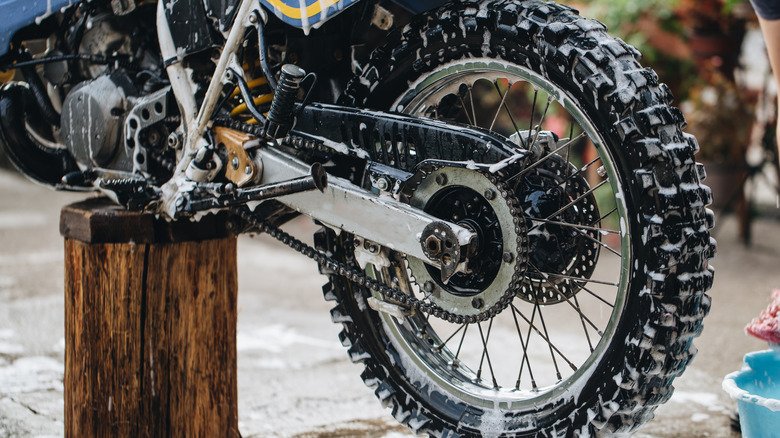
Clean your chain too

While washing your motorcycle, it's likely that you're going to wash away your chain lube along with dust and dirt. So, there's no better time to clean the chain (and it's always worth a look while you're down there to check if the chain needs adjustment). Having a clean chain means you're less likely to splash debris onto your freshly detailed bike, and a clean, well-lubricated chain will help with performance, too.
To clean your chain, you'll need a chain brush, the right chain cleaner for your particular kind of chain, a few rags (or paper towels), and the right chain lube — be sure to check manufacturer specifications for your bike to see which product they recommend. Also, make sure you clean the chain in the correct order. Clean the bike first, then clean and lube the chain. There's no sense in cleaning the bike after you've lubed the chain just to rinse the lube away.
Keep some cleaning supplies with you
It's never a bad idea to be prepared for your ride, no matter how short the ride may be. Keeping a tire repair kit stored under your seat or bringing a multi-tool with you on the road can get you going again when a flat tire or a loose bolt would leave you stranded otherwise. Another way to stay prepared is to bring some cleaning supplies with you on the road.
If your bike needs a quick wipe-down, a small bottle of window cleaner and a spare rag or two will work wonders (a small 2-ounce bottle will do the trick). Some riders may prefer baby wipes for cleaning, which can be a useful tool, but if you've got a backpack or saddle bag that can fit a small bottle of window cleaner, it's not a big burden to bring along. For starters, it's more purpose-built for the job. It'll make quick work of bugs on your windscreen. And having the cleaner handy to clear up your helmet's windscreen is an added bonus.
Protect the various surfaces
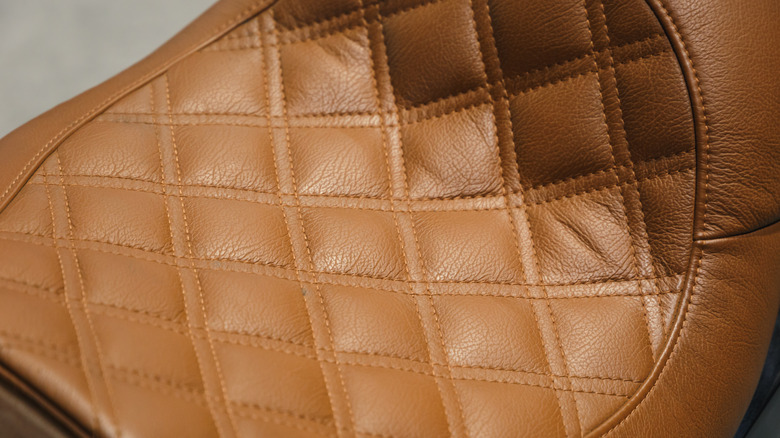
Cleaning your motorcycle is just the first step. Once the bike is clean, if you want to ensure that it looks good for a long time, you need to protect its various surfaces. Leather, paint, plastics, stainless steel, and chrome all have unique protection agents, so pick the set of protection materials that fit your bike best and apply them liberally.
If you own a motorcycle with expensive paintwork, you may want to go with a ceramic coating to protect your fairings and painted surfaces — but for most bikes, a high-quality wax will do the job. If you've got a bike with leather seats, you'll want to condition and protect the leather on a regular basis, especially if it's parked outside. And, if you like the look of a rich, deep black on your plastics, you can use a conditioner to deepen the black color and prevent sun fade.
While there's a lot to be said for the products that clean a bike in the first place, just as much value lies in the products that protect it afterward. Protecting your bike's various surfaces will make color and finish last longer, help retain the bike's value, and make the next round of cleaning much easier.
Use a wheel chock or center stand

Having a wheel chock or a center stand to position your bike in an upright position is a game changer for motorcycle detailing. Whether you're cleaning your bike on the ground or you've got access to a bike lift, being able to clean the bike while it's upright (instead of leaning to one side) means you have equal access to both sides of the bike. The light hitting the bike is even, too, so you're less likely to miss dirty spots in the dark.
Having both wheels elevated means you can spin them too — meaning you'll get a full, 360-degree clean (it's also a must-have if you're cleaning the chain like we mentioned earlier). Elevating the bike off the ground also keeps the wheels out of a puddle. If you're in an area where water doesn't flow downhill well, you'll want the tires out of all that gunky water. Finally, having the bike up on stands means you can get underneath the bike, likely finding road grime you missed when it was just a few inches closer to the ground. If you're going for a deep detail, this is a step most people will miss.